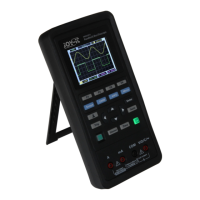
When the battery on the screen is displayed as blank, it indicates that the battery is
about to run out. When the battery power is too low, the oscilloscope will prompt
“Power o aer 5s”. In order to avoid the automatic shutdown of the oscilloscope
due to insuicient power supply, please charge it in time.
If the power button is pressed, the oscilloscope will not react, indicating that the
battery power may be exhausted.
You can charge the oscilloscope in the following way:
Charge the oscilloscope through charger: Connect the oscilloscope to the power
socket through the USB data line and charger distributed by the instrument for
charging.
Charge the oscilloscope through the USB interface: Connect the oscilloscope to a
computer or other equipment through the USB data line.
When charging, turn on the oscilloscope and the battery frame on the screen will
change.
When the battery is full, the oscilloscope will automatically stop charging.
• Storage and Replacement of the battery
Storage
Lithium batteries must be stored in clean, dry and ventilated rooms. Contact with
corrosive substances should be avoided and the have to be kept away from fire and
heat sources.
If the lithium battery is not used for a long time (for example, more than 6 months),
it should be charged with 50%-70% electricity, and removed from the instrument,
and stored in a dry and cool environment.
If the lithium battery rusts, leaks, bulges and other phenomena, it should be remo-
ved immediately and scrapped.
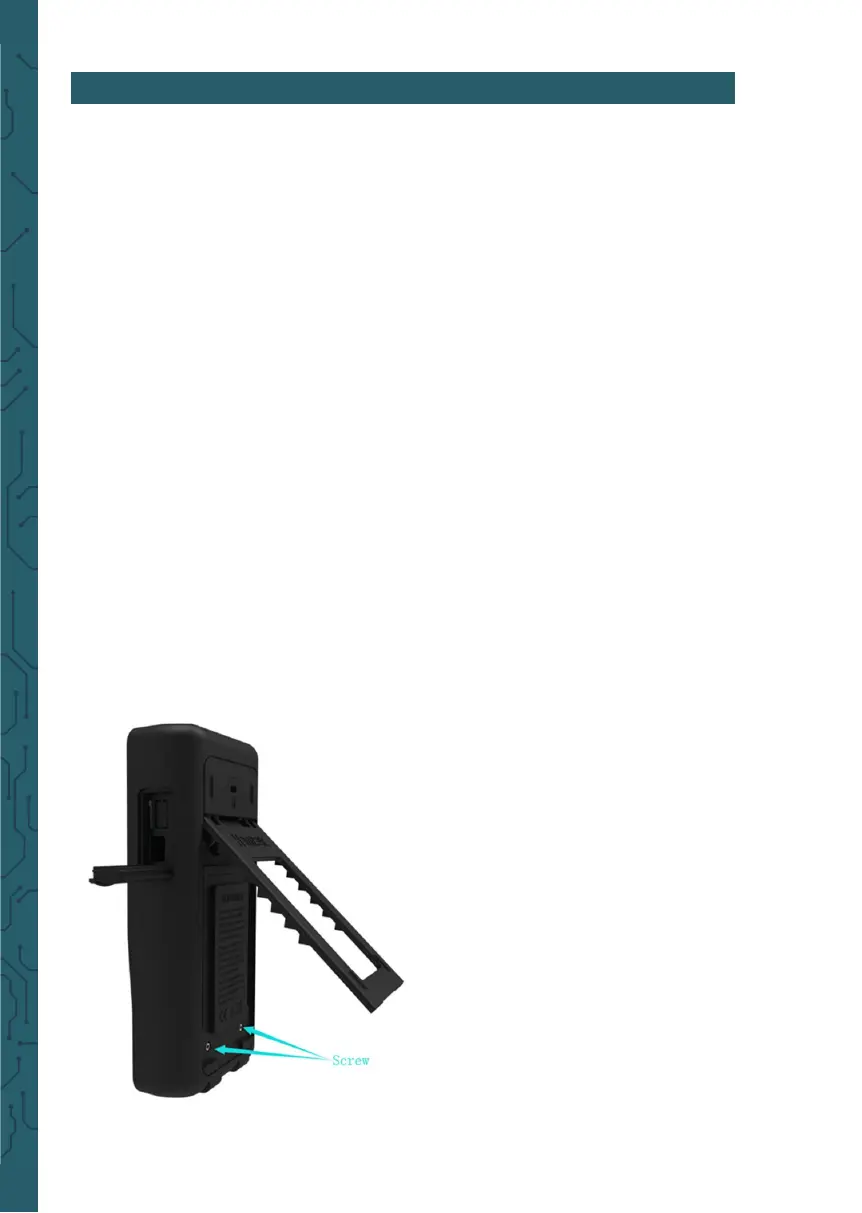
Replacement
Batteries can be recharged repeatedly, but
they are vulnerable to wear and tear. If
standby time is found to be greatly re-
duced, batteries need to be replaced.
The battery specification is 18650 lithium
battery, 3.7V, 2600mA.
Please refer to the following to replace it.
Unfold the supporting leg, there are two
screws. Remove the screws and remove the
battery cover, you will see the batteries.
Now you can remove the battery and re-
place.
Attention: Pay attention to the positive
and negative poles of batteries when repla-
cing baterries.
8. CHARGE