Figure 6
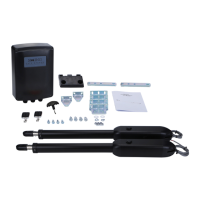
4.3.3 Main Engine Installation
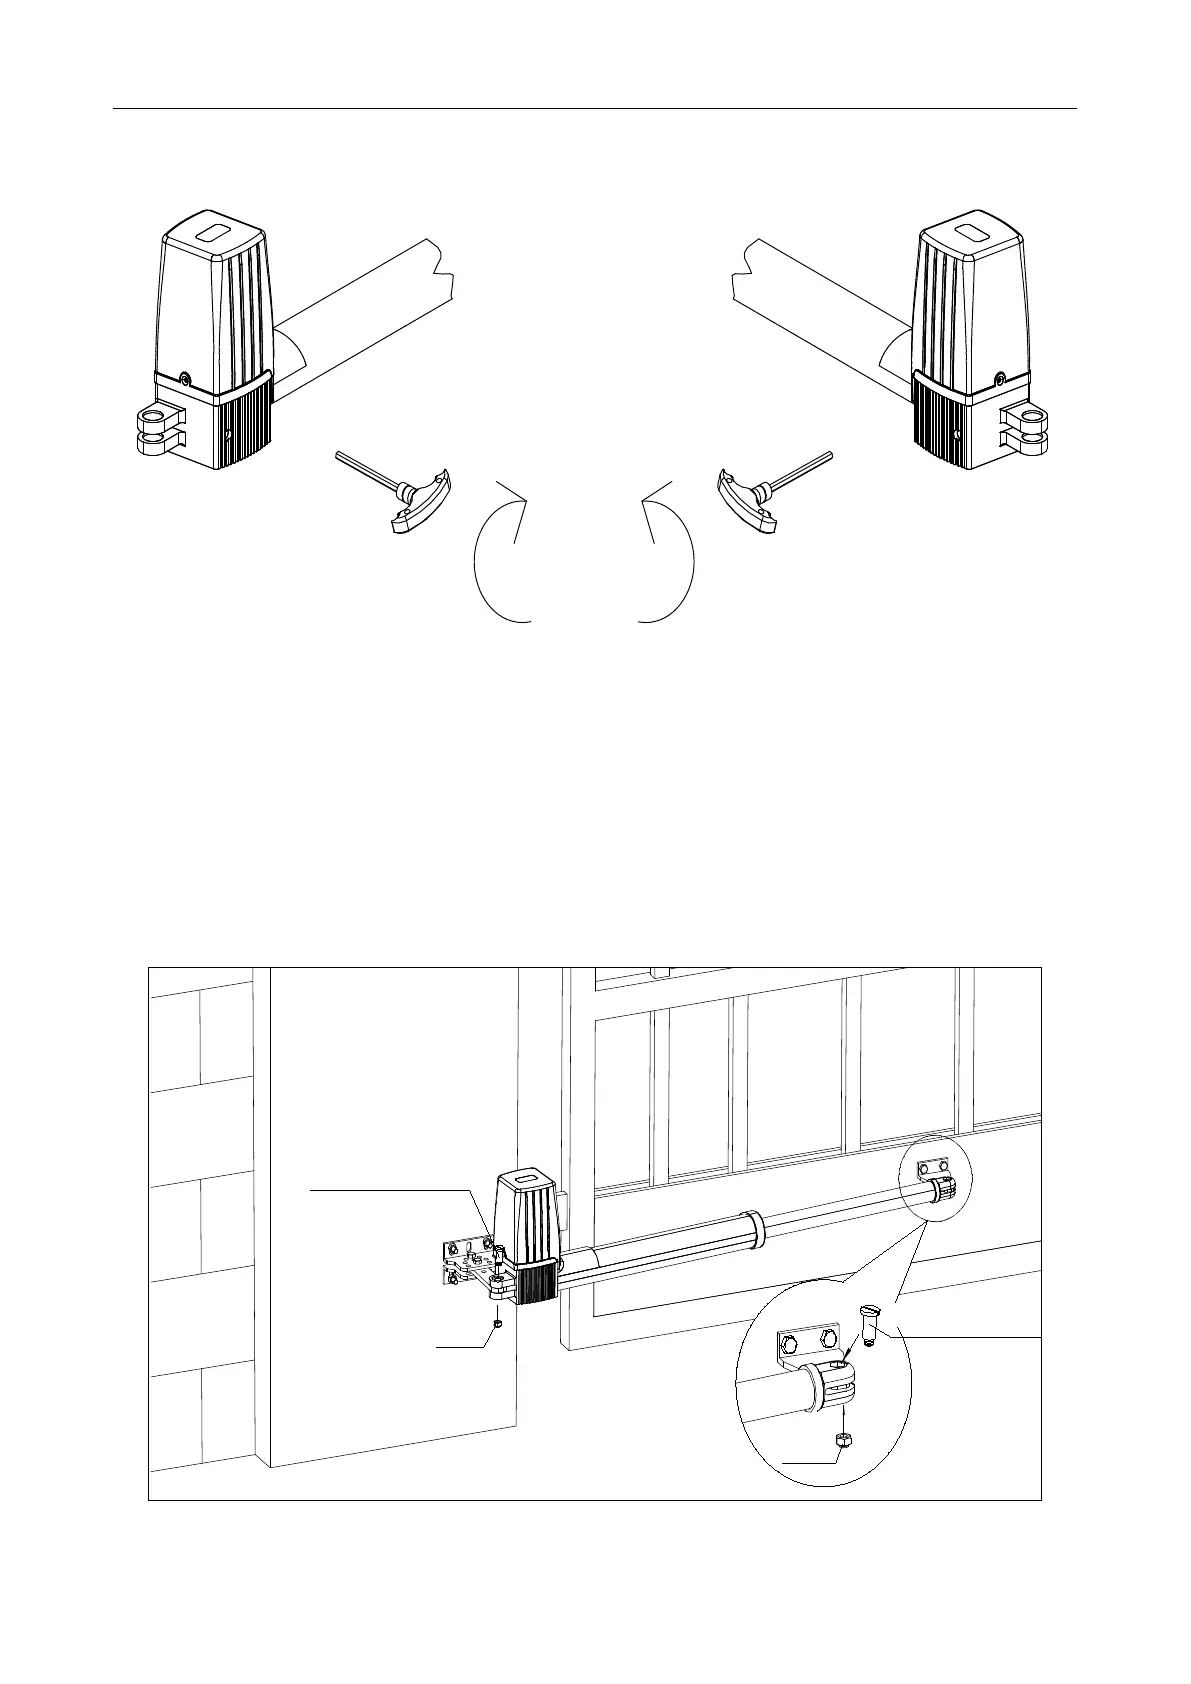
As shown in Figure 7, the tail of the main engine and the connecting bracket are fixed together
through the installation of screws, and then manually adjust the telescopic arm to the appropriate
length, and finally fix the telescopic arm connector and the front mounting bracket with the
installation screws. Pull the door after the completion of the installation to ensure the entire process
flexible without jamming.
Mounting screw (length)
Nut
Mounting screw (short)
Nut
Figure 7