− 26 −
2
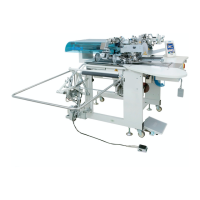
Select pattern No. you desire to sew.
When PATTERN NO. button
C
is pressed, the pattern No.
can be selected. For the selecting procedure of pattern No., see
“
^
-7. (1) Performing the selection of pattern”p.42
.
At the time of your purchase, pattern Nos. 1 to 10 have been
registered. Change the sewing data in accordance with the
sewing types for use. (The number to which the pattern has not
been registered is not displayed.)
For the detailed explanation of input screen, see “
^
-3. EX
PLANATION OF THE BASIC SCREEN” p.28.
C
The independent sewing
input screen (screen A)
3
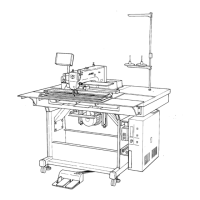
Start sewing
When READY key
D
is pressed in the independent sewing
input screen (screen A), the green sewing screen (screen B)
is displayed and the sewing operation is started by the pedal
operation.
Sewing screen (screen B)
F
For the details of the sewing screen, see “
^
-3. EX
PLANATION OF THE BASIC SCREEN” p.28.
At this time, the error screen is displayed to inform that stop
switch is pressed. When RESET button
F
is pressed, the
error is released and the screen returns to the input screen.
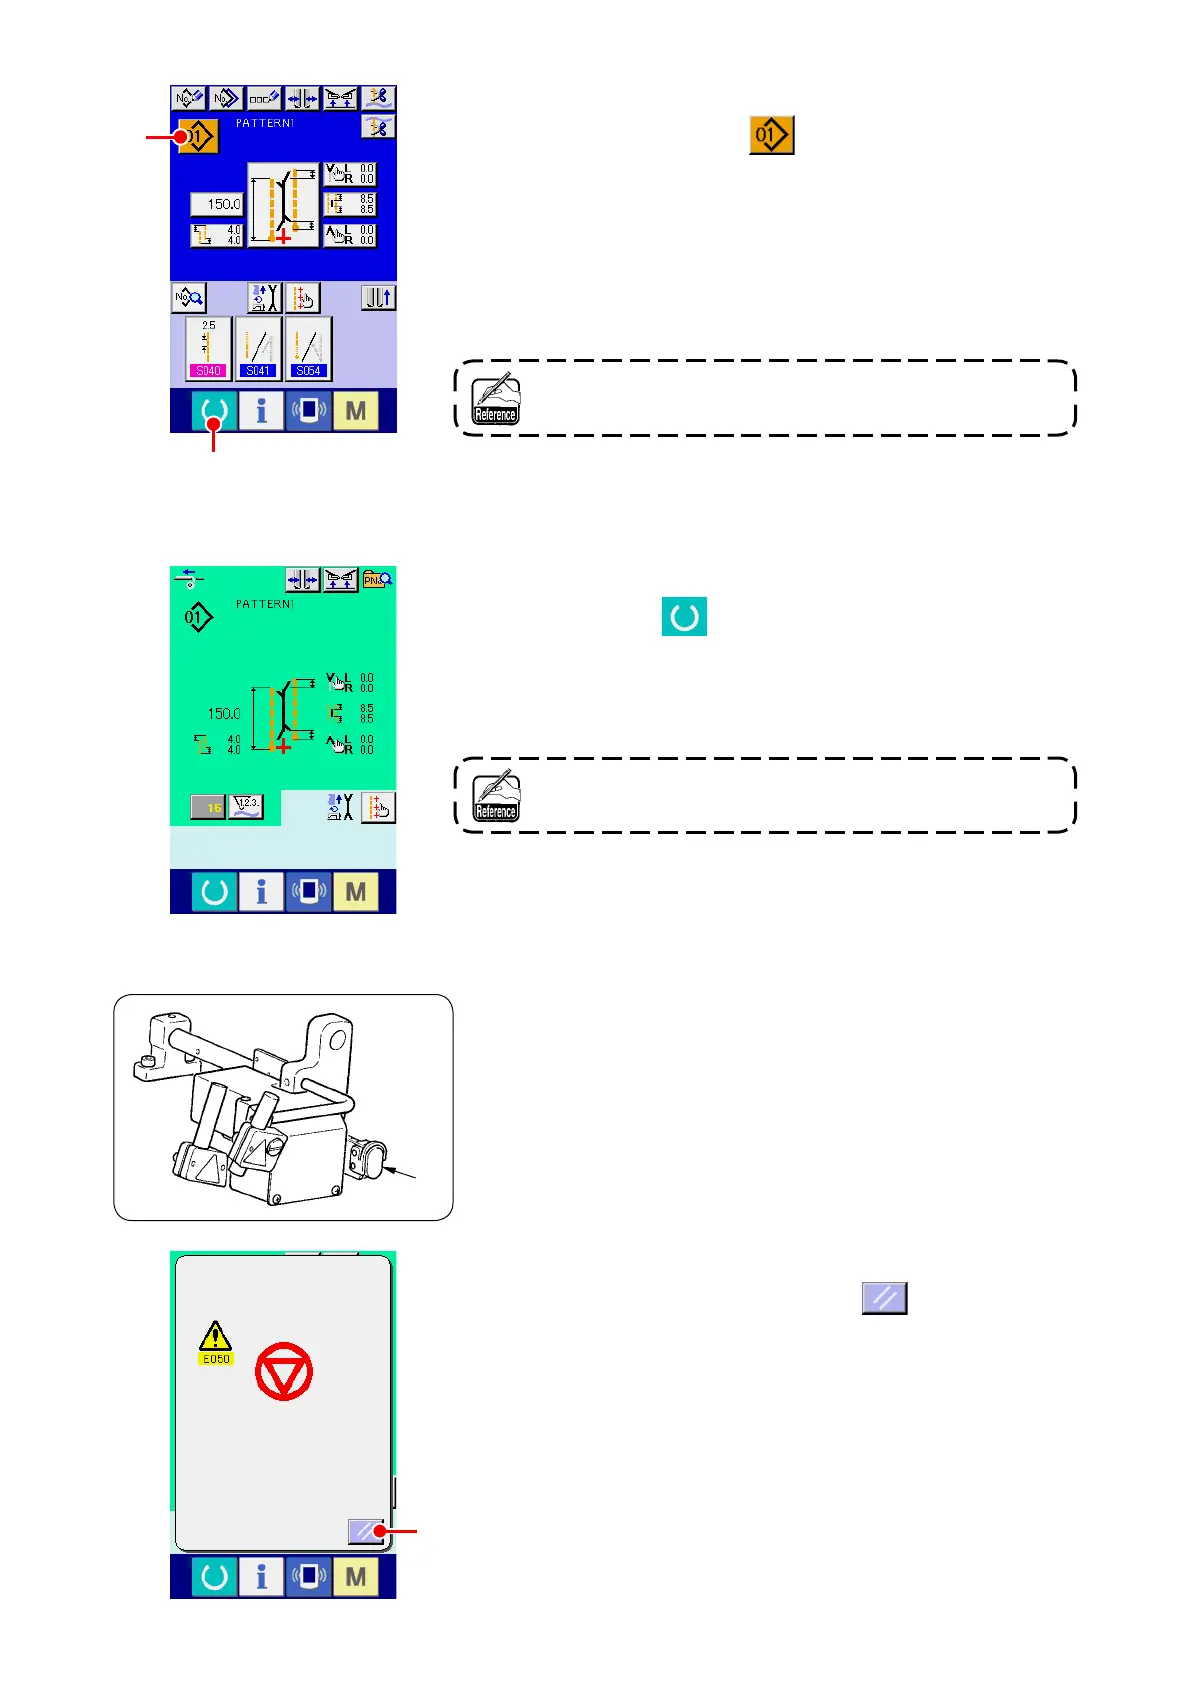
4
To stop the device during operation
When temporary stop switch
E
is pressed during sewing, the
device can be stopped.
E
D

 Loading...