– 2 –
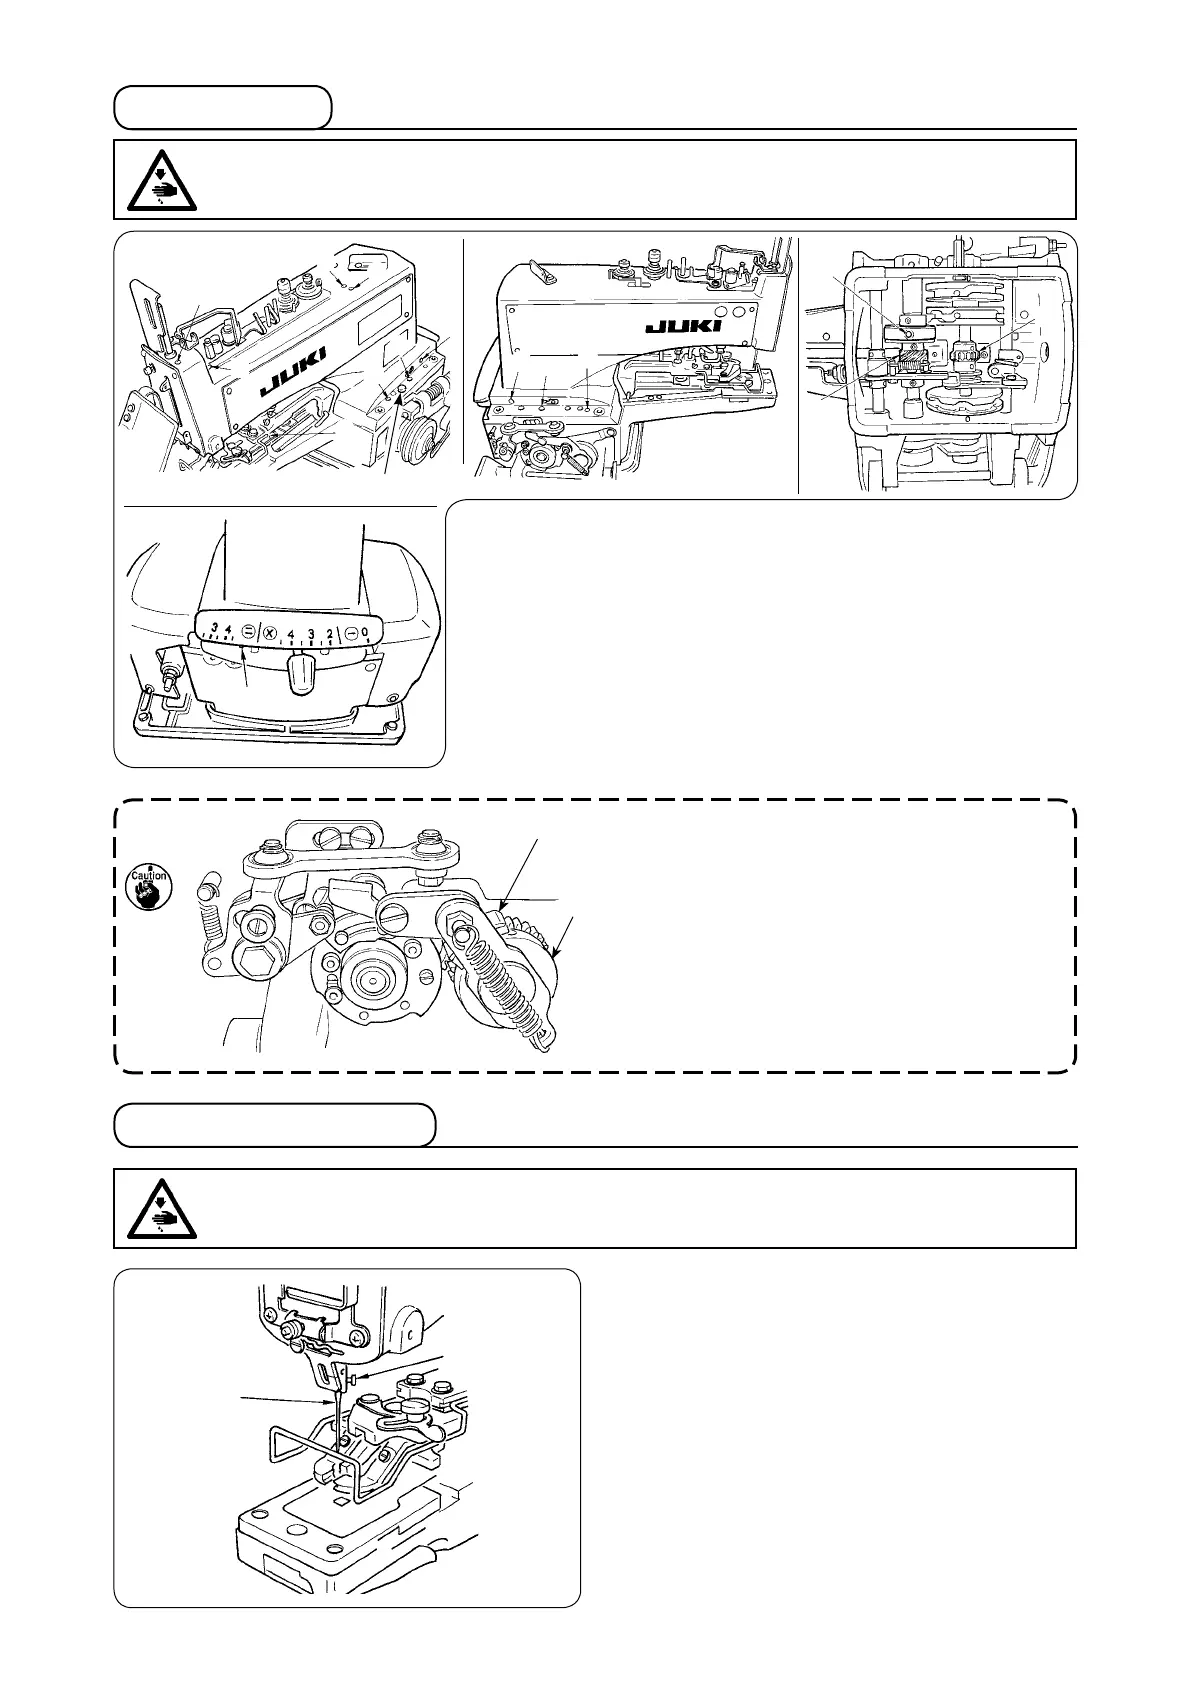
2-3. Attaching the needle
WARNING :
To protect against possible personal injury due to abrupt start of the machine, be sure to start the
following work after turning the power off and ascertaining that the motor is at rest.
★
Use a standard needle of TQx1 #16.
Loosen setscrew
1
and hold needle
2
with the long
groove facing toward you. Then fully insert it into the
hole in the needle bar, and tighten setscrew
1
.
1
2
1
2
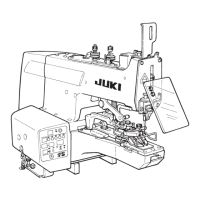
[
Caution at the time of lubricating]
1. Take care not to allow speed slowing friction
wheel
1
and friction plate
2
to be clogged with
oil to prevent them from the deterioration of
retardation performance.
In addition, when the
components are clogged with oil, wipe the oil
from them.
2.
Take care not to allow the machine belt to
be clogged with oil to prevent it from the
deterioration.
1
9
2
3
5
6
7
!1
!0
8
!2
!4
!5
!6
!3
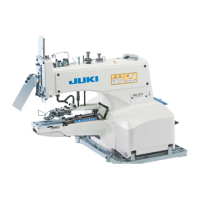
2-2. Lubrication
1) Open the side cover, and apply JUKI New Defrix Oil No. 1 to the
portions shown by the red marks
1
to
!2
(
7
: MB-1377 only).
(Apply approximately 1 cc of oil to the respective lubricating
places one to two times a week.)
2) Loosen connecting screw
!3
, t
ilt the machine head backward
and apply grease (JUKI designated grease) to crossed helical
gear
!5
and worm gear
!6
.
3) Check, approximately once a week, that oil amount is sufcient
to reach the top of the o
il felt placed inside the bed mounting
base. If the amount of oil is insufcient, add an adequate amount
of oil. At this time, also apply oil to crank rod
!4
.
WARNING :
To protect against possible personal injury due to abrupt start of the machine, be sure to start the
following work after turning the power off and ascertaining that the motor is at rest.
4
 Loading...