ENGLISH
65
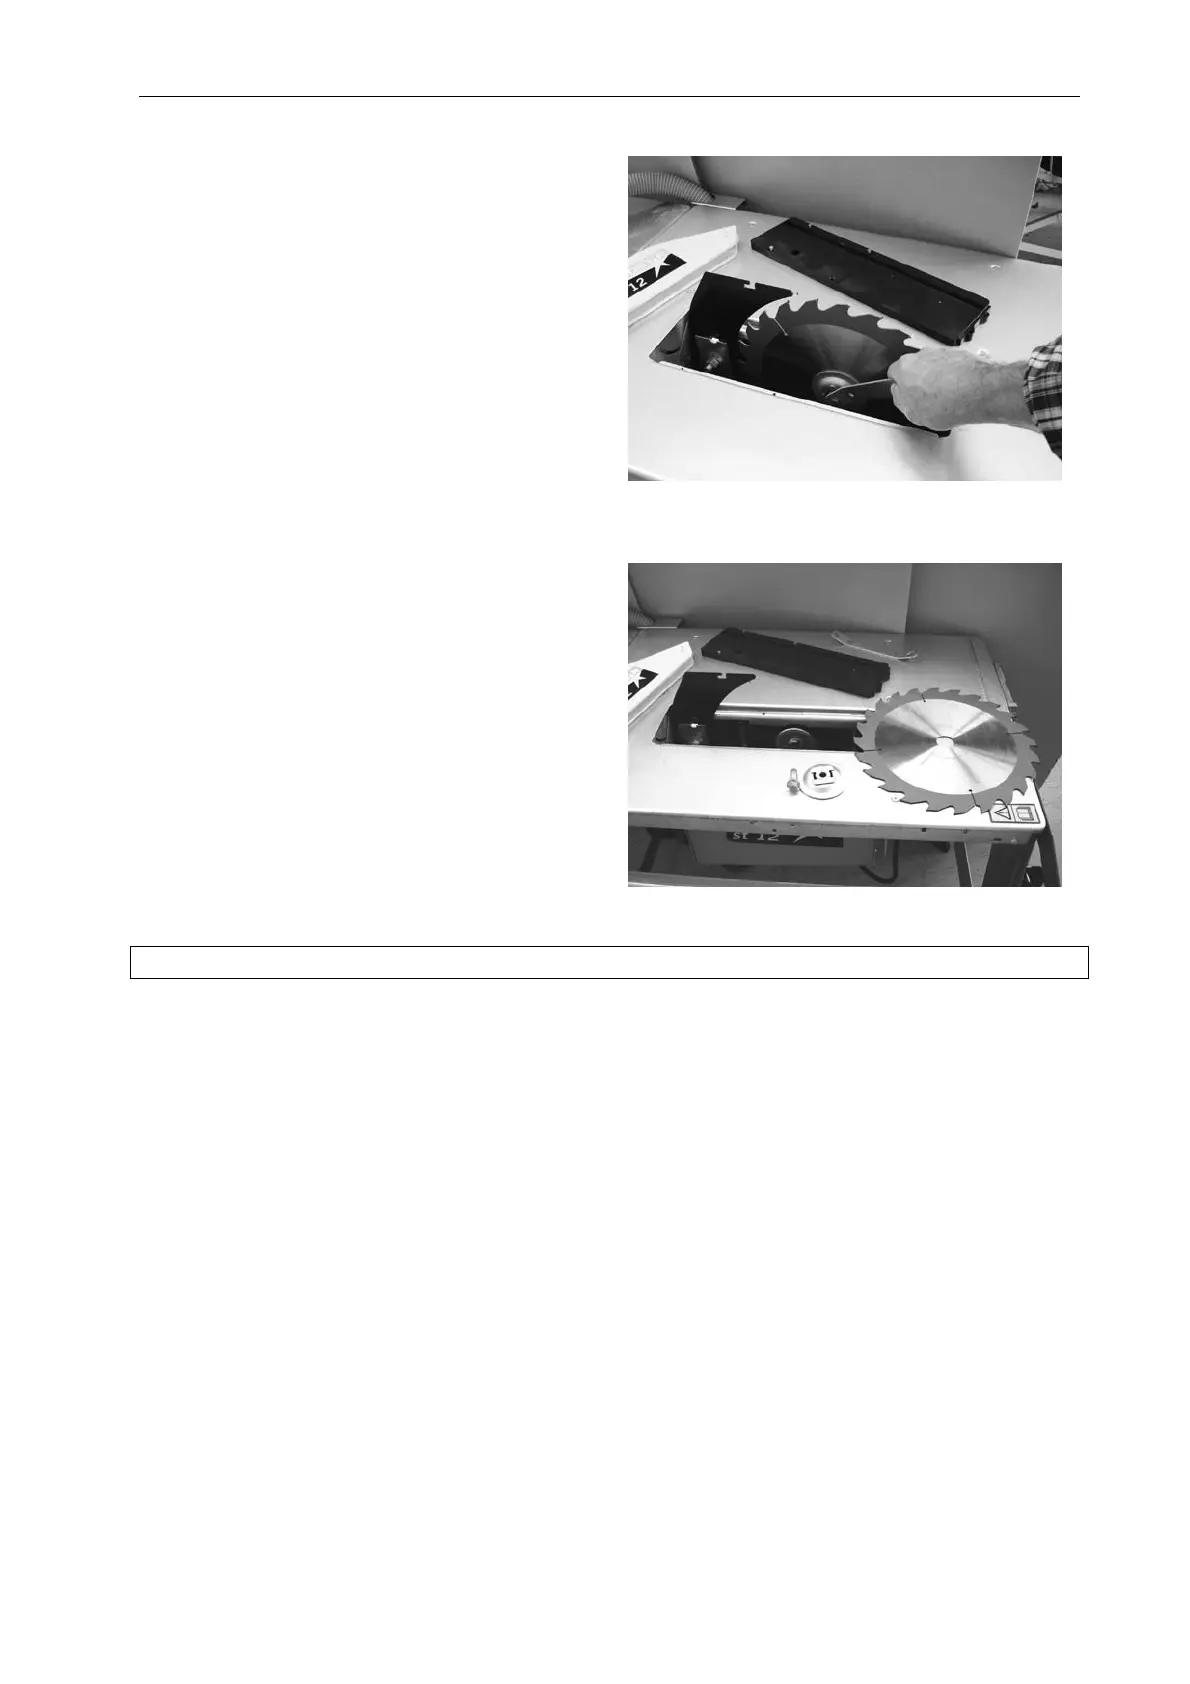
Fig. 21
Raise the saw blade as far as possible and undo the
screw with the spanner.
IMPORTANT:
The screw has a left-hand thread.
Fig. 21
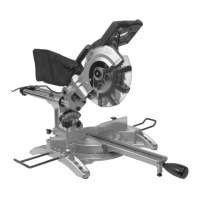
Fig. 22
Remove the flange and the saw blade.
Replace the saw blade.
Take care to install the new saw blade correctly.
Check the splitting knife's adjustment and reinstall
the bench insert and the dust extraction cover.
Fig. 22
OPERATION
Setting up
Prepare the workplace where the tool is to be located. Ensure that there is sufficient free space in order
for the tool to work safely and without problems. The tool is intended for use in closed areas, and must be
placed securely on a stable surface. Anchor the tool to the surface with four screws.
Transport
Use appropriate lifting equipment (crane, forklift truck or similar) to transport the tool. Never lift the saw
bench. If the tool is to be moved frequently within the work areas, transport wheels should be used.
Commissioning
NOTE: Follow all the safety instructions.
IMPORTANT: All covers and safety devices must be installed before starting the tool. Connect the dust
extraction system before starting the tool.
The dust extraction cover must be folded down over the blade when sawing. Remove the dust extraction
cover when cutting grooves. Install the dust extraction cover immediately once this tasks has been
completed.
The saw blade must be adjusted to that its highest point is slightly higher than the upper edge of the
workpiece.


 To Next Page