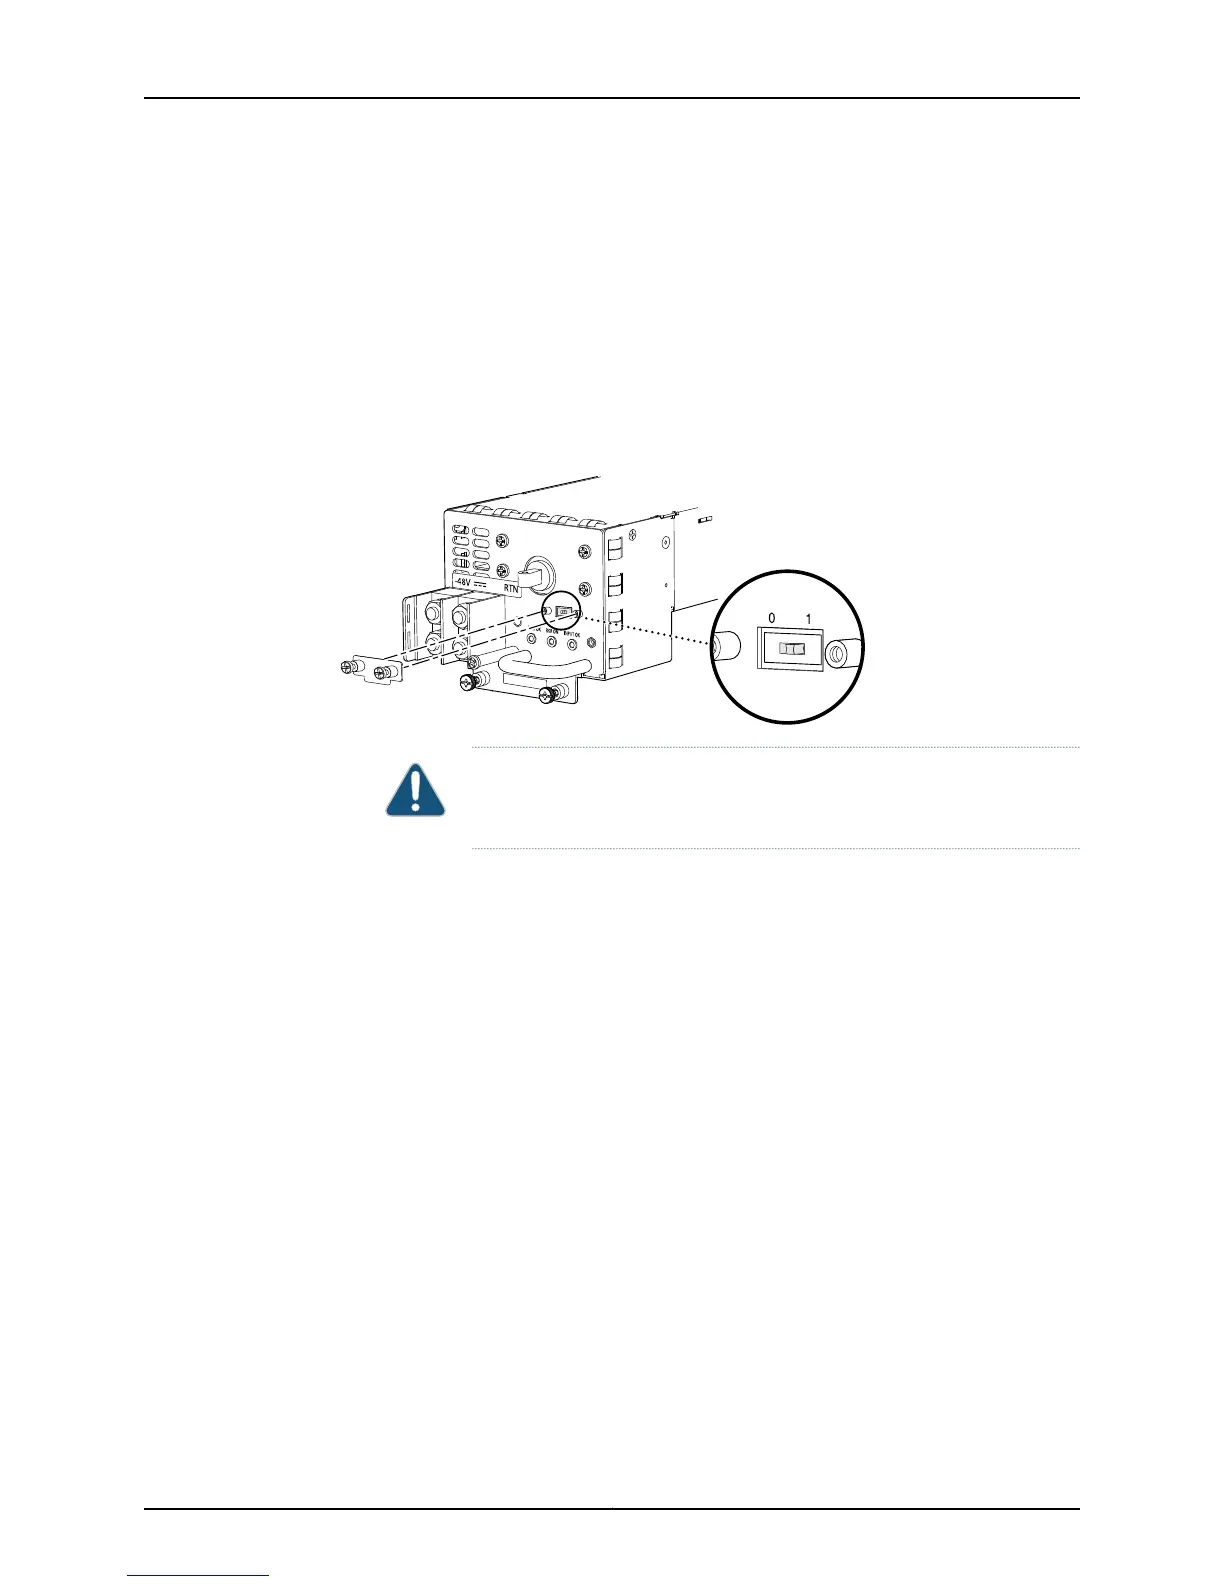
To set the input mode switch:
1. Using a screwdriver, loosen the captive screw holding the metal cover over the input
mode switch.
2. Rotate the metal cover away from the input mode switch to expose the switch.
3. Check the setting of the input mode switch.
4. Use a sharp, nonconductive object to slide the switch to the desired position.
Figure 15: MX 240 DC and MX480 DC High-Capacity Power Supply Input
Mode Switch
CAUTION: Do not use a pencil, because fragments can break off and cause
damage to the power supply.
5. Rotate the metal cover over the input mode switch, and use a screwdriver to tighten
the captive screw.
Copyright © 2010, Juniper Networks, Inc.18
Upgrading MX240, MX480, and MX960 3D Universal Edge Router Power Supplies and Fan Trays