28
Settings & Controls for Recording
Erasing All Data From a DVD-RW Disc
1.
Insert the DVD-RW from which data is to be erased.
2.
Press the SET UP button to display the Setup Menu.
3.
Use the 7 and 6 buttons to select DISC item and then press
the SET button.
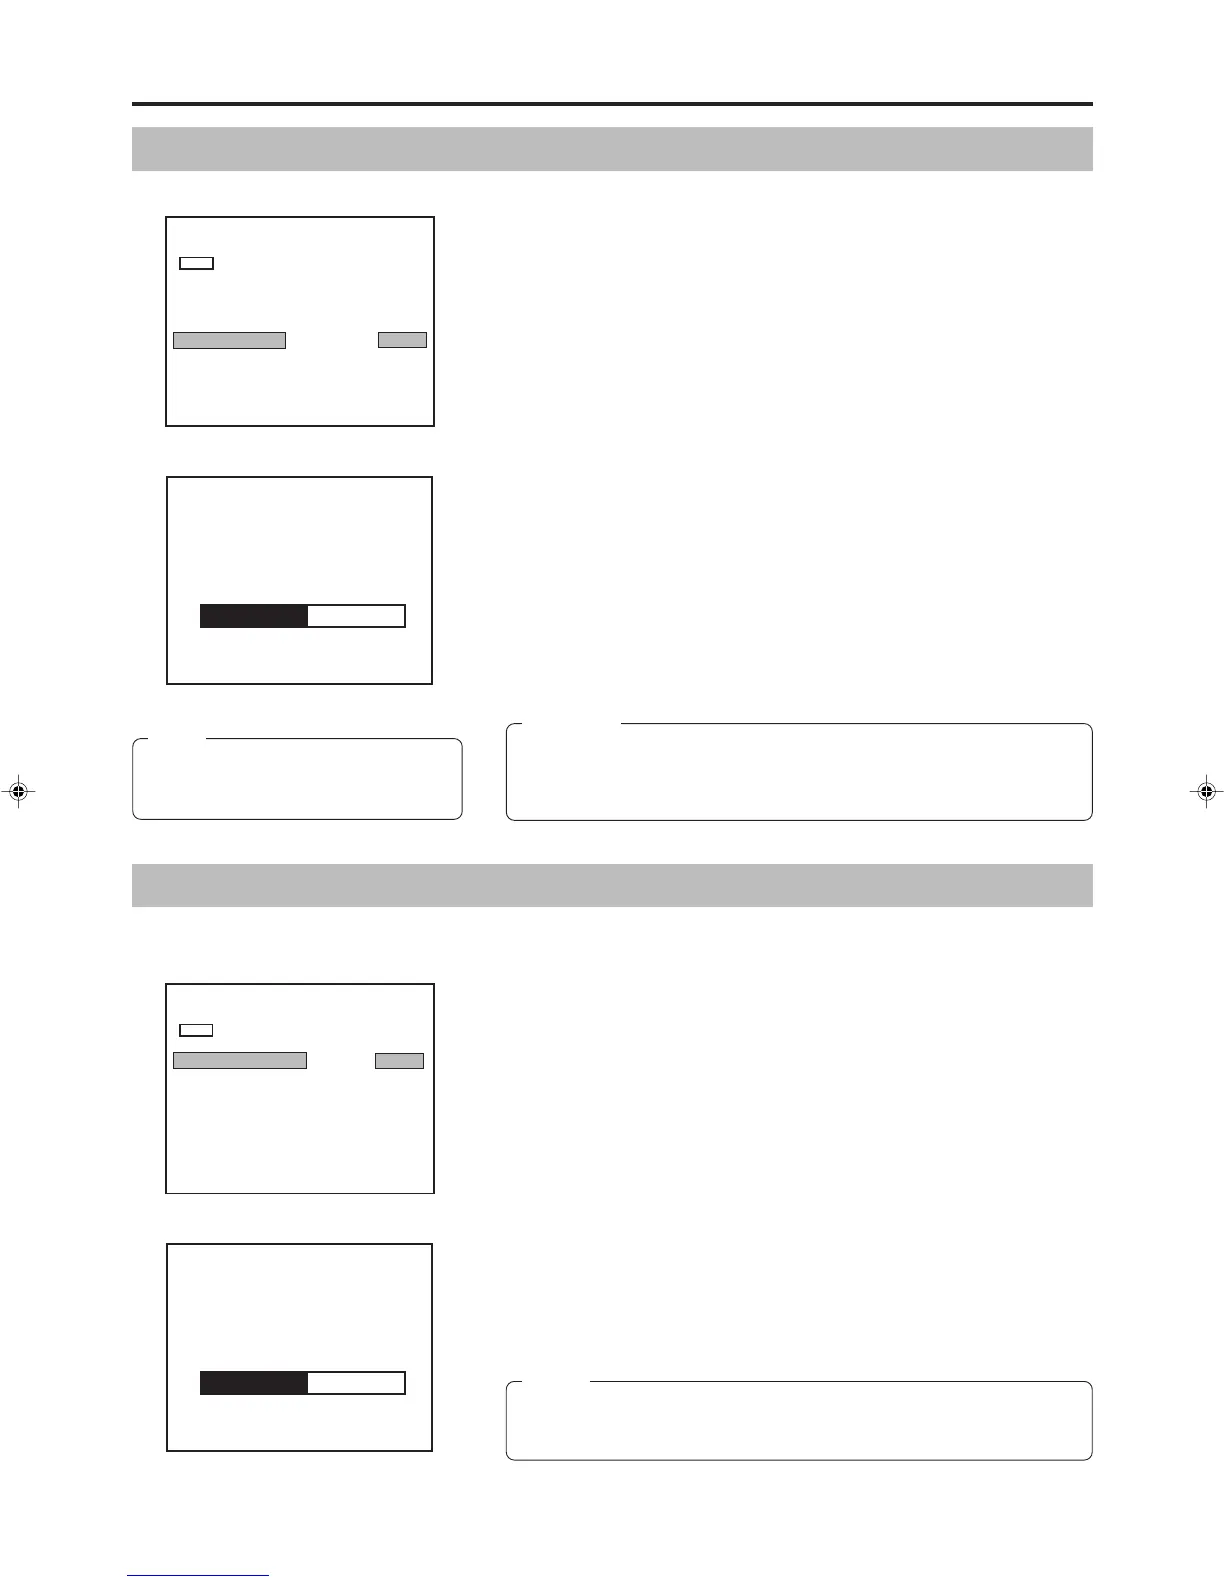
● The DISC menu screen will appear.
4.
Press the 7 or 6 button, select either the DISC ERASE (QUICK)
item or the DISC ERASE (FULL) item, then press the SET button.
● The setting value list box is displayed.
DISC ERASE (QUICK): Only the disc control area is erased. (Quick Erase)
Compared with Full Erase the time to erase is
shorter.
DISC ERASE (FULL): All areas of the disc are erased. (Full Erase) This
setting is recommended for repeated use of a disc.
5.
Use the 7 and 6 buttons to select EXECUTE from the list and
then press the SET button.
● The erasing of data will begin.
The message “DISC ERASE” appears and the state of progress is displayed
using a progress bar.
● When all data has been erased, the progress bar will disappear.
MENU
FINALIZE
CANCEL
CANCEL
CANCEL
CANCEL DISC FINALIZATION
OFF
AUTO FINALIZE
OFF
AUTO CANCEL DISC FINALIZ.
EXECUTE
DISC ERASE
DISC ERASE
CANCEL
LAST TITLE ERASE
DISC MENU
(
QUICK
)
(
FULL
)
DISC menu screen
CAUTION
● All of the data recorded to the disc will be erased in this process. Before
starting, therefore, confirm that no important data is stored on this disc.
● Under no circumstances should the power be turned off or the power cord
disconnected while data is being erased.
Canceling the Finalization of a DVD-RW
When adding an extra recording to a finalized DVD-RW, cancel the finalization.
1.
Insert the DVD-RW whose finalization you want to cancel.
2.
Press the SET UP button and the set up top menu screen will be
displayed.
3.
Press the 7 or 6 button to select the DISC item, then press the
SET button.
● The DISC menu screen is displayed.
4.
Press the 7 or 6 button, and select the CANCEL DISC
FINALIZATION item, then press the SET button.
● The setting value list box is displayed.
5.
Press the 7 or 6 button, select EXECUTE from the list box,
then press the SET button.
● Cancellation of finalization starts.
Execution status will be displayed on a progress bar.
● When complete, the progress bar disappears.
Notes
● When canceling finalization the TOP MENU created when finalizing is
deleted.
● Discs finalized on another machine cannot be cancelled.
MENU
FINALIZE
OFF
CANCEL
OFF
CANCEL DISC FINALIZATION
EXECUTE
AUTO FINALIZE
AUTO CANCEL DISC FINALIZ.
DISC MENU
CANCEL
CANCEL
DISC ERASE
DISC ERASE
CANCEL
LAST TITLE ERASE
(
QUICK
)
(
FULL
)
DISC menu screen
CANCELING DISC FINALIZATION
DISC ERASE(QUICK)
Note
When either a new DVD-RW or one that
has been erased on another machine is
inserted, quick erase starts up.
07e_BD-X201MU/E(26_35).p65 05.1.14, 4:20 PM28