EN49
SP
6
1
S
1
S
R
R
O
2
Y
E
E
U
B
N
C
V
T
N
I
C
I
U
D
T
H
M
D
R
R
O
E
N
M
M
O
D
C
O
O
O
E
O
D
D
P
M
E
E
Y
EN
O
U
N
P
L
A
Y
O
F
F
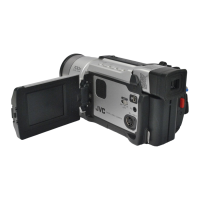
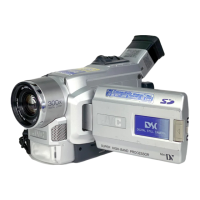
Play/Pause Button (
4
/6)
Display
Power Switch
SNAPSHOT Button
Lock Button
Dubbing Images Recorded On A Tape To
The Built-in Memory
Images can dubbed from a tape to the camcorder’s built-in
memory.
1
Load a cassette ( pg. 12).
2
Set the VIDEO/DSC Switch to “VIDEO”, then set the
Power Switch to “ ” while pressing down the
Lock Button.
3
Press the MENU/BRIGHT wheel. The Menu Screen
appears. Rotate it to select “ ” and press it. “VIDEO
MENU” appears.
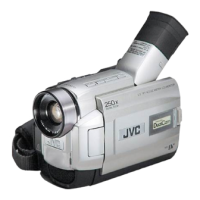
4
Rotate the MENU/BRIGHT wheel to select
“ COPY” and press it. The Sub Menu
appears. Rotate it to select “ON” and press it.
Selection is complete.
5
Rotate the MENU/BRIGHT wheel to select “
1
RE-
TURN” and press it twice. The normal playback
screen resumes.
6
To select a video image to be dubbed, start playback
by pressing
4
/6. At the moment you find the image
you wish to dub, press it again to engage Still
Playback.
7
Press MODE to select the Snapshot mode to use for
dubbing the image to the built-in memory.
8
To start dubbing, press SNAPSHOT. The selected
image is stored in the built-in memory.
•“ ” blinks during dubbing.
NOTES:
●
If SNAPSHOT is pressed in step 8 when the built-in
memory is full, the message “COPYING FAILED”
appears.
●
If an image recorded on the tape using the WIDE mode
(
pg. 26) is dubbed to the camcorder’s built-in
memory, the WIDE mode identifying signal is not
dubbed with it.
●
To use Playback Special Effects with a video image you
wish to dub, perform up to step 8 using the remote
control (provided) (
pg. 53).
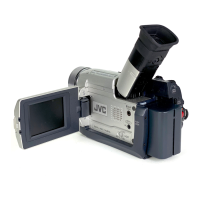
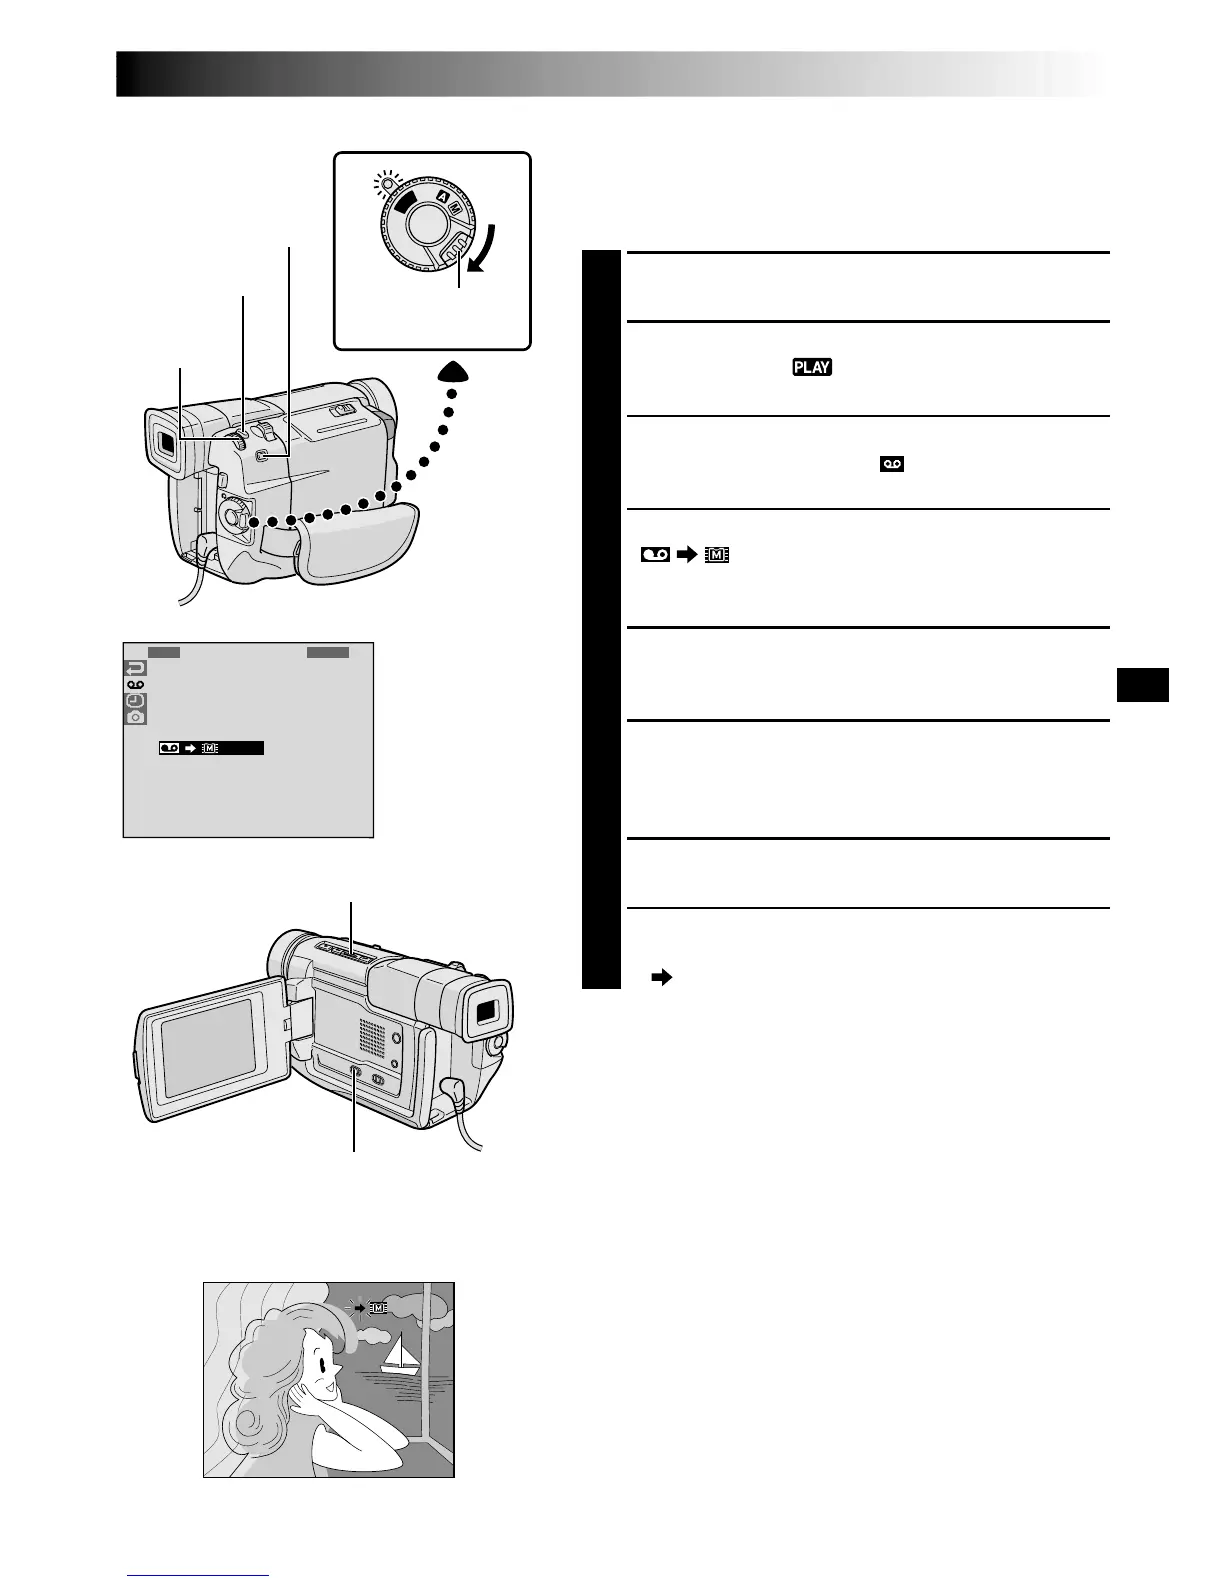
MENU/
BRIGHT
Wheel
VIDEO/DSC Switch (Open the
LCD monitor to access this switch.)
MODE Button
 Loading...