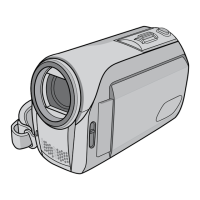
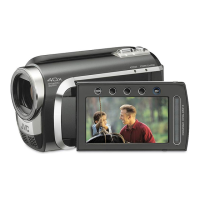
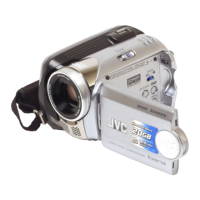
Necessary Settings before Use
Charging the Battery Pack
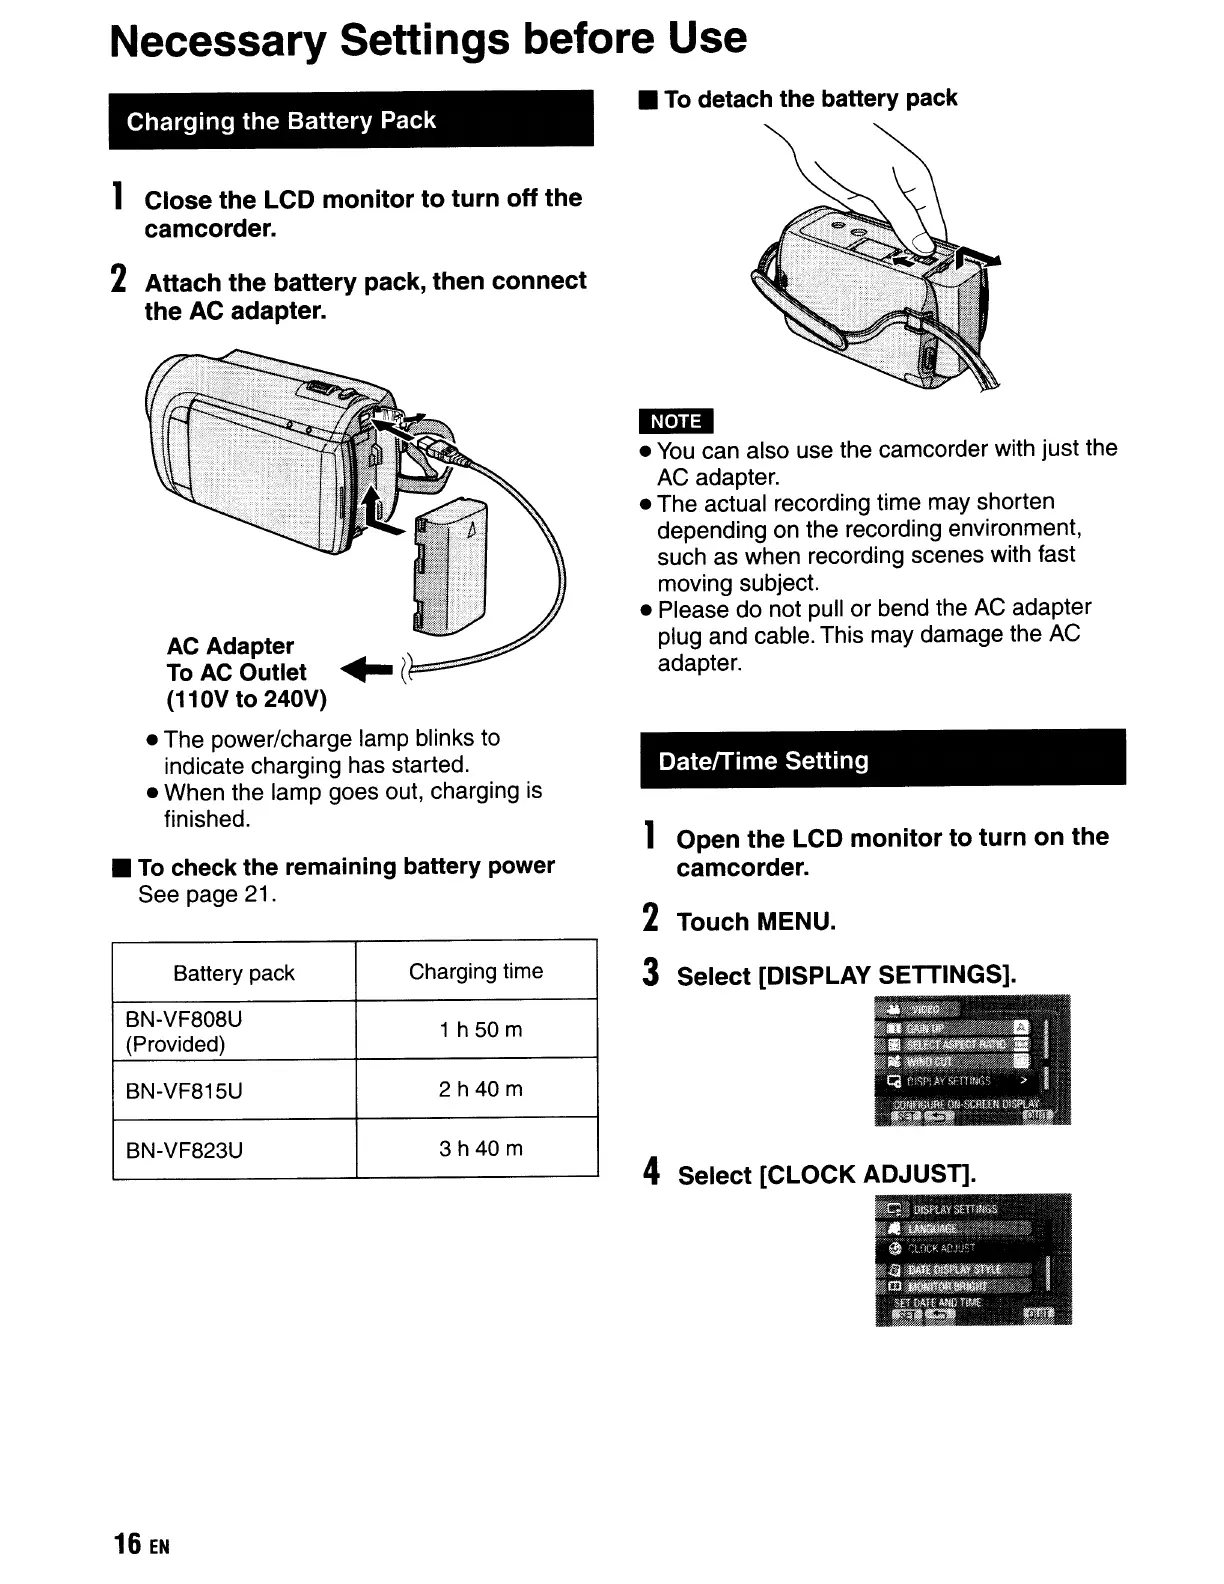
1 Close the LCD monitor to turn off the
camcorder.
2 Attach the battery pack, then connect
the AC adapter.
AC
Adapter
To
AC
Outlet
..
(~r;:;:::::::;'''
(110V to 240V)
• The power/charge lamp blinks to
indicate charging has started.
• When the lamp goes out, charging is
finished.
•
To
check the remaining battery power
See page 21.
Battery pack Charging
time
BN-VF808U
1 h
50
m
(Provided)
BN-VF815U 2 h
40
m
BN-VF823U
3h40m
16
EN
•
To
detach the battery pack
IImD
•
You
can also use the camcorder with just the
AC
adapter.
• The actual recording time may shorten
depending on the recording environment,
such as when recording scenes with fast
moving subject.
• Please do not pull or bend the
AC
adapter
plug and cable. This may damage the
AC
adapter.
DatelTime Setting
1 Open the LCD monitor to turn on the
camcorder.
2 Touch MENU.
3 Select [DISPLAY SETTINGS].
4 Select [CLOCK ADJUST].
Necessary Settings before Use
Charging the Battery Pack
1 Close the LCD monitor to turn off the
camcorder.
2 Attach the battery pack, then connect
the AC adapter.
AC
Adapter
To
AC
Outlet
..
(~r;:;:::::::;'''
(110V to 240V)
• The power/charge lamp blinks to
indicate charging has started.
• When the lamp goes out, charging is
finished.
•
To
check the remaining battery power
See page 21.
Battery pack Charging
time
BN-VF808U
1 h
50
m
(Provided)
BN-VF815U 2 h
40
m
BN-VF823U
3h40m
16
EN
•
To
detach the battery pack
IImD
•
You
can also use the camcorder with just the
AC
adapter.
• The actual recording time may shorten
depending on the recording environment,
such as when recording scenes with fast
moving subject.
• Please do not pull or bend the
AC
adapter
plug and cable. This may damage the
AC
adapter.
DatelTime Setting
1 Open the LCD monitor to turn on the
camcorder.
2 Touch MENU.
3 Select [DISPLAY SETTINGS].
4 Select [CLOCK ADJUST].
 Loading...