1
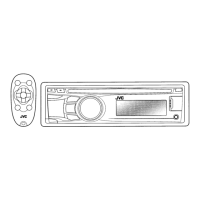
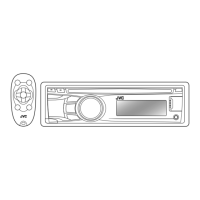
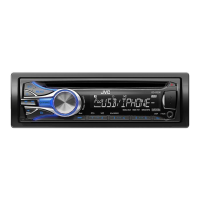
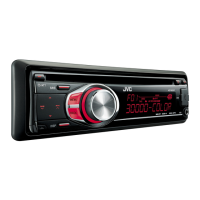
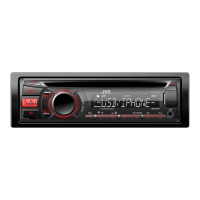
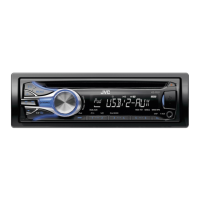
KD-R526/KD-R525/
KD-R426/KD-R425
Installation/Connection Manual
/
0910DTSMDTJEIN
EN, TH
© 2010 Victor Company of Japan, Limited
GET0702-006A
[U/UH]
INSTALLATION /
In-dash mounting /
In-dash
WARNINGS /
Removing the unit /
Release the rear section first... /
...
Do the required electrical connections. /
Bend the appropriate tabs to hold the sleeve
firmly in place. /
Install the unit at an angle
of less than 30˚. /
30˚
*
Not supplied for this unit.
*
Part list /
A
Hard case / (×1)
B
Control panel / (×1)
C
Sleeve / (×1)
D
Trim plate / (×1)
E
Power cord / (×1)
F
Handles /
(×2)
• You need the installation kits which corresponds to your car.
• If you have any questions or require information regarding installation kits, consult your JVC car audio
dealer or a company supplying kits.
• The unit can only be installed in a car with a 12 V DC power supply, negative ground.
• Disconnect the battery’s negative terminal and make all electrical connections before installing the unit.
• Connect speakers with a maximum power of more than 50 W (impedance of 4 Ω to 8 Ω). Otherwise,
change the <AMP GAIN> setting. (See page 15 of the INSTRUCTIONS.)
• Insulate unconnected wires with vinyl tape or other similar material. To prevent a short circuit, do not
remove the caps on the ends of the unconnected wires or the terminals.
• If the fuse blows, first make sure the wires are not touching to cause a short circuit, then replace the old
fuse with one that has the same rating.
• Install this unit in the console of your vehicle.
• Mount the unit so that the mounting angle is 30° or less.
• Be sure to ground this unit to the car's chassis again after installation.
• After the unit is installed, check whether the brake lamps, blinkers, wipers, etc. on the car are working
properly.
• Do not touch the metal part of this unit during and shortly after the use of the unit. Metal part such as the
heat sink and enclosure become hot.
•
•
JVC
•
DC 12 V
•
• 50 W ( 4 Ω 8 Ω)
<AMP GAIN> (
15 )
•
•
•
•
30°
•
•
•
PRECAUTIONS on power supply and speaker connections
• DO NOT connect the speaker leads of the power cord to the car battery; otherwise, the unit will be
seriously damaged.
• BEFORE connecting the speaker leads of the power cord to the speakers, check the speaker wiring in
your car.
•
•
ENGLISH /
• The fuse blows.
]
Are the red and black leads connected correctly?
• Power cannot be turned on.
]
Is the yellow lead connected?
• No sound from the speakers.
]
Is the speaker output lead short-circuited?
• “MISWIRING CHK WIRING THEN RESET UNIT” appears on the display and no operation can be done.
]
Is the speaker output lead short-circuited or touches the chassis of the car/head unit? ; Have you reset
your unit?
• Sound is distorted.
]
Is the speaker output lead grounded? ; Are the “–” terminals of L and R speakers
grounded in common?
• Noise interfere with sounds.
]
Is the rear ground terminal connected to the car’s chassis using shorter
and thicker cords?
• This unit becomes hot.
]
Is the speaker output lead grounded? ; Are the “–” terminals of L and R
speakers grounded in common?
• This unit does not work at all.
]
Have you reset your unit?
TROUBLESHOOTING /
•
]
?
•
]
?
•
]
?
• “MISWIRING CHK WIRING THEN RESET UNIT”
]
/
? ;
?
•
]
? ;
“–” L () R ()
?
•
]
?
•
]
? ;
“–” L () R ()
?
•
]
?
Bracket /
*
Pocket /
Flat head screws (M5 × 8 mm) / (M5 × 8 mm) *
When installing the unit without using the sleeve /
Install_KD-R526_006A_f.indd 1Install_KD-R526_006A_f.indd 1 10/5/10 4:56:33 PM10/5/10 4:56:33 PM


 To Next Page