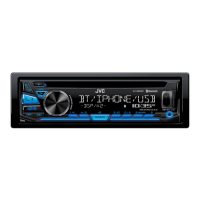
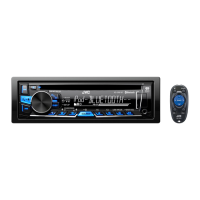
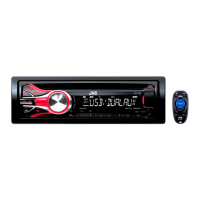
14
Data Size: B6L (182 mm x 128 mm)
Book Size: B6L (182 mm x 128 mm)
SCROLL
*
2
ONCE
:Scrolls the display information once.;
AUTO
:Repeats scrolling at
5-second intervals.;
OFF
:Cancels.
COLOR
PRESET
Select color for display and button illumination separately.
Default color:
ALL ZONE
: [
COLOR 08
],
DISP ZONE
: [
COLOR 01
],
ZONE 1
: [
COLOR 08
],
ZONE 2
: [
COLOR 46
]
1
Select a zone.
2
Select a color for the selected zone.
•
COLOR 01
to
COLOR 49
•
USER
: The color you have created for [
DAY COLOR
] or
[
NIGHT COLOR
] is shown.
•
COLOR FLOW01
to
COLOR FLOW03
: Color changes at different
speeds.
•
GROOVE
/
TECHNO
/
EMOTION
/
RELAX
/
SPECTRUM
/
SWEEP
/
POP
: The selected color pattern is shown.*
3
(Selectable only when
[
ALL ZONE
] is selected in step
1
.)
DAY COLOR
Store your own day and night colors for different zone.
1
Select a zone.
2
RED
/
GREEN
/
BLUE
:Select a primary color.
3
00
to
31
:Select the level.
Repeat steps
2
and
3
for all the primary colors.
• Your setting is stored to [
USER
] in [
PRESET
].
• If [
00
] is selected for all primary colors for [
DISP ZONE
], nothing
appears on the display.
NIGHT COLOR
COLOR GUIDE
ON
:Changes the button, display, and auxiliary input jack illumination
when settings are performed on menu and list search. Display zone will
automatically change depending on volume level.;
OFF
:Cancels.
[
NIGHT COLOR
] or [
DAY COLOR
] is changed by turning on or off your car’s
headlight.
*
2
Some characters or symbols will not be shown correctly (or will be blanked).
*
3
If one of these color pattern is selected, the [
ZONE 1
], [
DISP ZONE
], [
ZONE 2
] illumination
color will change to the default color.
Maintenance
Cleaning the unit
Wipe off dirt on the faceplate with a dry silicone or soft cloth.
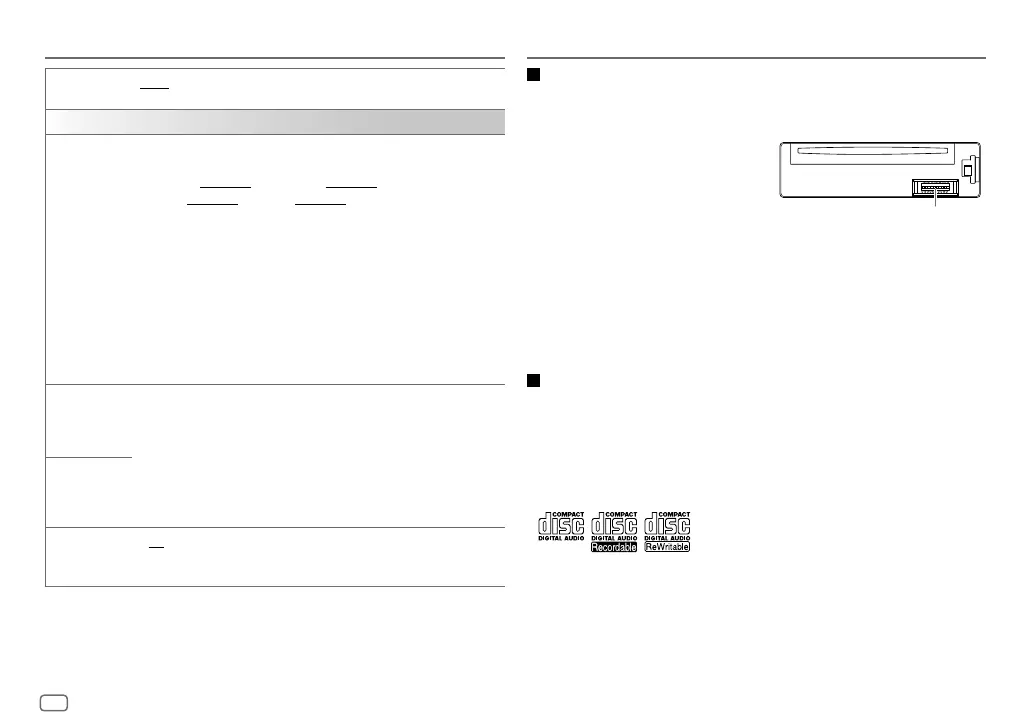
Cleaning the connector
Detach the faceplate and clean the connector
gently with a cotton swab, being careful not to
damage the connector.
Handling discs:
• Do not touch the recording surface of the disc.
• Do not stick tape etc. on the disc, or use a disc with tape stuck on it.
• Do not use any accessories for the disc.
• Clean from the center of the disc and move outward.
• Clean the disc with a dry silicone or soft cloth. Do not use any solvents.
• When removing discs from this unit, pull them out horizontally.
• Remove burrs from the center hole and disc edge before inserting a disc.
More information
Visit also the following website <http://www.jvc.net/cs/car/> for:
– Latest firmware updates and latest compatible item list
– Android™ application JVC MUSIC PLAY
– Any other latest information
About discs and audio files
• This unit can only play the following CDs:
• This unit can play back multi-session discs; however, unclosed sessions will be skipped
during playback.
•
Unplayable discs:
- Discs that are not round.
- Discs with coloring on the recording surface or discs that are dirty.
- Recordable/ReWritable discs that have not been finalized.
- 8 cm CD. Attempting to insert using an adapter may cause malfunction.
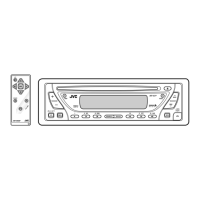
REFERENCES
Connector (on the reverse
side of the faceplate)
DISPLAY SETTINGS
JS_JVC_KD_SR72_K_EN_1.indd 14JS_JVC_KD_SR72_K_EN_1.indd 14 5/1/2016 2:13:15 PM5/1/2016 2:13:15 PM