54
SETTINGSSETTINGS
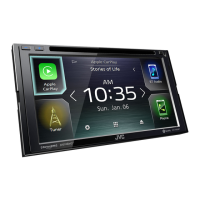
Only for KW-V330BT: To change the panel
color
Display the panel color selection screen (1),
select the dimmer setting ([
]: dimmer on or
[
]: dimmer off) (2), then select the panel
color (3).
*
1
• You can also adjust the color yourself. Press
[Edit] to display the color adjustment screen,
then select the dimmer setting and adjust the
color. The adjustment is saved on [User].
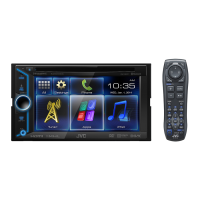
To change the background design
KW-V230BT/KW-V235DBT
*
2
KW-V330BT
Display the background design selection screen
(1), select the dimmer setting ([
]: dimmer
on or [
]: dimmer off) (2), then select the
background design (3).
*
2
*
1
Selecting this changes the illumination color gradually.
*
2
Store your own scene beforehand. (See below.)
❏ Storing your own scene for the
background image
While playing a video or picture, you can capture an
image and use the captured image as a background.
• You cannot capture copyrighted content and
images from iPod/iPhone.
• When using a JPEG file as the background, make
sure that the resolution is 800 x 480 pixels.
• The color of the captured image may look
different from that of the actual scene.
1 Play a video or picture.
2 Display the <User Customize> screen.
(Page53)
3 Display the image adjustment screen.
4 Adjust the image.
[J][K][H][I]
Moves the zooming frame.
[
]
Magnifies the scene. (<OFF>,
<Zoom1> – <Zoom3>)
[IW]*
Starts/pauses playback.
[
]*
Advances scenes frame-by-
frame.
• To cancel the capture, press [Cancel].
5 Capture the image displayed on the
screen.
A confirmation message appears. Press [Yes] to
store the newly captured image. (The existing
image is replaced with the new one.)
• Press [No] to return to the previous screen.
* Not displayed when playing an external component connected to
the iPod/AV-IN input terminal.
2017KW-VEntryE.indb542017KW-VEntryE.indb54 2016/09/2717:412016/09/2717:41
 Loading...