Wh
i
te
plug
We
ir?,er
St
ecker
Fiche
blanche
Witte
stek
ker
Clavija blanca
Fig. 5
Abb. 5
Afb. 5
Red
plug
Roter
Stecker
Riche rouge
Rode
s
tek
ker
Clavija roja
\
~
~
~
Power
cord
Netzkabel
Cor
don
d'a
lim
ent
at ion
Netsnoer
Cable de al i
mentaci6n
Fig. 4
Abb.4
Afb.
4
Fig. 6
Abb. 6
Afb. 6
-
~~-
---=.
I
IT
,.,.
............
~-..
......
:::;-..:.:-;;;,-;;;;.:=::-.
~
-
--~-
Fig. 7
Abb. 7
Afb.
7
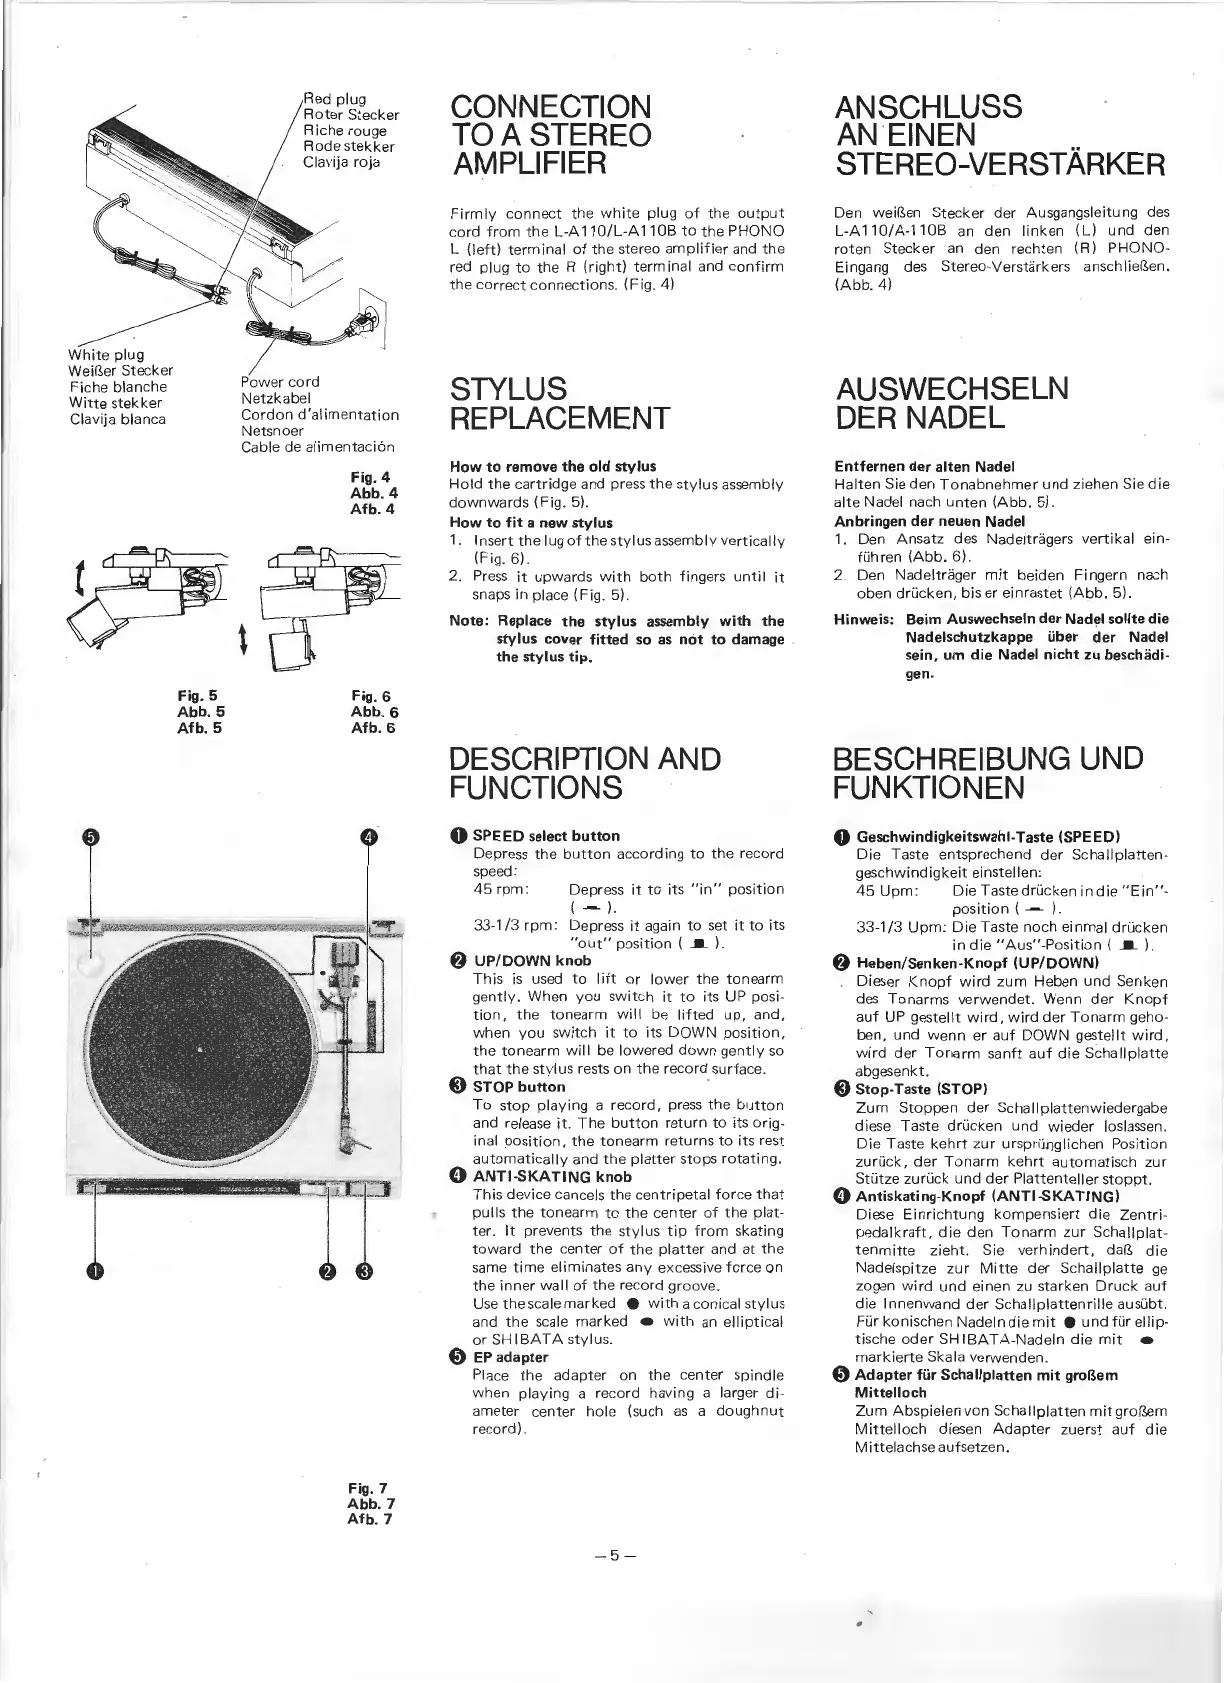
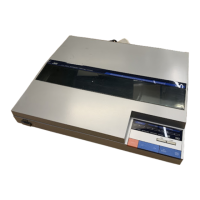
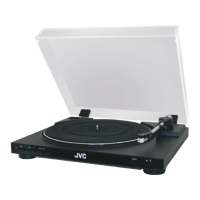
CONNECTION
TO
A
STEREO
AMPLIFIER
Firmly
connect
the
wh
i
te
plug
of
the
output
cord
from
the
L-A
11
0/L-A
11
OB
to
the
PHONO
L
(left)
terminal
of
the
stereo
amp
li
fier
and
th
e
red plug
to
the
R
(right)
term
ina I and
confirm
the
correct
co
nn
ectio
ns. (Fig. 4)
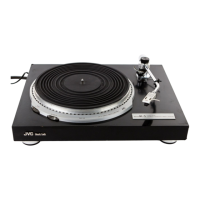
STYLUS
REPLACEMENT
How
to remove the old stylus
Hold
the
cartridge
and press
th
e
sty
lus assemb ly
downwards
(Fig. 5).
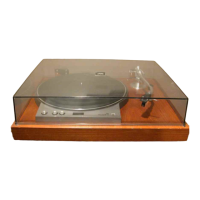
How to
fit
a new stylus
1. In
se
rt
the
lug
ofthe
sty
l
us
assemb ly ve
rticall
y
(F i
g.
6).
2.
Press
it
upwards
w
ith
both
f ingers
unt
il it
snaps in place (Fi
g.
5).
Note: Replace the stylus assembly with the
stylus cover fitted
so
as
not
to damage
the stylus tip.
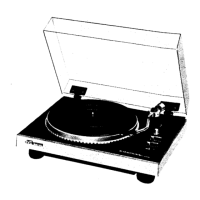
DESCRIPTION
AND
FUNCTIONS
0 SPEED select button
Depress
th
e
butto
n
according
to
the
record
speed:
45
rpm:
Depress it
to
its
"in"
posi
tion
(~
)
.
33-1
/3
rpm:
Depress it again
to
set it
to
it
s
"out"
posit
ion (
.I.
).
8
UP/DOWN
knob
Th
is is
used
to
lift
or
l
ower
the
tonearm
gently. When
you
swi
tch
it
to
its UP posi-
t i
on,
the
tonearm
w
ill
be
lift
ed
up,
and,
when
you
sw
it
ch
it
to
its
DOWN
position,
the
ton
earm
wi
ll be l
owe
red
down
gently
so
that
the
stylus
rests on
th
e
record
su
rfac
e.
8 STOP button
To
stop
play
ing a
record,
press
the
button
and rel
ease
it.
The
button
return
to
its
orig-
i
na
l
position.
the
tonearm
returns
to
its rest
au
tomat
i
ca
lly a
nd
the
pl
atter
sto
ps
rotatin
g.
0
ANTI-SKATING
knob
This device cance
ls
the
centripeta
l
force
that
p
ull
s
the
tonearm
to
the
center
of
the
pl
at-
ter.
It
prevents
the
sty
l
us
tip
from
skating
toward
the
ce
nter
of
the
platter
and
at
the
same
time
eli
minates
any
excessive
force
on
th
e in
ner
wall
of
the
record groove.
Use
the
sca
le
marked
e
with
a coni
ca
l
stylu~
and
the
sca
le
marked
•
with
an e
llipti
cal
or
SHIBATA
sty
lus.
0
EP
adapter
Place
the
adapter
on
the
center
spindl
e
when
play
ing a r
ecord
ha
ving a
la
rger
di
-
ameter
cente
r
hole
(such
as
a
doughnut
record).
-5-
ANSCHLUSS
AN
EINEN
STEREO-VERSTARKER
Den
weir?,en
Stecker
der
Ausgangsle
itun
g des
L-A110/A
-
110B
an den li
nken
(L)
und
den
roten
Stecker
an den rechten (R)
PHON
O-
Eingang des Stereo-Verstarkers anschli
ef?,en.
(Abb.
4)
AUSWECHSELN
DER
NADEL
Entfernen der alten Nadel
Halten
Sie
den
Tonabnehm
er
und
ziehen Sie die
a
lte
Nadel
na
ch u
nt
en
(Abb.
5).
Anbringen der neuen Nadel
1. Den
Ansatz
des
Nade
ltr
age
rs
vert
ik
al ein-
fi.ihren (
Abb.
6).
2. Den Nade
ltr
ager
mit
beiden
Fingern
nach
oben
dri.icken, bis er e
inr
as
t
et
(Abb.
5).
Hinweis: Beim Auswechseln der Nad!ll sollte die
Nadelschutzkappe iiber der Nadel
sein,
urn
die Nadel nicht zu beschadi-
gen
.
BESCHREIBUNG
UNO
FUNKTIONEN
0 Geschwindigkeitswahl-Taste (SPEED)
Die
Taste entsprechend
der
Sc
hallpl
atten-
geschwindigkeit
einstellen:
45
Upm:
Die
Tastedri.i
cken
in
die
"Ei
n"-
posit
ion
(
~
) .
33-1 /3
Upm:
Di
e T
as
te
noch
einmal
dri.icken
in
d ie
"Aus"
-
Position
(
.I.).
8 Heben/Senken-Knopf
(UP/DOWN)
Di
eser
Knopf
wi
rd
zum
Heben
und
Senken
des
Ton
ar
ms verwendet. Wenn
der
Knopf
auf
UP geste
llt
w
ir
d,
w ird
der
Tonarm
geho-
ben, und
wenn
er
auf
D
OWN
gestellt w
ird,
w
ird
der
Tonarm
sa
nft
auf
die Scha llpl
atte
abgesenkt.
8 Stop-Taste (STOP)
Zum
Stoppe
n
der
Scha
llpl
atte
nwieder
gabe
diese T aste dri.icken
und
wie
der
loslassen.
Die
Taste
kehrt
zur
ursprunglichen
Position
zuri.ick ,
der
Tonarm
kehrt
autom
atisch z
ur
Sti.itze zuruck
und
der
Pl
attente
ll
er
stoppt.
0 Antiskating-Knopf
(ANTI-SKATING)
Diese
Einri
c
htung
komp
ensi
ert
d ie
Zentri
-
pedalkraft.
die
den
Tonarm
zur
Schallpl
at-
tenmitt
e z
ieht.
Sie verh i
ndert.
daiS
die
Nadelspitze
zur
Mitte
der
Scha l
lp
l
atte
ge
zogen
wird
und
einen zu starken
Druck
auf
die
lnn
e
nwand
der
Schall pl
attenr
ill
e ausi.ibt.
Fur konischen Nadeln
die
mit
e u
nd
fur
ellip-
t ische
oder
SHI
B
ATA-Nadeln
die
mit
•
markiert
e Ska la verwenden.
0 Adapter fiir Schallplatten mit groBem
Mittelloch
Zum
Abspie
len
von
Scha
llpl
atten
mit
groiSem
Mittell
oc
h diesen
Adapter
zuerst
auf
die
Mittelachse
aufsetzen.