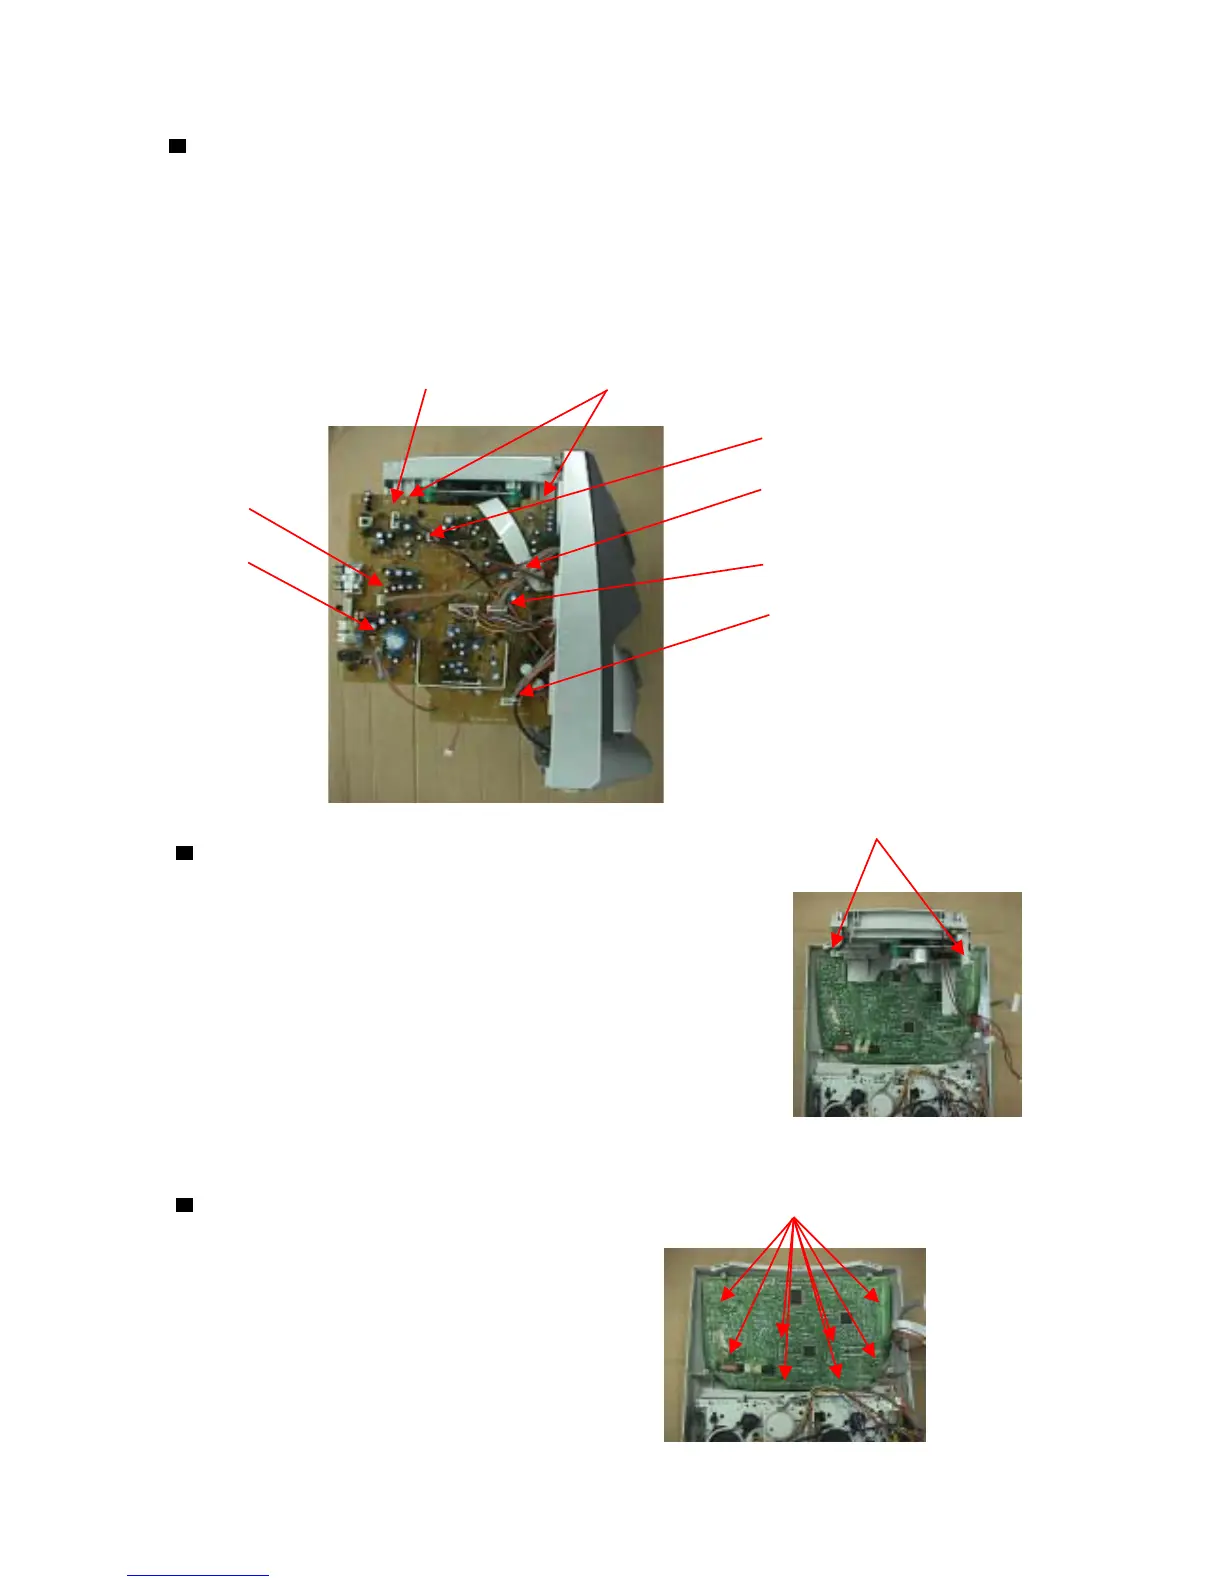
Removing the Audio Board
1.Open & remove the rear panel
2. Remove the Connector CN201, CN202, CN203, CN405, CN502, CN801
& CN301 on the Audio Board.
3. Remove the two Screws C retaining the Audio Board.
CN202 Screw C
CN201
CN502
CN203
CN801 CN405
CN301
Screw D
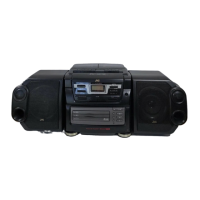
Removing the CD Mechanism
1 Open & remove the rear panel
2 Remove the Audio PCB
3 Remove the Two Screws D retaining the CD Tray Backet.
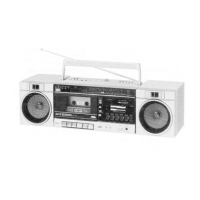
Removing the Tuner PCB Screw E
1 Open & remove the rear panel.
2 Remove the Audio PCB.
3 Remove CD mechanism.
4 Remove the Eight Screws E retaining
on the Tuner Board.
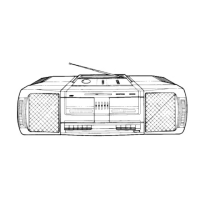
PC-X250
1 - 5