(No.MB260)1-29
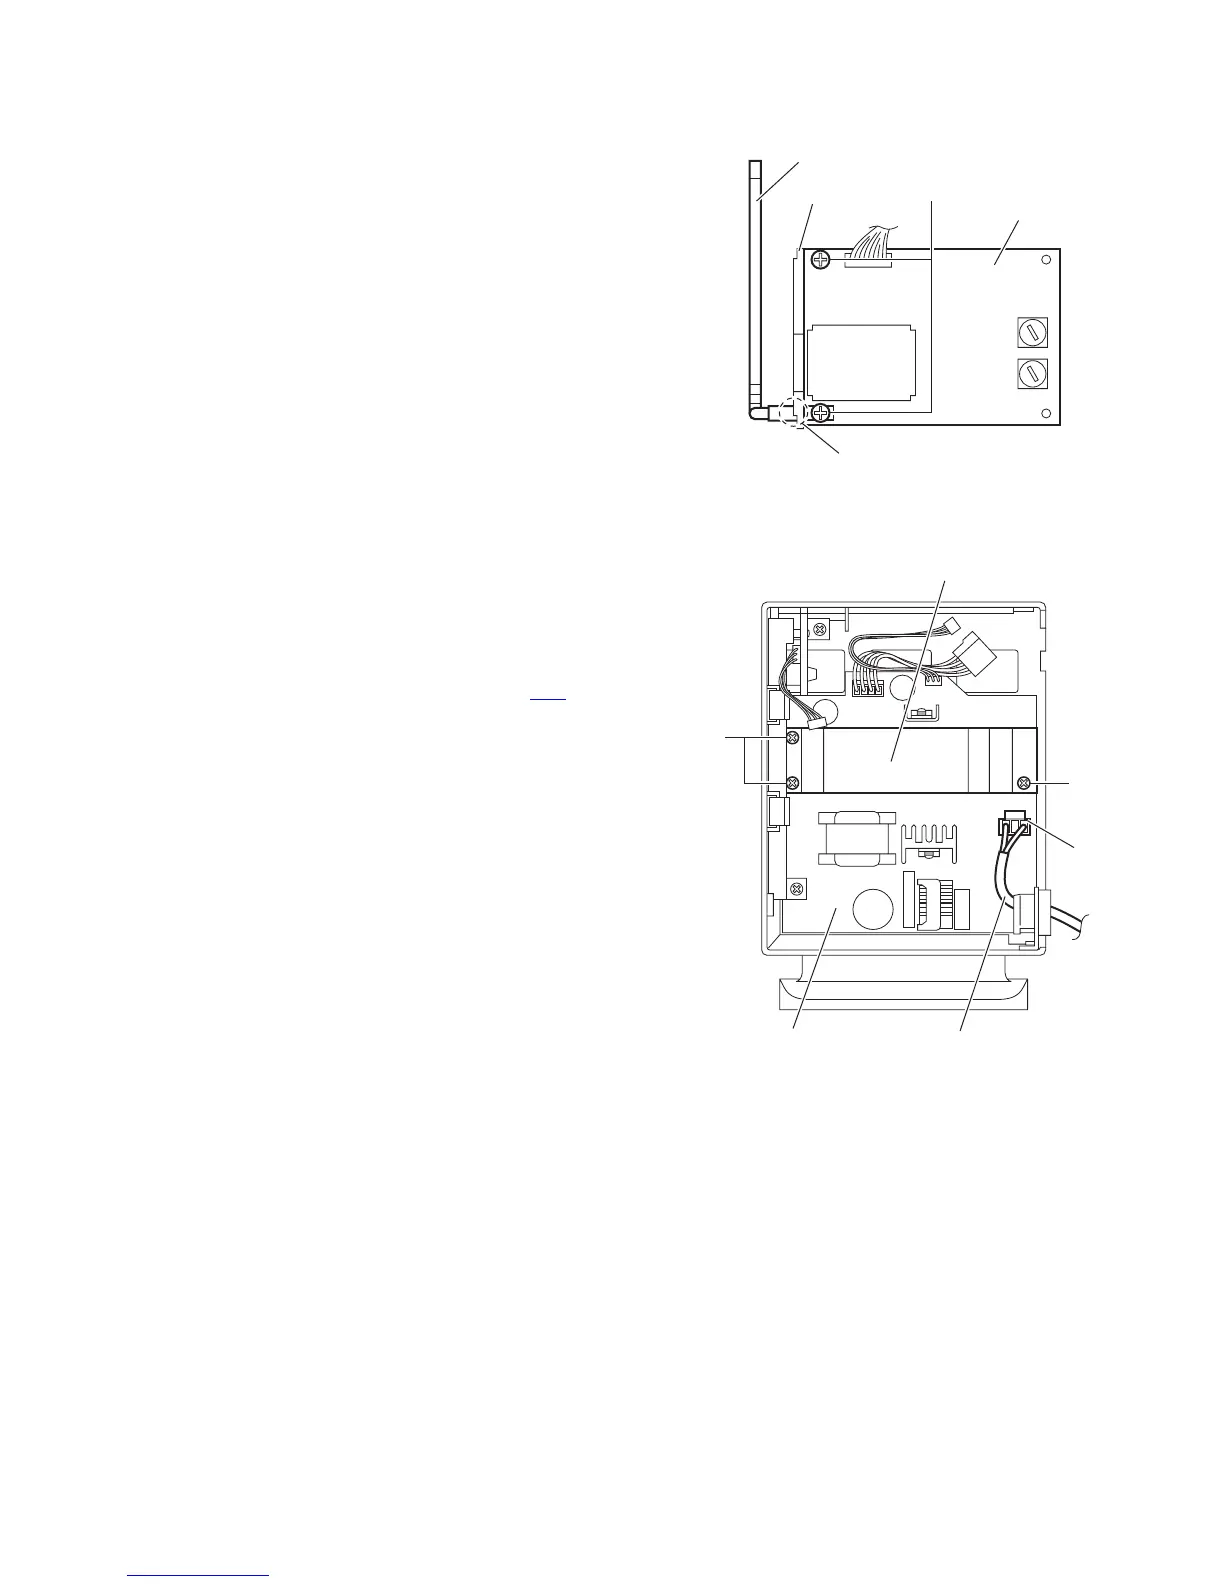
3.5.4 Removing the RF module and antenna
(See Fig.5)
• Prior to performing the following procedures, remove he side
panel (L), side panel (R), front board and rear panel.
(1) From the reverse side of the RF module, remove the screw
E attaching the antenna to the rear panel and take out the
antenna.
(2) Remove the screw E’ attaching the RF module to the rear
panel.
(3) Take out the RF module from the rear panel.
Reference:
When attaching the antenna, attach it through the hole a of the
rear panel.
Fig.5
3.5.5 Removing the heat sink and power cord
(See Fig.6)
• Prior to performing the following procedures, remove he side
panel (L), side panel (R), front board and rear panel.
(1) From the right side of the receiver assembly, remove the
three screws F attaching the heat sink to the power unit as-
sembly.
(2) Take out the heat sink.
(3) Disconnect the power cord from the connector CN3
on the
power unit assembly.
(4) Take out the power cord.
Fig.6
E
Antenna
Rear panel
RF module
Hole a
Heat sink
Power unit assembly
F
F
CN3
Power cord
 Loading...