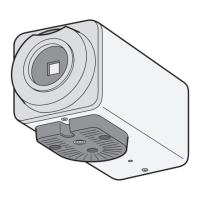
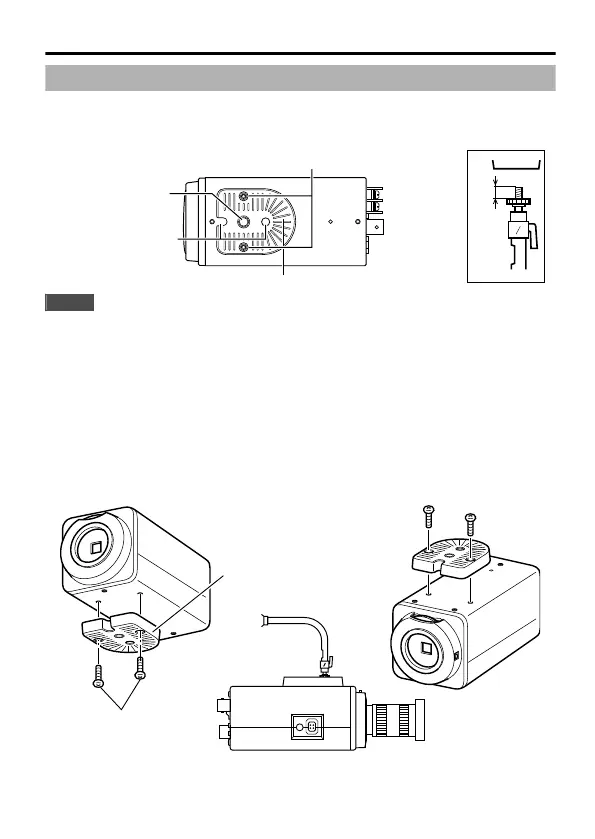
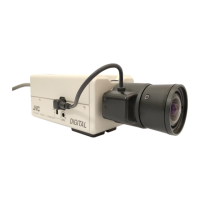
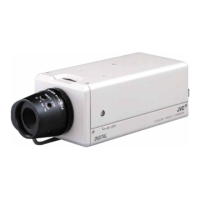
Mounting the Camera
When mounting the camera on a fixer, pan/tilt and the like, use the camera-
mounting screw hole located on the camera-mounting bracket. (Length of screw: 7
mm or less)
.
MAX.
7
mm
Camera-mounting
screw hole
Camera-mounting bracket fastening
screws (x2: M2.6 x 6 mm)
Rotation-preventive
hole
Camera-mounting bracket
Note
Use a camera-mounting screw with a length shorter than 7 mm from the
camera-mounting face. Use camera-mounting bracket fastening screws
with length shorter than 6 mm. Do not use a screw that is longer than the
specified length. It may damage the internal parts.
m
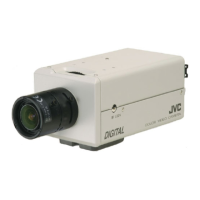
Mounting the Camera-Mounting Bracket on Top of the Camera
The camera-mounting bracket is originally mounted at the bottom of the camera
before shipment but it can also be mounted on top of the camera.
1
Remove the camera-mounting bracket fastening screws (x2).
The camera-mounting bracket is removed from the camera.
2
Mount the camera-mounting bracket on top of the camera.
3
Mount the camera onto a fixer, pan/tilt unit and the like.
.
1
2
BF LOCK
Camera-mounting
bracket fastening
screws
Camera-mounting
bracket
POWER IRIS
3
Connection/Installation
9