37
2 Set the timer as you like.
Repeat the procedure for the following settings until
finished.
1 Set the hour then the minute for on-time.
2 Set the hour then the minute for off-time.
3 Select the playback source—“TUNER-FM,”
“TUNER-AM,” “DISC,” “AUDIO IN,” “TV
SOUND,” or “USB.”
4 For “TUNER-FM” or “TUNER-AM”: Select a preset
channel.
For “DISC”: Select the title/group number, then the
chapter/track/file number*.
For “USB”: Select the group number, then the track/
file number*.
5 Select the volume level.
• You can adjust the volume level (“0” to “40” and
“VOL – –”). If you select “VOL – –,” the volume
is set to the same level as when the System was last
turned off.
Once settings are completed, the timer setting
information appears in sequence.
3 Turn off the System (on standby), if you have set the
timer with the System turned on.
* You cannot select the 151st and over.
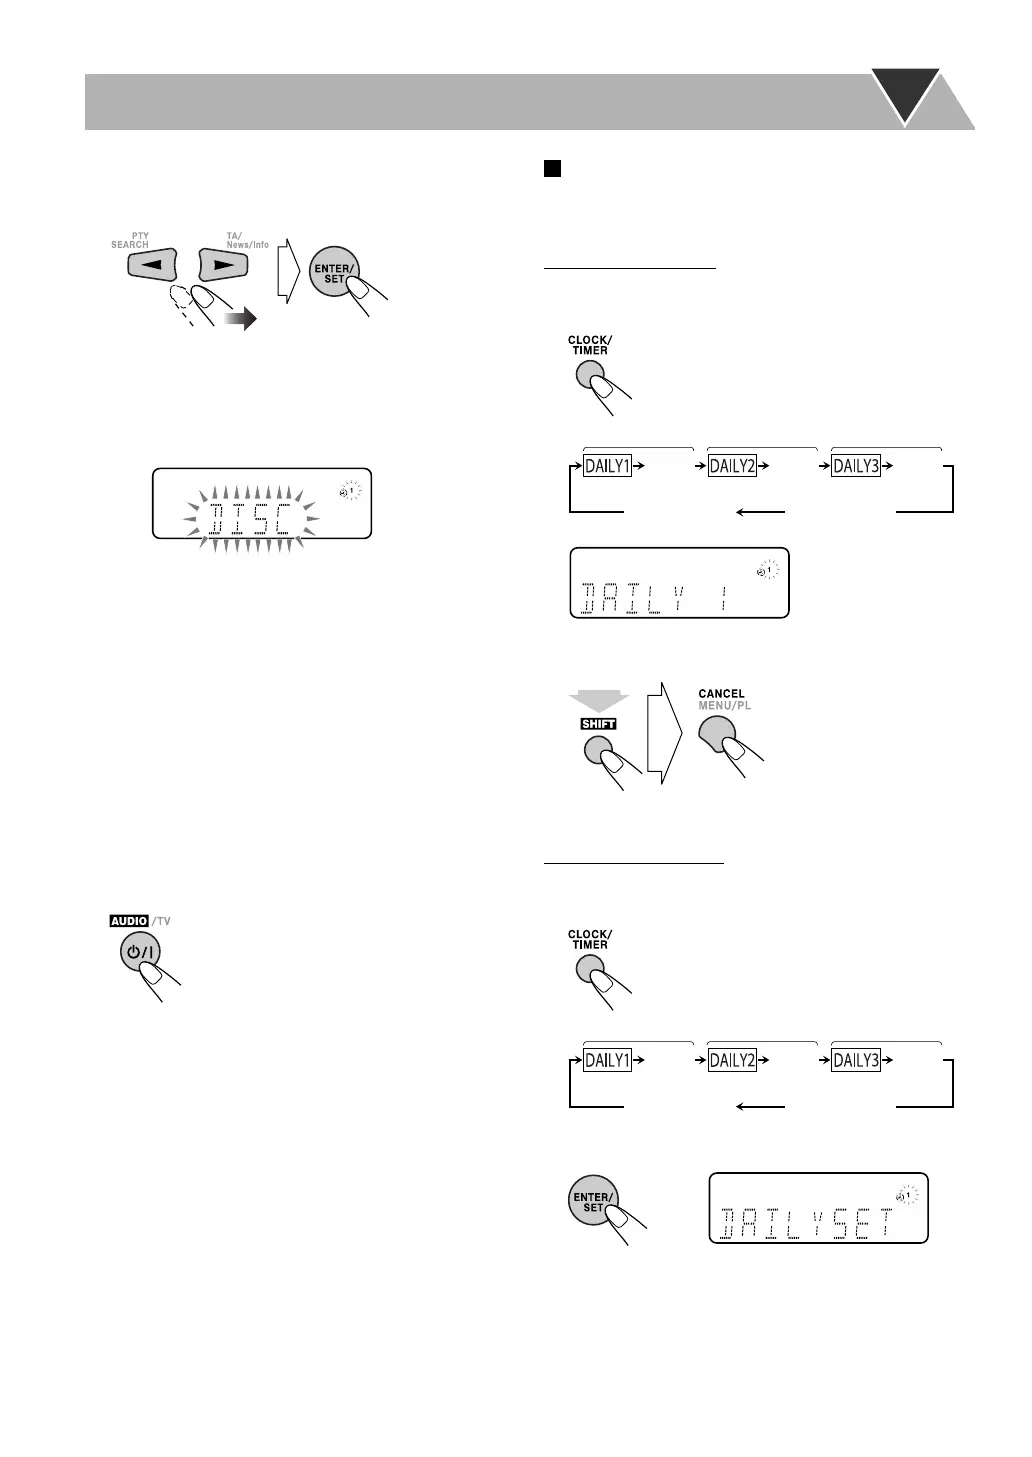
To turn on or off the Daily Timer
Since Daily Timer is activated at the same time everyday,
you may need to cancel it on some particular days.
To cancel the Daily Timer
1 Select the Timer (DAILY 1, DAILY 2, or DAILY 3)
you want to cancel.
2 Turn off the selected Timer.
To turn on the Daily Timer
1 Select the Timer (DAILY 1, DAILY 2, or DAILY 3)
you want to activate.
2 Activate the selected Timer.
3 Wait until the indication disappears.
Ex.: To cancel Daily Timer 1
Ex.: When Daily Timer 1 (DAILY 1) is
activated
(while holding...)
ON (Time)
Canceled Clock setting
(See page 18.)
Daily Timer 1 Daily Timer 2
Daily Timer 3
ON (Time) ON (Time)
ON (Time)
Canceled Clock setting
(See page 18.)
Daily Timer 1 Daily Timer 2
Daily Timer 3
ON (Time) ON (Time)
EN_UX-G950V[B]5.indb 37EN_UX-G950V[B]5.indb 37 08.4.18 5:32:40 PM08.4.18 5:32:40 PM
 Loading...