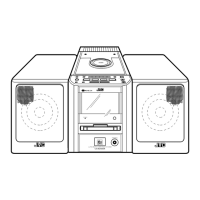
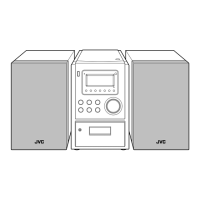
UX-M3R
1-6
Fig.3
Fig.4
B
B
C
(Long)
C
(Long)
Right side
panel
Fig.5
B
B
C
(Long)
C
(Long)
Right side
panel
1
Claw b
Fig.6
Left side
panel
Left side
panel
3
Claw c
2
4
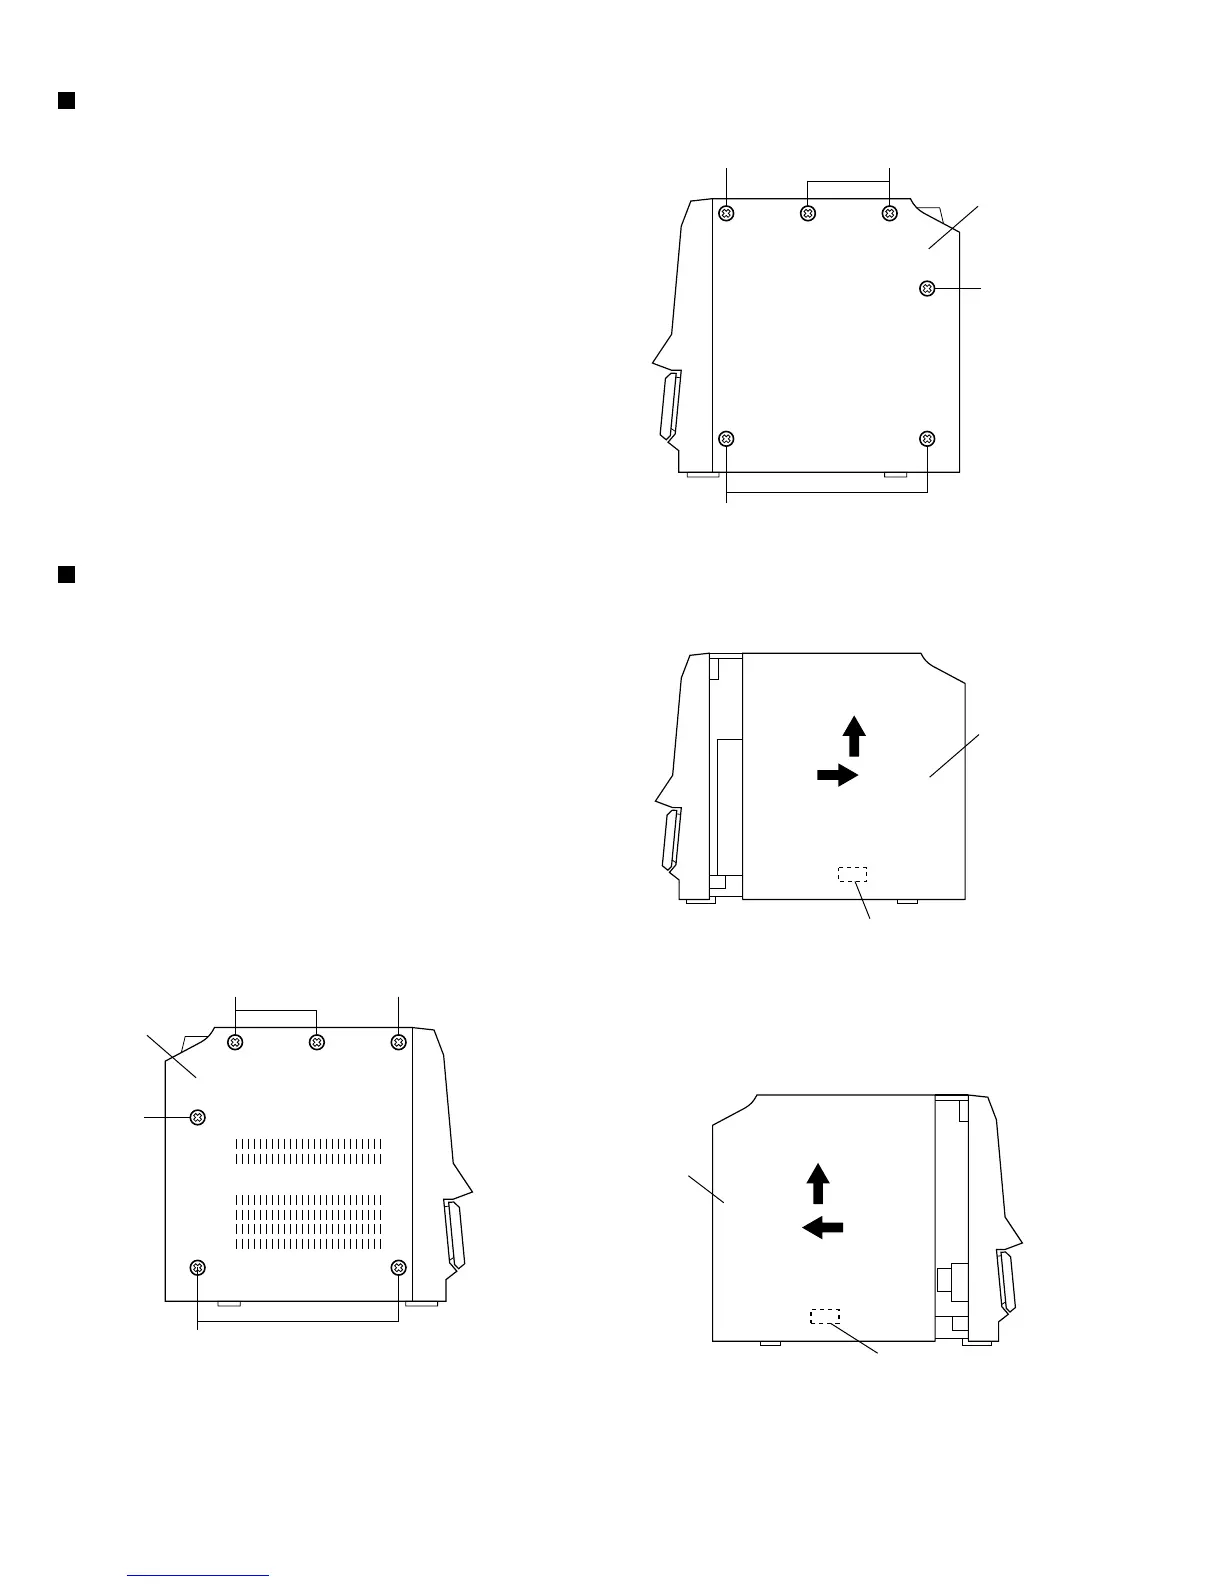
Removing the right side panel
(See Figs. 3 and 4.)
1.
2.
From the right side of the main body, remove the
three screws B and three screws C retaining the
right side panel.
Slide the right side panel toward the rear (in the
direction of arrow 1) until the claw b at the back of
the panel is hooked by the chassis and then lift the
panel upward (in the direction of arrow 2) to
remove it.
Removing the left side panel
(See Figs. 5 and 6.)
1.
2.
From the left side of the main body, remove the
three screws B and three screws C retaining the
left side panel.
Slide the left side panel toward the rear (in the
direction of arrow 3) until the claw c at the back of
the panel is hooked by the chassis, and then lift the
panel upward (in the direction of arrow 4) to
remove it.
 Loading...