Installation of Trendline 2 without the turntable feature
If the Trendline 2 stove is to be used without the turntable feature (screws still attached),
please follow the standard installation procedures (page 5) under Wall View and Corner View
for the correct clearances.
Installation of Trendline 2 with the turntable
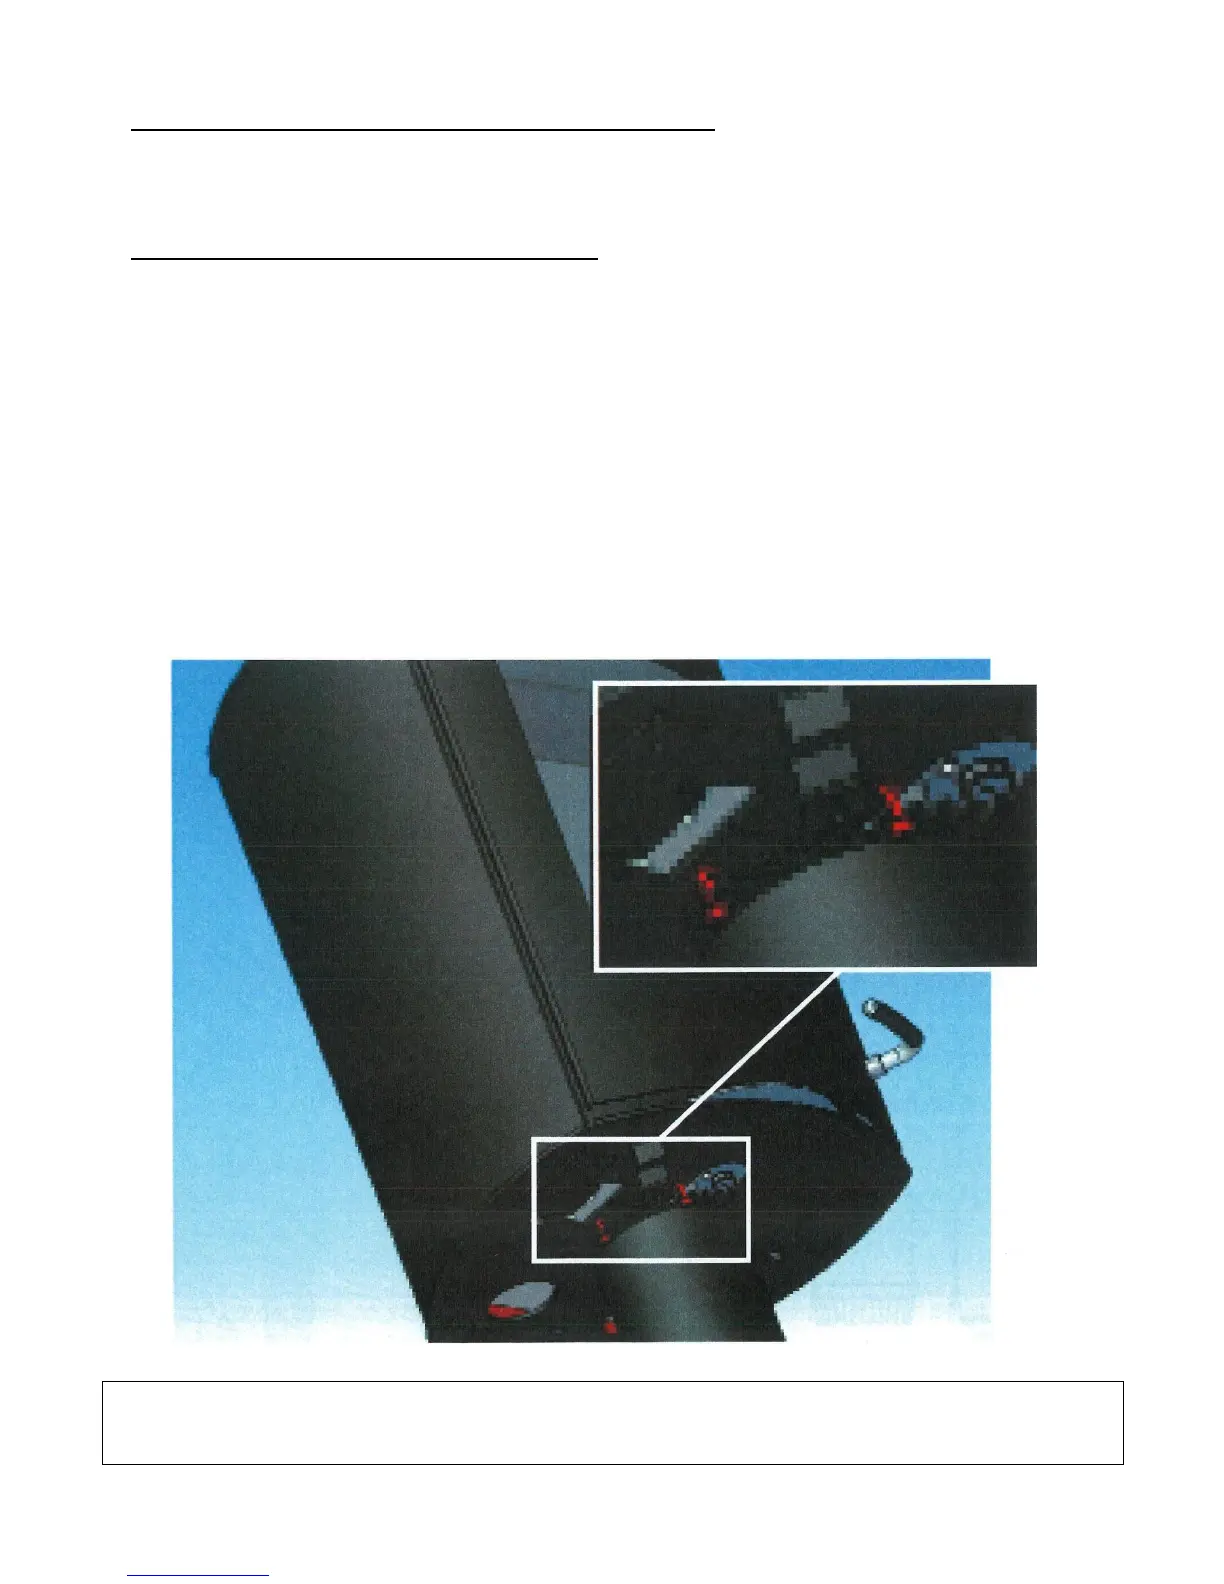
If the Trendline 2 is being used with the turntable feature, first remove the locking screws
located under the stove's firebox (as shown below). This allows the stove to turn freely within
its 90° range. Position and center the stove properly as described:
Turn the stove to the left most position. Measure and insure that all the standard required
clearances are met in that position.
Turn the stove to the right most position. Measure and insure that all the standard required
clearances are met in that position as well.
Make adjustments until all the clearances are met in both positions. These include stove, pipe,
and floor plate clearances.
If placed in the center of a room (with a 360° turn range), remember that all clearances to
combustible materials must be 36" for the Trendline 2.
IMPORTANT - Failure to follow these instructions may result in property damage, bodily injury, or
even death. You must follow the specific clearances for the turn-table feature in order not to void
the warranty and liability coverage.
 Loading...