mini PhotoScanner
User Manual mini PhotoScanner
Notes
• Keeping the original flat and level when feeding prevents
possible jamming
• Keep the original free from finger prints, oil, or dust for optimum
scanned image quality
• Remove photos from the sleeve after scanning to prevent the sleeve
from sticking to the photo
• Keep the sleeves in a safe place when not in use to prevent them
from accumulating dust
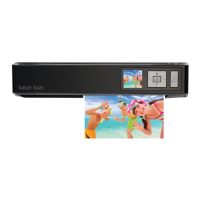
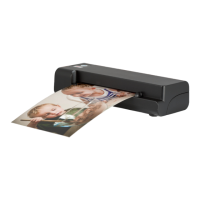
3. Place the photo/document on the left edge of the feed slot and
adjust the guide lever so that it aligns to the right hand side of the
photo/document
4. Gently push the photo/document into the feeding slot and let go
when it begins to feed into the slot
5. When the scan has completed, a folder will be created on the SD card
or USB memory stick called ‘Photo1’. This folder can hold 9999 files.
A ‘Photo2’ folder will be created for the next 9999 scans.
Each scanned image is given a file name with the prefix ‘scan’ followed
by a 4 digital sequential number in the order the images are stored.
For example Scan0001, Scan0002, etc.
6. When you have finished scanning, press and hold the power button
for 2 seconds to turn off the mini PhotoScanner. You can now safely
disconnect the power and remove the SD card or USB memory stick
from the scanner.
pg6
 Loading...