Do you have a question about the Kaiser Baas X350 and is the answer not in the manual?
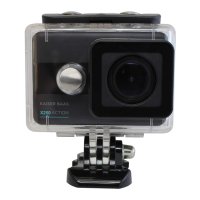
Release the camera from its waterproof casing by unlocking the latch.
Connect the camera to a USB charger or computer using the provided cable.
Insert a compatible Micro SD card (UHS 1 or above, up to 64GB) into the slot.
Format your SD card using the camera's settings menu before first use for optimal performance.
Learn to power on/off, toggle modes, select modes, change resolution, and start recording video.
Learn to enter playback mode, navigate files, delete footage, and exit playback.
Connect your camera to your smartphone via Wi-Fi to use the KB Capture App.
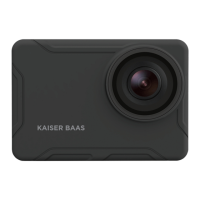
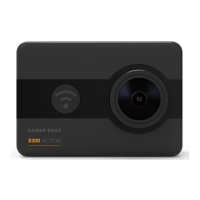
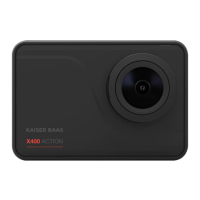
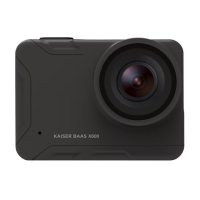
The Kaiser Baas X350 is an action camera designed for capturing high-quality video and photos in various environments. This quick start guide provides essential information for getting started with your X350, from initial setup to basic operation and footage review, as well as connecting to the companion mobile application.
The X350 action camera is built to record your adventures, offering multiple video and photo modes to suit different scenarios. It features a robust design, allowing it to be used in conjunction with a waterproof case for protection against the elements. The camera's core functions include video recording, still photography, and specialized modes like slow motion, loop recording, self-timer, burst mode, and time lapse. It is equipped with a user-friendly interface, primarily controlled through physical buttons on the device, complemented by an on-screen menu for more detailed settings adjustments. The camera stores all captured media on a Micro SD card, which needs to be inserted and formatted before first use. For enhanced control and sharing capabilities, the X350 can connect wirelessly to a smartphone via the KB Capture App, allowing for remote operation and easy access to your media.
To begin using your X350, the first step is to remove it from its waterproof case by releasing the latch. Before any operation, it's crucial to remove the plastic protection film from both the front lens and the back screen to ensure clear footage and optimal display visibility.
Charging: The camera needs to be charged before use. Connect your X350 to a USB charger (not included) or a computer using the provided Micro USB cable. A red light will illuminate during charging and turn off once the battery is fully charged.
SD Card Insertion and Formatting: An essential step is to insert a Micro SD card (not supplied) into the designated slot after the camera is charged. For optimal performance, it is recommended to use a Class UHS 1 and above Micro SD card up to 64GB. Before recording for the first time, you must format the SD card. To do this, turn on the camera, then press and hold the Record/OK button until the menu appears. Navigate to the Settings mode using the Up/Down Arrow Buttons on the side of the camera and confirm with the Record/OK button. Press the Mode button to select General Settings, then scroll down to "Format SD Card" using the arrow keys. Select it and press Record/OK, then confirm to format your SD card. This ensures the card is properly prepared for your camera.
Powering On/Off: To turn the camera on or off, press and hold the Power/Mode button located on the top of your X350 for a few seconds.
Mode Selection: The X350 offers various operational modes. To toggle between Video and Photo modes, simply press the Mode button. To access and select other specialized modes, press and hold the Record/OK button. Scroll through the available mode icons using the Up/Down Buttons and confirm your selection by pressing the Record/OK button. Available modes include Video, Slow Motion, Loop Recording, Photo, Self Timer, Burst Mode, and Time Lapse.
Adjusting Settings: To change video or image resolution, press and hold the Record/OK button until the menu appears. Select the Settings mode using the Up/Down Buttons on the side, then press Record/OK to confirm. Within the settings, you can adjust various parameters to customize your recording experience.
Recording Video: Once your desired mode and settings are configured, simply press the Record button on the top of your camera to start recording video.
Reviewing Footage: To review your captured footage, press and hold the Record/OK button. Select the Playback Mode and confirm by pressing Record/OK. You can then scroll through your files using the Up/Down buttons on the side of the camera. Press the Record/OK button to view a selected file.
Deleting Files: While in Playback Mode, to delete a selected file, press and hold the Record/OK button.
Exiting Playback: To exit Playback mode and return to the main camera interface, press the Mode button.
Connecting to the KB Capture App: The X350 can be controlled remotely via the KB Capture App on your smartphone. To activate Wi-Fi on the camera, press and hold the Up arrow button on the side. On your smartphone, go to your Wi-Fi settings and ensure Wi-Fi is turned on. Select the "KB X350" network. The default password is "12345678". If the connection fails, try closing and relaunching the app and restarting the camera. The app, named "KB Capture," is available on both the App Store and Google Play.
The X350 is designed for ease of use and durability. Regular maintenance primarily involves ensuring the camera and its accessories are kept clean and in good working order.
Cleaning: Before and after use, especially when used in dusty or wet environments, gently clean the camera lens and screen. Use a soft, lint-free cloth to avoid scratching. If the camera has been used with the waterproof case, ensure both the camera and case are dry before storing.
Battery Care: To prolong battery life, avoid fully discharging the battery frequently. Charge the camera using the provided Micro USB cable and a compatible USB charger or computer.
SD Card Management: Regularly format your SD card, especially before important shoots, to ensure optimal performance and prevent data corruption. Back up your footage regularly to an external storage device to avoid data loss. If you experience issues with recording or file access, reformatting the SD card is often a good first troubleshooting step.
Firmware Updates: While not explicitly detailed in this quick start guide, it is generally good practice to check the manufacturer's website (kaiserbaas.com) for any available firmware updates. Firmware updates can improve camera performance, add new features, or fix bugs.
Troubleshooting: For any issues or further support, visit kaiserbaas.com/support or email helpdesk@kaiserbaas.com. A complete user guide with more detailed troubleshooting steps is available at kaiserbaas.com.
By following these guidelines for usage and maintenance, you can ensure your Kaiser Baas X350 remains a reliable tool for capturing your adventures.
| Time lapse mode | Yes |
|---|---|
| Video resolutions | 3840 x 2160 pixels |
| Maximum frame rate | 30 fps |
| Supported video modes | 2160p |
| Flip-out screen | No |
| Display diagonal | 2 \ |
| Product color | Black |
| Waterproof up to | 40 m |
| Protection features | Waterproof |
| Sensor type | - |
| Total megapixels | 13 MP |
| Cables included | USB |
| Storage media | Memory card |
| Compatible memory cards | MicroSD (TransFlash) |
| Maximum memory card size | 64 GB |
| Focal length range | 2.6 mm |
| Field of view (FOV) angle | 160 ° |
| Playback modes | Slow |
| Languages support | DEU, ENG, ESP, FRE, ITA |
| Charging time | 2.5 h |
| Output current | 1 A |
| Output voltage | 5 V |
| Battery voltage | 3.8 V |
| Battery capacity | 1050 mAh |
| Battery life (max) | - h |
| Depth | 30 mm |
|---|---|
| Width | 59 mm |
| Height | 40 mm |
| Weight | 80 g |