Do you have a question about the Kampa Camper Pod Maxi and is the answer not in the manual?
Two upright poles are supplied with this awning. They can be used to hold up the rear tunnel or as canopy poles.
Main seams are factory taped. Remaining seams may need sealant due to wear or leaks.
Designed for light to moderate weather and occasional touring use; not for static or commercial purposes.
Prolonged sunlight can weaken fabric. Extended use in strong sun may cause deterioration.
Condensation can occur due to synthetic materials. Ensure adequate ventilation to improve the situation.
Do not cook in the awning or use naked flames. Read the fire precautions label sewn into the awning.
Reverse the set-up procedure. Ensure all parts are clean before packing. Dry the awning fully if wet or damp.
Store opened out and dry. Air fully before packing. Store in a well-ventilated dry place to prevent mildew.
Use general purpose pegs; consider different types for various grounds. Drive pegs at a 45° angle away from the pegging point.
Use pre-attached guy lines to maintain tension without distorting shape. Ensure they run in line with the seams.
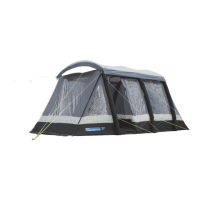
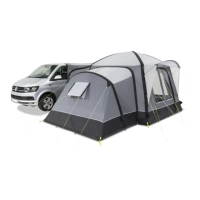
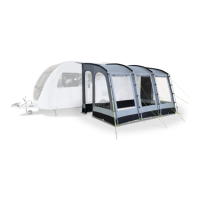
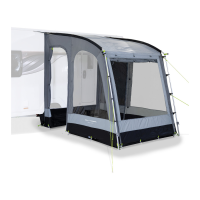
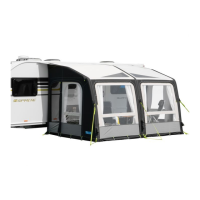
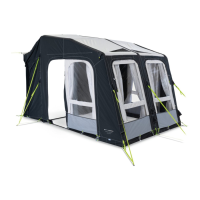
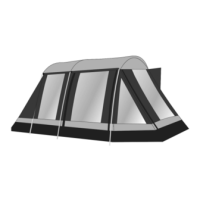
The awning has a tunnel to attach to a vehicle's rear. Options include pole/clamp fixing or Keder beading.
Thread the pole through the tunnel sleeve and secure it in the vehicle gutter using the provided clamps.
Thread the Keder beading into 'figure of 8' extrusion and clip to the vehicle gutter for attachment.
Use guy lines/ropes to attach the tunnel to the vehicle if no gutter is present. Avoid damaging the vehicle.
Choose a flat, wind-protected site. Position doors away from the wind for optimal setup.
Lay a groundsheet. Assemble poles and legs, feed through sleeves, attach to brackets, and peg rear corners.
Stand rear legs upright and locate the pin into the base of each steel leg. Tighten adjustable straps.
Repeat leg securing for intermediate and front sets. Attach plastic clips onto respective steel legs.
Pull front of awning to tension sides. Peg front corners square. Peg intermediate points and doorways.
Insert stretcher poles into front corner pockets, tension, and tighten. Tie intermediate tapes for support.
Hang inner tent from suspension points, ensuring door faces front. Attach base to corresponding buckles.
| Brand | Kampa |
|---|---|
| Model | Camper Pod Maxi |
| Category | Accessories |
| Language | English |