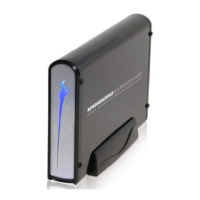
Kanguru QuickSilver
- 7 -
2. Driver Installation – USB 2.0
Installing Drivers for Windows 98SE:
1. If your computer is not turned on, please do so at this time and wait for
your operating system to load.
2. Connect the included AC power supply and USB cable to the Kanguru
QuickSilver, power the drive on and plug it into any available USB port on
your computer. If this is the first time you’ve plugged the drive in to the
computer, the Add New Hardware Wizard dialog box will appear.
3. Click Next and select the Search for the best driver for your device
option and click Next.
4. Check the CD-ROM Drive box and insert the drivers CD that was included
with the drive. Click Next and the wizard will search the disc for the driver.
When it has located a driver the wizard will prompt you with the message
“Windows is now ready to install the best driver for this device.”
5. Click Next and it will copy the necessary files to your computer. Once
copied, click on Finish.
6. Double Click on My Computer to verify a new drive letter has been
added.
Windows ME / 2000 / XP:
It is not necessary to install any drivers for these operating systems. The drive
will be auto detected and use the Mass Storage Device driver included with the
operating system.
Mac OS:
Drivers are not required for Mac OS 10.0 and above. The drive will be auto
detected and appear as an icon on your desktop.