Operating instructions
Operating Your Dryer
To reduce the risk of fire, electric shock or injury to
persons, read the IMPORTANT SAFETY INSTRUCTIONS
in this Use and Care Guide before operating your dryer.
2
3
Prepare load for drying.
° Dry items of similar fabric, weight and construction in
the same load.
° Separate dark items from light-colored items. Sepa-
rate items that shed lint from those that attract lint.
° Check for stains which may not have been removed
in washing. Repeat stain removal process and wash
again before drying. Dryer heat may permanently
set some stains.
° Place delicate or small
items in a mesh bag.
° Be sure buckles, but-
tons and trim are heat-
proof and won't dam-
age the drum finish.
Close zippers, button
buttons, fasten hooks
and VeJcro®dike fasteners. Tie strings and sashes to
(Mesh bag not included.)
prevent snagging and tangling.
Check that the lint filter
is clean and in place.
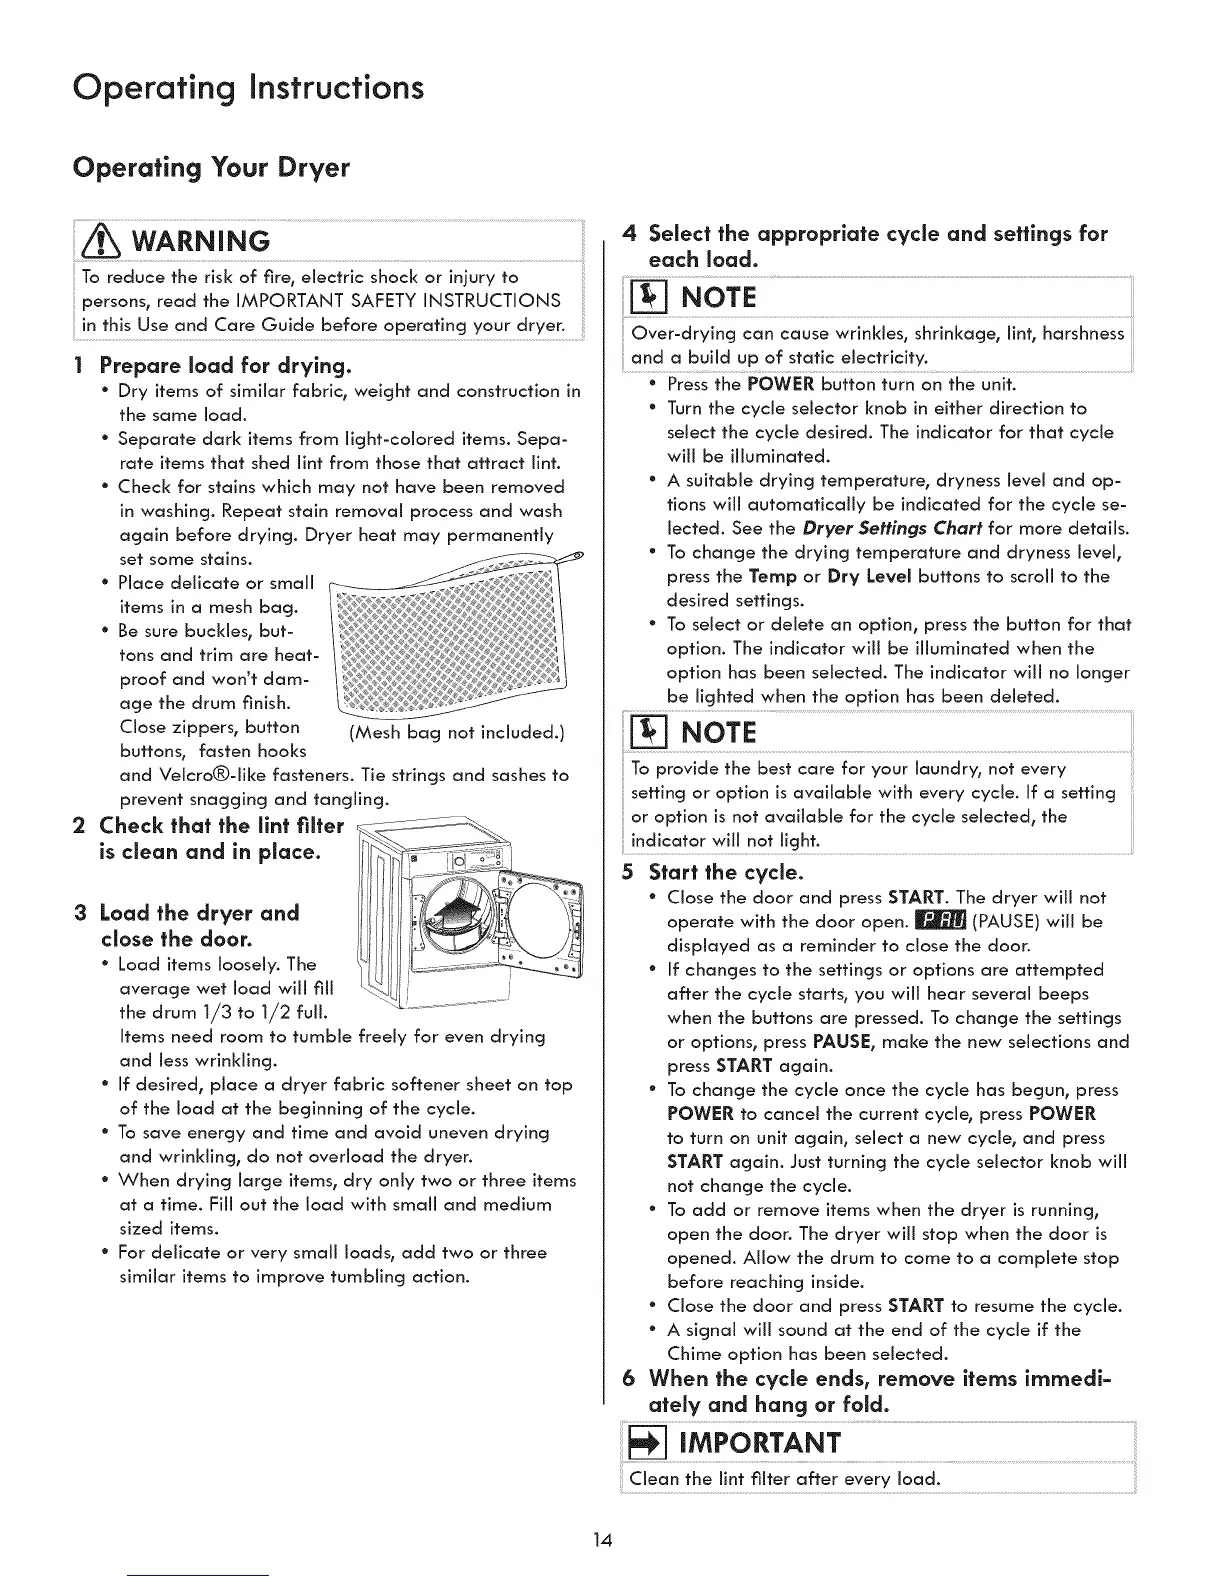
Load the dryer and
close the door.
° Load items loosely. The
average wet load will fill
the drum 1/3 to 1/2 full.
Items need room to tumble freely for even drying
and less wrinkling.
° If desired, place a dryer fabric softener sheet on top
of the load at the beginning of the cycle.
° To save energy and time and avoid uneven drying
and wrinkling, do not overload the dryer.
° When drying large items, dry only two or three items
at a time. Fiii out the load with small and medium
sized items.
° For delicate or very small loads, add two or three
similar items to improve tumbling action.
4 Select the appropriate cycle and settings for
each load.
Over-drying can cause wrinkles, shrinkage, lint, harshness
and a bui!d uP °f static e!ectricity" .........................................................................................................................................
° Press the POWER button turn on the unit.
* Turn the cycle selector knob in either direction to
select the cycle desired. The indicator for that cycle
will be illuminated.
° A suitable drying temperature, dryness level and op-
tions will automatically be indicated for the cycle se-
lected. See the Dryer 5ettlngs Chart for more details.
* To change the drying temperature and dryness level,
press the Temp or Dry Level buttons to scroll to the
desired settings.
* To select or delete an option, press the button for that
option. The indicator will be illuminated when the
option has been selected. The indicator will no longer
be lighted when the option has been deleted.
........N NoTE ..............
To provide the best care for your laundry, not every
setting or option is available with every cycle. If a setting
or option is not available for the cycle selected, the
indicator will not light.
5 Start the cycle.
* Close the door and press START. The dryer will not
operate with the door open. _ (PAUSE) will be
displayed as a reminder to close the door.
° If changes to the settings or options are attempted
after the cycle starts, you will hear several beeps
when the buttons are pressed. To change the settings
or options, press PAUSE, make the new selections and
press START again.
° To change the cycle once the cycle has begun, press
POWER to cancel the current cycle, press POWER
to turn on unit again, select a new cycle, and press
START again. Just turning the cycle selector knob will
not change the cycle.
° To add or remove items when the dryer is running,
open the door. The dryer wiii stop when the door is
opened. Allow the drum to come to a complete stop
before reaching inside.
° Close the door and press START to resume the cycle.
° A signal will sound at the end of the cycle if the
Chime option has been selected.
6 When the cycle ends, remove items immedi-
ately and hang or fold.
Clean the lint filter after every load.
14
 Loading...