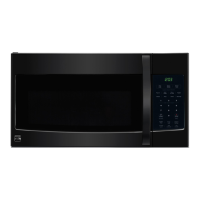
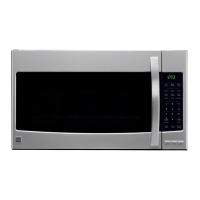
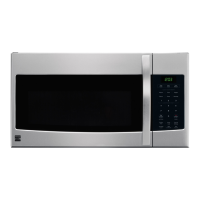
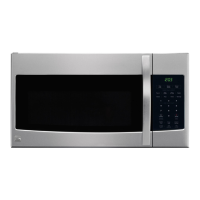
Do you have a question about the Kenmore 79080333310 and is the answer not in the manual?
Ensures proper grounding and electrical safety measures for installation.
Specifies the structural integrity needed for the mounting surface to support the appliance's weight.
Details prohibited installation locations like islands or peninsulas for safety.
Advises that two people are recommended for safe and easier installation.
Outlines the necessary voltage, frequency, amperage, and circuit requirements for the appliance.
Provides procedures for addressing units damaged during shipment or installation.
Lists the specific screws, bolts, and fasteners provided in the installation hardware packet.
Details extra components included, such as templates, exhaust adaptor, and filters.
Lists all necessary tools required for the safe and proper installation of the microwave oven.
Specifies the necessary clearances and dimensions around the installation area for proper ventilation and fit.
Instructions for safely removing the microwave from its packaging and separating the mounting plate.
Guides on locating wall studs using a stud finder or by tapping for secure mounting.
Methods for positioning the wall plate based on cabinet design (flat, recessed, overhang).
Procedures to ensure the microwave oven is installed perfectly level for optimal performance.
Steps for accurately aligning the template and marking hole positions on the wall for the mounting plate.
Details for installing the microwave with vertical exhaust venting through the top.
Details for installing the microwave with horizontal exhaust venting through the back.
Instructions for recirculating air without external ducting, using charcoal filters.
Guidelines on total duct length and the impact of elbows and transitions on airflow.
Table detailing duct pieces and their equivalent lengths for calculating total ductwork.
An example calculation for ductwork length and components for top exhaust installation.
An example calculation for ductwork length and components for back exhaust installation.
Overview of the steps involved in installing the microwave for outside top exhaust ventilation.
Instructions for securely attaching the mounting plate to the wall using toggle bolts.
Detailed steps for using toggle bolts to fasten the mounting plate to the wall securely.
Guidance on preparing the top cabinet, including drilling holes using a template.
Using the top cabinet template to mark and drill holes for installation supports and power cord.
Steps to reconfigure the microwave's blower unit for top exhaust ventilation.
Instructions for rotating the blower unit so its openings face upwards for top exhaust.
Securing the blower unit and attaching the exhaust adaptor for top exhaust installation.
Ensuring the exhaust damper operates freely and is properly aligned.
Instructions for lifting, positioning, and securing the microwave oven onto the mounting plate.
Securing the microwave oven to the top cabinet and installing grease filters.
Adjusting the exhaust adaptor to align correctly with the house ducting.
Connecting the house exhaust duct to the adaptor and sealing the joints.
Overview of the steps for installing the microwave with outside back exhaust.
Instructions for preparing the rear wall, including cutting an opening for the exhaust.
Steps to remove the blower plate from the microwave unit.
Attaching the mounting plate to the rear wall using toggle bolts and wood screws.
Guidance on preparing the top cabinet, including drilling holes using a template.
Steps to reconfigure the microwave's blower unit for back exhaust ventilation.
Rotating the blower unit and rerouting wires for proper back exhaust configuration.
Placing the blower unit back into the opening and securing it with the original screw.
Reinstalling the blower plate securely after adapting the blower unit.
Sliding the exhaust adaptor into the guides at the top center of the oven's back.
Instructions for lifting, positioning, and securing the microwave oven to the cabinet.
Overview of the steps for installing the microwave for recirculating (non-vented) operation.
Instructions for securely attaching the mounting plate to the wall using toggle bolts.
Detailed steps for using toggle bolts to fasten the mounting plate to the wall securely.
Guidance on preparing the top cabinet, including drilling holes using a template.
Verifying that the blower plate is correctly installed on the microwave unit.
Instructions for lifting, positioning, and securing the microwave oven onto the cabinet.
Completing the secure attachment of the microwave oven to the top cabinet and installing filters.
Instructions for replacing or installing the charcoal filter for odor removal.
Confirming the microwave oven is installed correctly according to instructions.
Removing all packing materials and placing the turntable and glass tray inside.
Plugging the power cord into a dedicated outlet and turning on the circuit breaker.
Reading the Use & Care manual and completing product registration.
| Brand | Kenmore |
|---|---|
| Model | 79080333310 |
| Category | Microwave Oven |
| Language | English |


 Loading...