11
INSTALLATION INSTRUCTIONS
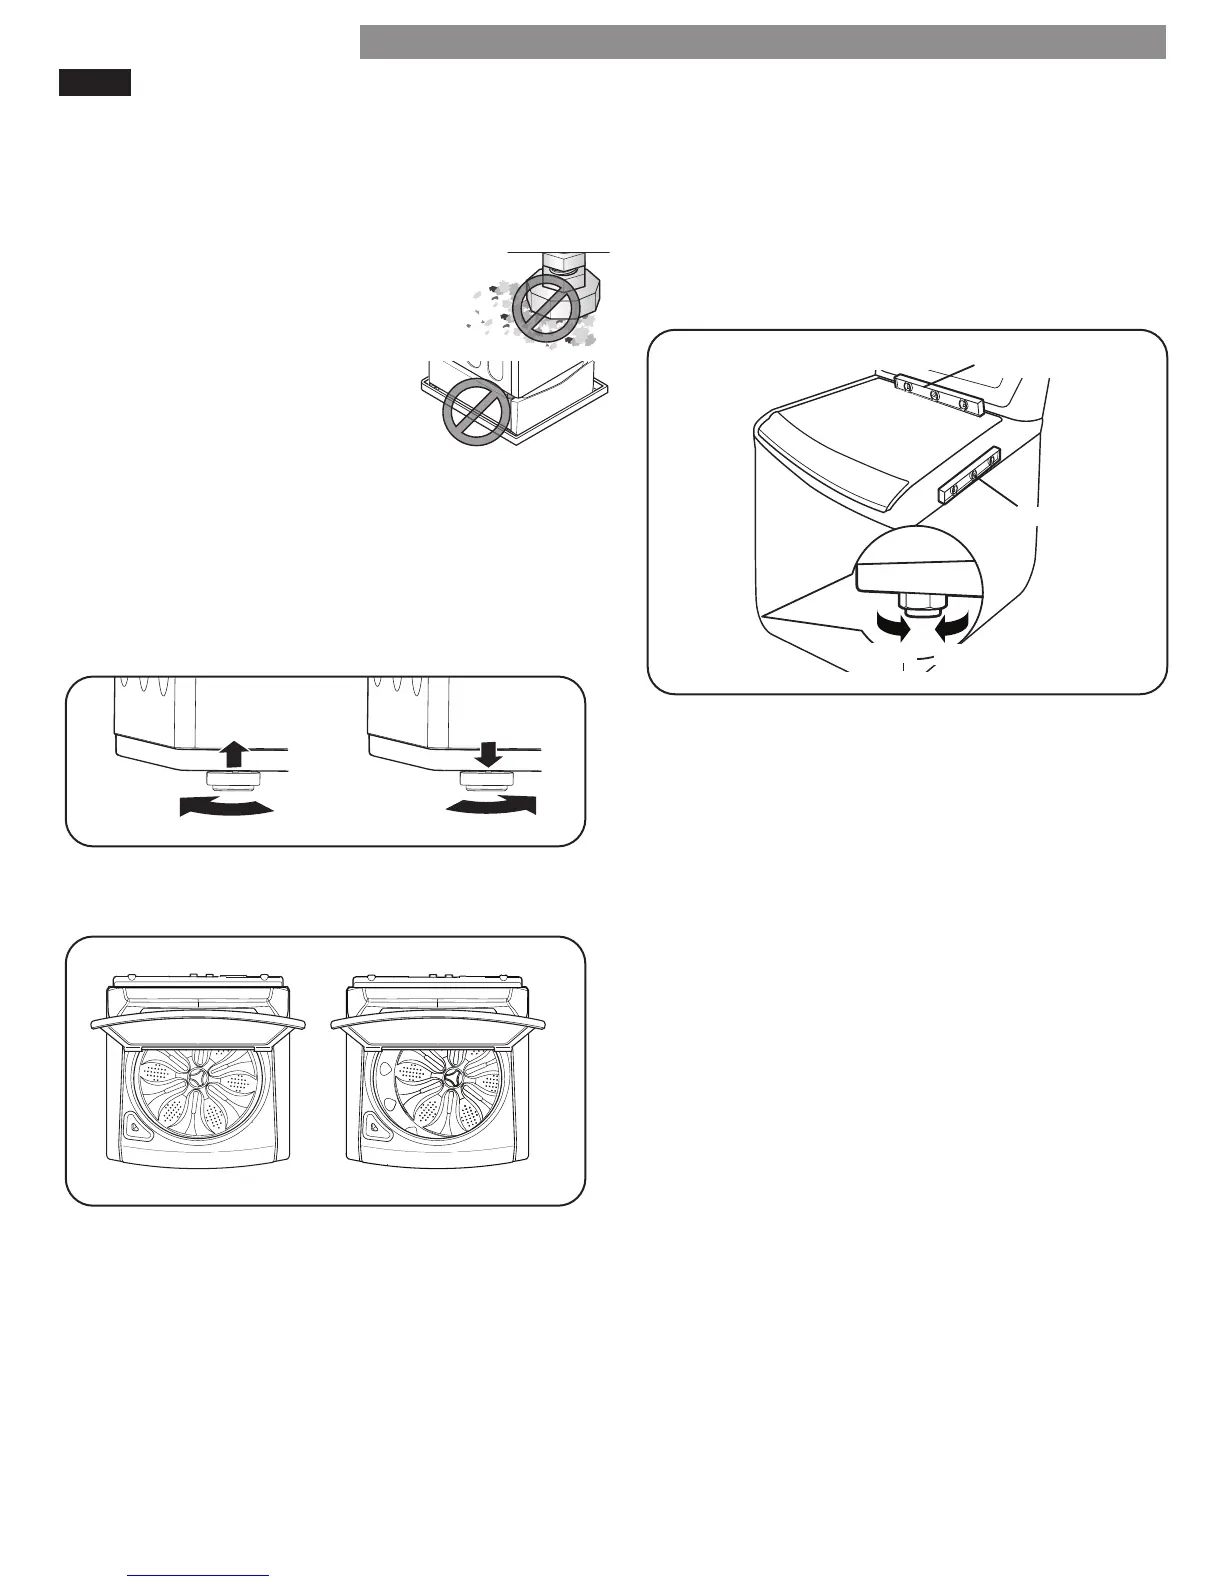
LEVELING THE WASHER
The tub of your new washer spins at very high speeds.
To minimize vibration, noise, and unwanted movement,
the oor must be a level, solid surface.
NOTE: Adjust the leveling feet only as far as necessary
to level the washer. Extending the leveling feet more
than necessary can cause the washer
to vibrate.
NOTE: Before installing the washer,
make sure that the oor is clean,
dry and free of dust, dirt, water and
oils so the washer feet cannot slide
easily. Leveling feet that move or
slide on the oor can contribute to
excess vibration and noise due to
poor contact with the oor.
All four leveling feet must rest solidly on the oor.
Attempt to rock the washer from corner to corner to
make sure that all four leveling feet are in rm contact
with the oor.
3. To make sure that the washer is properly level, open
the lid and look from above to see if the tub is
centered. If the tub is NOT centered (as shown in
the drawing on the right), readjust the feet. If you
have a level, check your washer with the level.
1. Position the washer in its nal location, taking special
care not to pinch, strain, or crush the water and drain
lines. Place a level across the top of the washer.
2. Adjust the leveling feet. Turn clockwise to raise the
washer or counterclockwise to lower it.
Raise
Lower
Right
Wrong
• To check if the washer is level from side to side, place a
level on the back edge of the lid.
• To check if the washer is level front to back, place a level at
the side of the washer on the edge where the cabinet side
meets the top cover. Do not place the level on the top or
the lid. Using these surfaces will result in the washer being
unlevel.
Right
Wrong
front to back
side to side
Raise
Lower