Installation instructions
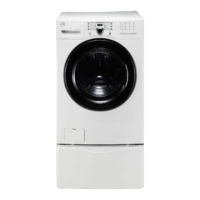
Leveling your washer
Excessive noise and vibration can be prevented by
properly leveling the washer.
| For free standing installation and with the washer
within 4 feet (1 m) of its final location, place a level
on top of the washer.
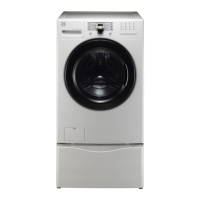
2 Use adjustable pliers to adjust the leveling legs so
the washer is level front-to-rear and side-to-side,
and stable corner-to-corner.
3 Press down on alternate corners and sides and feel
for the slightest movement. Adjust the appropriate
legCs) so the washer sits solidly on the floor on ALL
four legs. Keep the leveling leg extension at a
minimum for best performance of the washer.
For pedestal installations, see additional installation
instructions included with the pedestal.
Connecting inlet water
| Run some water from the hot and cold faucets to
flush the water lines and remove particles that might
dog the water valve screens and to determine which
faucet is hot and which is cold supply.
2 Remove the inlet hoses and rubber washers from the
plastic bag located in the drum of the washer and
install the rubber washers in each end of the inlet
hoses.
RUBBER WASHERS "_._2 ,,
\,
MUST BE PRESENT
\
USEONLY
NI:W HOSES
3 Connect the HOT inlet hose to the HOT inlet
connection on the washer and the COLD inlet
hose to the COLD inlet connection on the washen
Tighten by hand until snug. Then tighten each supply
connection another 2/3 turn with pliers. Do not cross
thread or over-tlghten these connections.
4 Connect the HOT inlet hose to the HOT water supply
and the COLD inlet hose to the COLD water supply.
Tighten by hand until snug. Then tighten each supply
connection another 2/3 turn with pliers. Do not
bend, kink or pinch water inlet hoses.
5 Turn on the water and check for leaks.
a
HOT
J
b
//
C
COLD
d
/_
J
9
 Loading...