23
Setting the Slow Cook Feature
The pad is used to activate this feature. The Slow Cook feature may be used to cook foods more slowly, at lower
oven temperatures and provides cooking results much the same way as a Slow Cooker or Crock-Pot. The Slow Cook feature
is ideal for roasting beef, pork & poultry. Slow Cooking meats may result in the exterior of meats becoming dark but not
burnt. This is normal.
There are 2 settings available, high (Hi) or low (Lo). The low setting is best for cooking foods from 8 to 9 hour time period.
The high setting is best for cooking foods from 4 to 5 hour time period. The maximum cook time for the Slow Cook feature
is 12 hours unless the oven control has been changed to the Continuous Bake mode. This feature may be used with the
additional settings of a Cook Time or a Delayed Start.
Below is a list of preparation and cooking tips you should review for best possible results using Slow Cook:
• CompletelythawallfrozenfoodsbeforecookingwiththeSlow Cook feature.
• Whenusingasinglerack,placeinposition2or3.
• Positionmultiplerackstoaccommodatesizeofcookingutensilswhencookingmultiplefooditems.
• Donotopentheovendooroftenorleavethedooropenwhencheckingfoods.Iftheovenheatescapesoften,theSlow
Cook time may need to extended.
• Coverthefoodstokeepthemmoistorusealooseorventedtypecovertoallowfoodstoturncrisporbrown.
• Cooktimeswillvary;dependingontheweight,fatcontent,bone&theshapeofthefood.
• Usetherecipe’srecommendedfoodtemperatureandafoodthermometertodeterminewhenthefoodisdone.
• PreheatingtheovenwillnotbenecessarywhenusingtheSlowCookfeature.
• Addanycreamorcheesesaucesduringthelasthourofcooking.
To Program the Oven to begin baking with the Slow Cook
feature
1. Place the food in the oven.
2. Press
.
3. Press
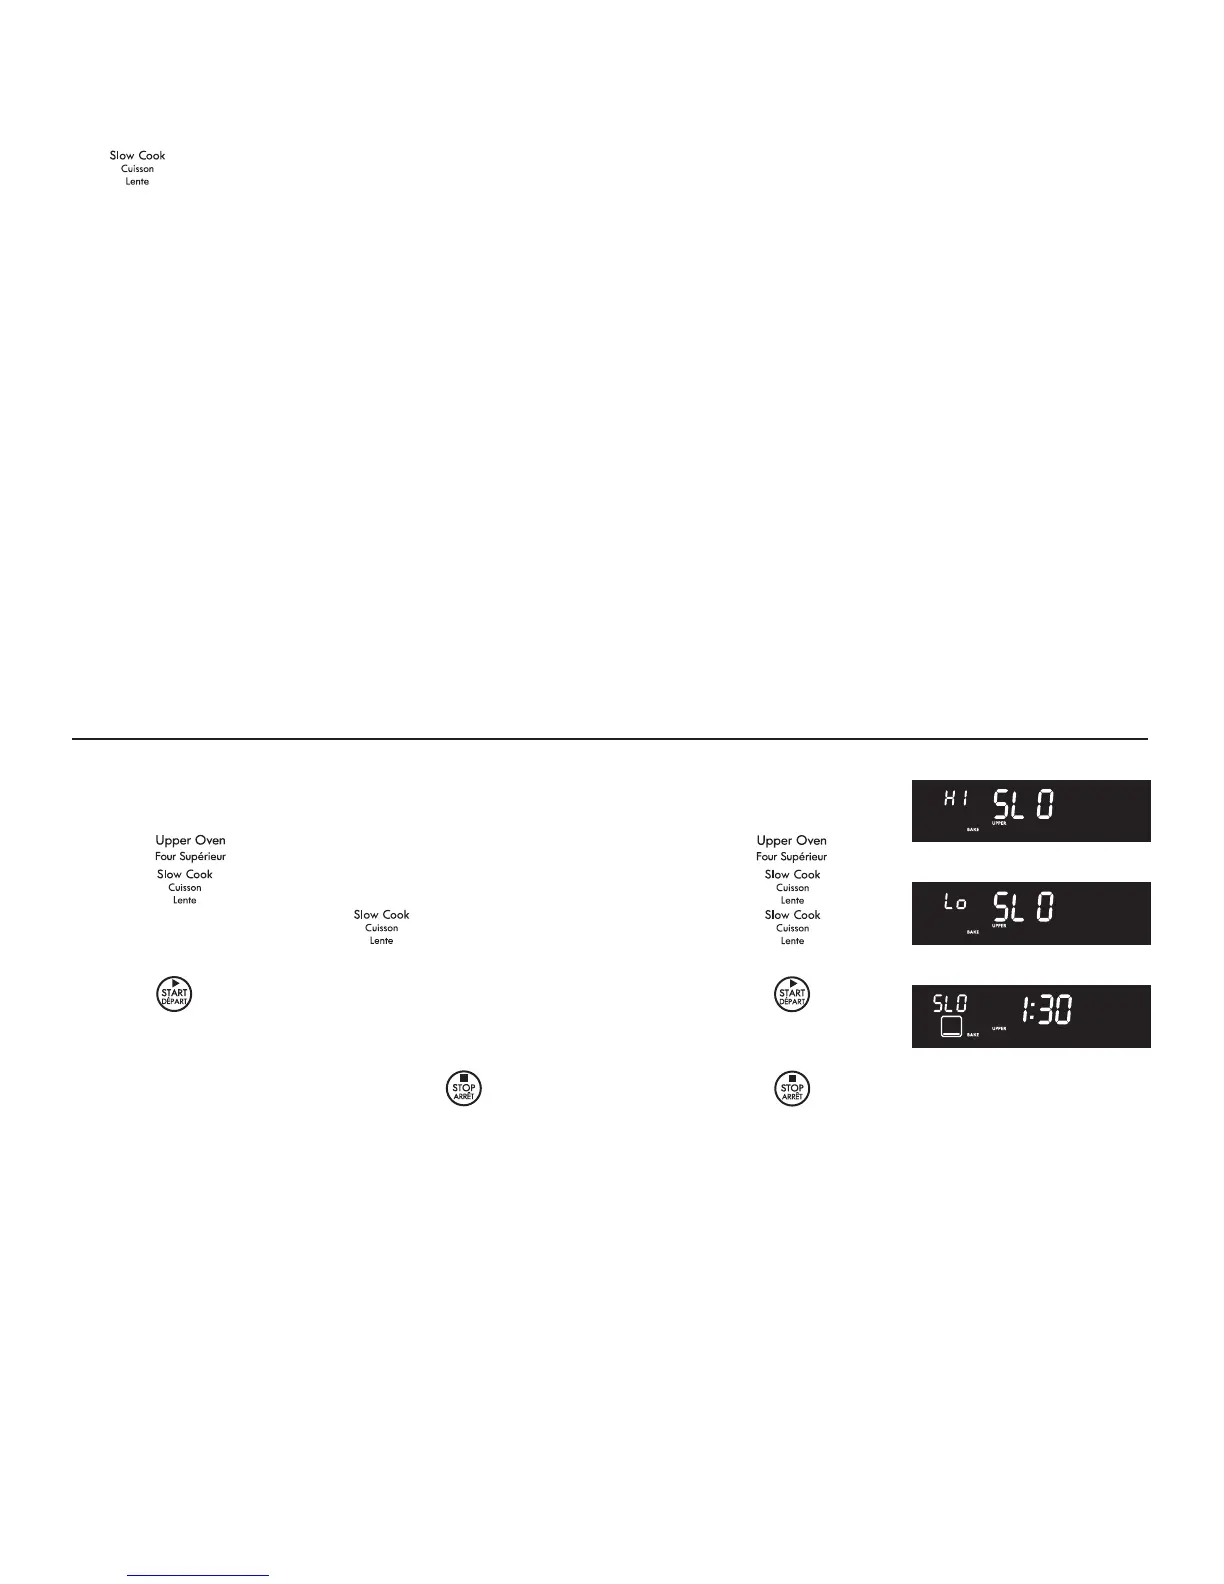
. "SLO" and "Hi" will appear in the display (Fig 1).
4. If lo setting is desired, press
again, "Lo" will appear in the
display (Fig. 2).
5. Press
. The slow cook feature will activate (Fig. 3).
6. If desired, add any Cook Time or Delayed Start settings at this
time.
7. To cancel the Slow Cook feature press
at anytime.
Fig. 1
Fig. 2
Fig. 3
INSTRUCTIONS PRESS DISPLAY
Setting Oven Controls
 Loading...