Do you have a question about the Kenwood KX-880G and is the answer not in the manual?
Record serial number and model for service and reference purposes.
Inspect unit for shipping damage, retain packing materials, and notify carrier if damaged.
Guidelines for proper placement and environmental conditions to ensure optimal performance.
Select correct AC voltage for your region to prevent damage and ensure proper operation.
Warnings about electric shock, dangerous voltage, and the importance of following instructions.
Break off plastic tabs to prevent accidental recording and cover holes to re-record.
Avoid heat, direct sunlight, and magnetic fields for cassette tape storage.
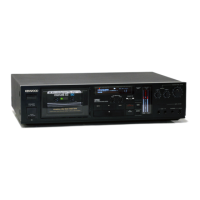
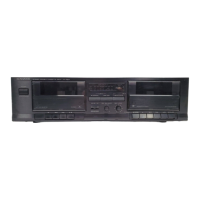
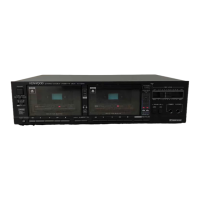
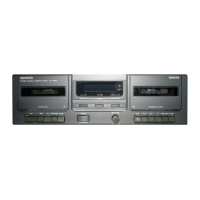
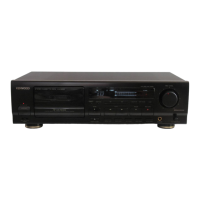
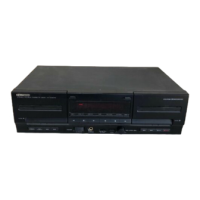
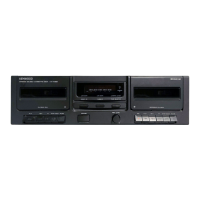
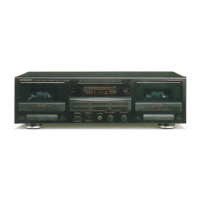
Overview of front panel buttons, switches, indicators, and jacks for operation and monitoring.
Details of rear panel input/output terminals, power connection, and calibration controls.
Connects the deck to a stereo amplifier/receiver using provided audio cords.
Guidelines for using headphones for monitoring and microphones for recording.
Step-by-step guide for playing back recorded cassettes.
Step-by-step guide for recording audio onto cassettes.
Setting recording levels for metal tapes using peak meters.
Setting recording levels for non-metal tapes using peak meters.
Recognizing and correcting issues from too low or too high recording levels.
Forward searching for desired tracks using the DPSS system.
Reverse searching for desired tracks using the DPSS system.
Repeats the current tune playback up to 16 times.
Repeats playback of a section up to 16 times.
Rewinds tape and plays from the beginning of the tune.
Rapidly scans to the beginning of each tune.
Cancels recording by rewinding to a previous section.
Creating blank sections and pausing/resuming recording.
Searches for unrecorded sections of tape.
Stops tape at counter zero for rewind or fast forward.
Reduces tape hiss and distortion for improved sound quality.
Cleaning heads, pinch roller, and capstan to maintain performance.
Demagnetizing the record/play head to improve sound quality.
Setting up the deck for automatic recording using an audio timer.
Setting up the deck for automatic playback using an audio timer.
| power requirements | AC 120V, 60 Hz: U.S.A. and Canada Models, AC 120 V/220-240 V (Switchable), 50/60 Hz: Other Countries |
|---|---|
| power consumption | 30 watts |
| frequency response normal tape | 20 Hz to 18, 000 Hz, +3 dB |
|---|---|
| frequency response CrO2 tape | 20 Hz to 19, 000 Hz, +3 dB |
| frequency response metal tape | 20 Hz to 22, 000 Hz, +3 dB |
| signal to noise ratio Dolby C Type NR ON | 74 dB (Metal Tape) |
| signal to noise ratio Dolby B Type NR ON | 67 dB (Metal Tape) |
| signal to noise ratio Dolby NR OFF | 59 dB (Metal Tape) |
| harmonic distortion | Less than 0.8% (at 1 kHz, O VU with Metal Tape) |
| wow and flutter | 0.027% (W.R.M.S.), 0.08% (DIN) |
| input sensitivity/impedance line | 77.5 mV/50 kohm |
|---|---|
| input sensitivity/impedance microphones | 0.3 mV/600 ohm |
| output level/load impedance line | 0.49 V(O VU)/3 kohms |
| output level/load impedance headphones | 0.85 mW/8 ohms |
| dimensions | W: 440 mm, H: 111 mm, D: 322 mm |
|---|---|
| weight | 5.9 kg |