FULL
INDICATOR
COLD
BUTTON
RINSE
BUTTON
ADD WATER
STRONG
RINSE
COLD
HOT
CHILL TANK
DESCALE
QUIET
6oz 12oz
10oz8oz
ADD WATER
STRONG
RINSE
COLD
HOT
CHILL TANK
DESCALE
QUIET
6oz 12oz
10oz8oz
CHILLING
MODES
ADD WATER
STRONG
RINSE
COLD
HOT
CHILL TANK
DESCALE
QUIET
6oz 12oz
10oz8oz
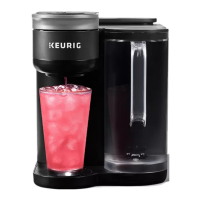
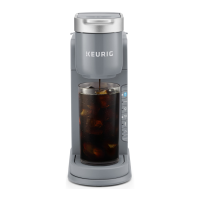
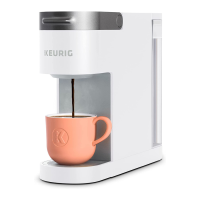
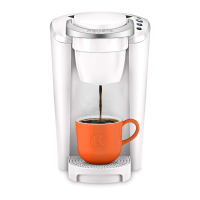
Brew Your First Cup: Cold Coffee
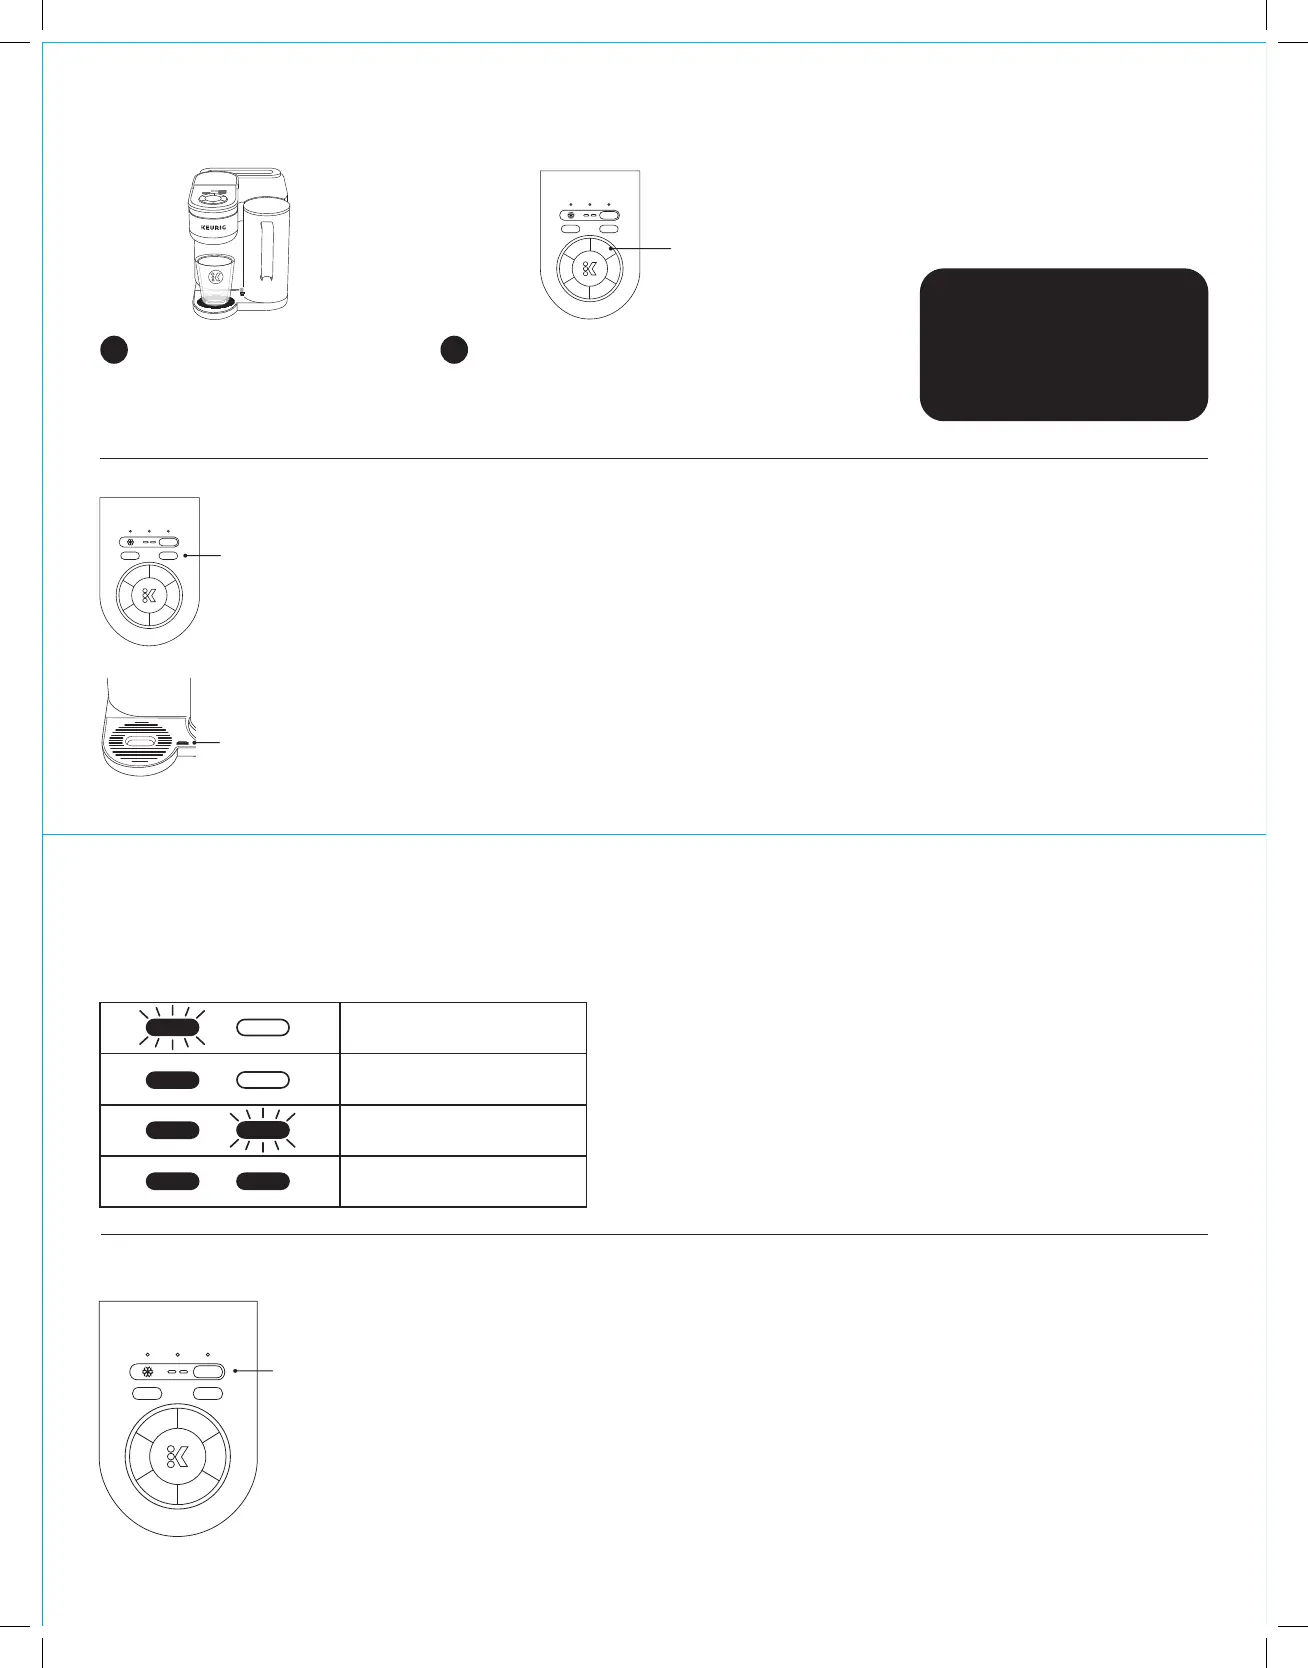
Select the COLD button. Choose your
brew size and press the K button. The
brew is complete when the K button is
no longer illuminated.
2
NOTE: If you brew without the
drip tray to accommodate a larger
cup, insert the drip tray once the
brew is complete.
Cold Auto Rinse Cycle
Keeps your QuickChill Technology™ running at top performance.
• Remove your beverage from the drip tray once it is complete and the K is no longer illuminated.
• Rinse automatically starts when your Cold brew cycle is complete, indicated by the blinking
RINSE button.
• Do not open the brewer handle until the cycle is complete, as indicated by the RINSE button no
longer blinking. Auto Rinse will take 1 minute.
• You will hear sounds during the cycle and see water in the drip tray.
• If you remove the drip tray to brew, make sure to reinsert the drip tray once the brew is complete.
• The drip tray can hold three Auto Rinse Cycles before needing to be emptied. You will see a red
indicator appear on the drip tray to inform you it’s time to empty.
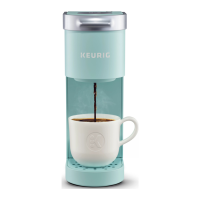
Place a cup on the drip tray. Lift
the handle, insert a K-Cup® pod,
and close the handle.
1
NOTE: Do not brew over ice into a glass.
TIP: Select STRONG before
starting the brew for a stronger
cup of coee.
TIP: Add ice aer the brew is
complete to make sure you
have enough room for milk and
sweeteners.
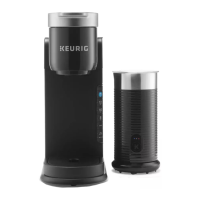
Cold Charging Bar
The two LED lights will show the Chill Tank charging status. When fully charged, you can brew four consecutive beverages before
needing to recharge. When fully charged, you will get the coldest beverages; each consecutive brew will be slightly warmer.
Chilling Modes
Low Charge
Medium Charge
High Charge
Fully Charged
TIP: To check your charging status while the brewer is idle, press COLD.
TIP: You can use the COLD function if the Chill Tank is not fully charged,
but the beverage won’t be as cold as when fully charged.
TIP: The Cold Charging Bar LEDs will blink fast to indicate High
Performance mode and slowly to communicate Quiet mode.
TIP: Depending on the number of consecutive Cold brews, it will take up
to 6 hours to reach full cold charge.
K-Brew+Chill™ has three modes: High Performance, Quiet, and Off.
• The brewer defaults to High Performance mode. In this mode, the Chill Tank is fully charged
in 6 hours or less.
• Press the QUIET button to run the system quietly. The Chill Tank will take 7+ hours to fully
charge and will take longer to charge between brews.
NOTE: You will still get the same cold temperature as you would in High Performance mode.
• Press the QUIET button a second time to turn the Chill Tank Off. This mode allows you to
turn off the Chill Tank but keeps the hot system functioning normally.
NOTE: If your chilling system is set to Off and you attempt a Cold brew, the chilling system will turn back on. It will take 6 hours
for the Chill Tank to fully charge for an ideal cooled beverage.
• Press and hold the QUIET button until the charging status lights and COLD button flash to
turn the Chill Tank off for 6 hours. Chilling will resume after the 6-hour pause.
 Loading...