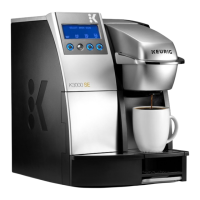
Button Overview
How to Froth Like a Pro: A few simple tips to help ensure a fantastic frothing experience every time.
Fresher is Better
Using fresh milk delivers the richest, frothiest foam possible. Opened milk will still froth, but may lose
effectiveness over time as the fats inside break down.
Milk Matters! Different types of milk produce different results. Depending on which milk you use,
here’s what you can expect:
• Fat-Free/Skim Milk: Easy to froth, it creates a light, airy foam.
• 2% Milk: Easy to foam like skim milk, but with a creamier consistency.
• Whole Milk: Higher fat content creates the richest-tasting foam.
• Lactose-Free Milk: Less reliable, due to its different properties.
• Dairy Alternatives: Results will vary depending on type; loses its bubbles quicker than dairy milk.
Not All Brands Are the Same
Even individual brands of milk can froth differently, so experiment with different brands to see what works best.
12
OZ
10
8
SHOT
STRONG
ADD WATER
DESCALE
12
OZ
10
8
SHOT
STRONG
ADD WATER
DESCALE
8
SHOT
STRONG
ADD WATER
DESCALE
12
OZ
10
8
SHOT
STRONG
ADD WATER
DESCALE
12
OZ
10
8
SHOT
STRONG
ADD WATER
DESCALE
8
SHOT
STRONG
ADD WATER
DESCALE
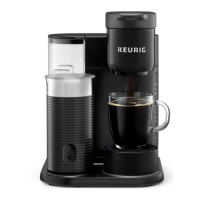
will illuminate when water is needed
SHOT BUTTON
ADD WATER LIGHT
will illuminate when your brewer
needs to be descaled
DESCALE LIGHT
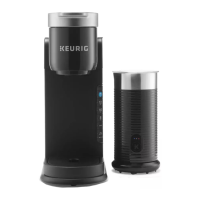
for bolder coffee
STRONG BUTTON
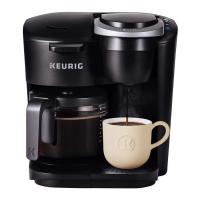
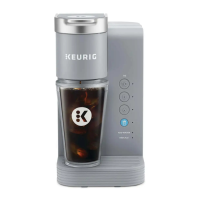
BREW SIZES
choose 8, 10, or 12 oz
brew a concentrated coffee
shot for specialty beverages
froths and warms your milk
FROTH BUTTON
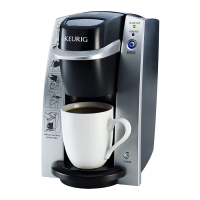
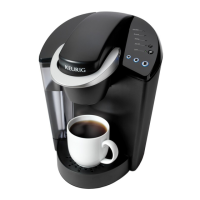
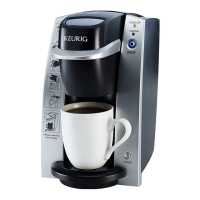
Plug & Place
Remove packing tape from brewer. Plug into
an outlet.
Place a large mug on the drip tray.
Rinse & Fill
Remove the water reservoir lid, then lift the
reservoir straight up to remove it. If you have
a Keurig® Water Filter (sold separately), install
it now. Refer to your Water Filter Starter Kit for
instructions.
Rinse reservoir with fresh water and fill to the
MAX FILL line.
Replace water reservoir, making sure the tank is
seated properly in the base. Replace lid.
NOTE: Do not use distilled water.
12
OZ
10
8
SHOT
STRONG
ADD WATER
DESCALE
12
OZ
10
8
SHOT
STRONG
ADD WATER
DESCALE
12
OZ
10
8
SHOT
STRONG
ADD WATER
DESCALE
12
OZ
10
8
SHOT
STRONG
ADD WATER
DESCALE
12
OZ
10
8
SHOT
STRONG
ADD WATER
DESCALE
12
OZ
10
8
SHOT
STRONG
ADD WATER
DESCALE
12
OZ
10
8
SHOT
STRONG
ADD WATER
DESCALE
12
OZ
10
8
SHOT
STRONG
ADD WATER
DESCALE
Before You Brew
Note: Frothing and brewing cannot be
done at the same time.