CONNECT
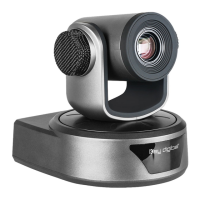
KD-CAMUSB is controlled via RS-232 from the Presentation Switcher (PS). Multiple (up to 7, currently) KD-
CAMUSB units may be installed with App Ready control. Third-party RS-232 repeaters may be required in
systems with more than 2 KD-CAMUSBs.
To connect from the PS’s RS-232 Unit Control port:
a. Connect wires from the PS’s RS-232 TxD and Ground pins into the KD-CAMUSB’s RS-232 RxD and
Ground pins. See wire A in above diagram.
To connect from the PS’s HDBaseT Receiver RS-232 Control port:
a. Connect wires from the PS’s RS-232 TxD and Ground pins into the PS’s HDBaseT (Output 2) RxD and
Ground pins. See wire B in above diagram.
b. Connect from the HDBaseT Receiver’s TxD and Ground pins into the KD-CAMUSB’s RxD and Ground
pins. See wire C in above diagram.
CONFIGURE
Use Key Digital Management Software™ Pro (KDMS™ Pro)
1. Connect your Presentation Switcher to your PC via the front USB
2. Press SCAN ➔ USB DEVICE 2 and select the Presentation Switcher
found in the Device’s window
3. In the Properties window, scroll down to the Video/Audio Settings section
and use the CAMUSB Control dropdown 3a to select the amount of KD-
CAMUSBs integrated with your Key Digital Presentation Switch Control
checkbox, then press APPLY 3b