M
Michael RogersAug 2, 2025
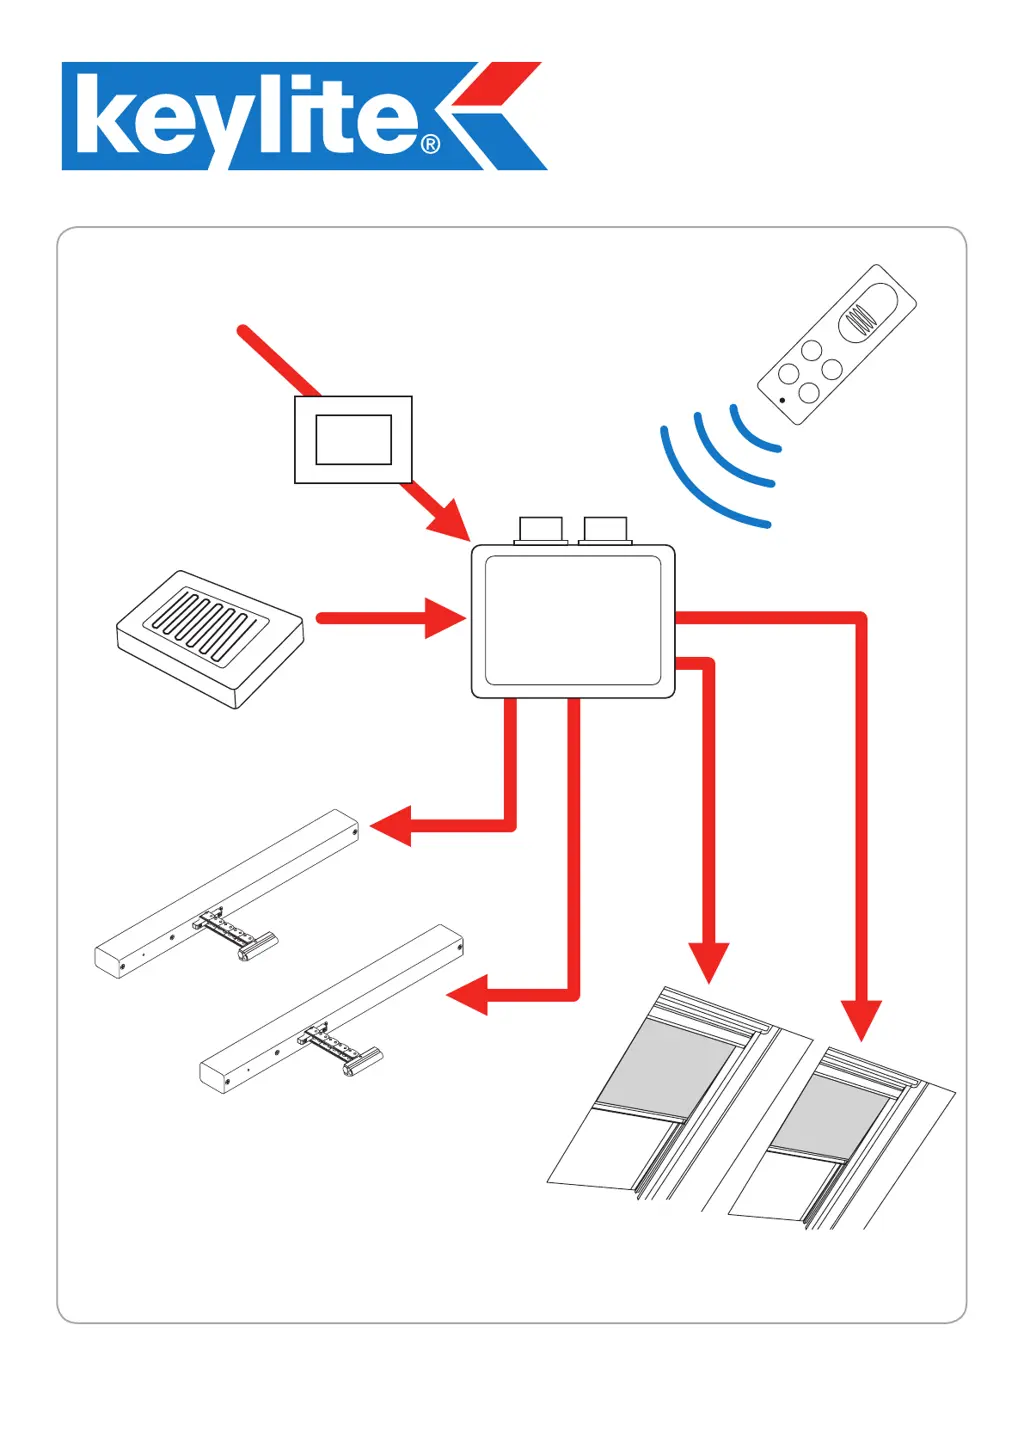
What to do if receive LED does not come on when a button is pressed on the Keylite KL/RX2 Control Panel?
- SsmithangelaAug 2, 2025
If the receive LED on your Keylite Control Panel doesn't light up when you press a button on the remote control, here are a few things to check: * Make sure the control panel is getting 24V DC. * Ensure the remote control is properly programmed to the control panel. * Inspect the aerial connection for any signs of damage. * Try reversing the wires on the W+ and W- connections. * Also, try reversing the wires on the B+ and B- connections.