8
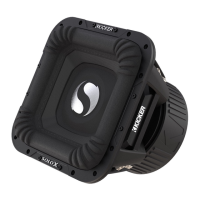
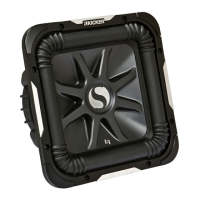
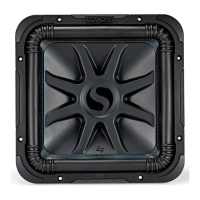
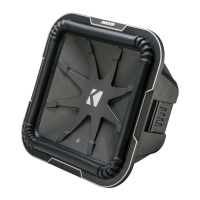
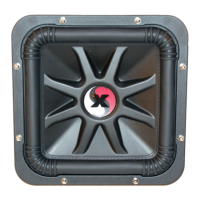
SoloX Subwoofer
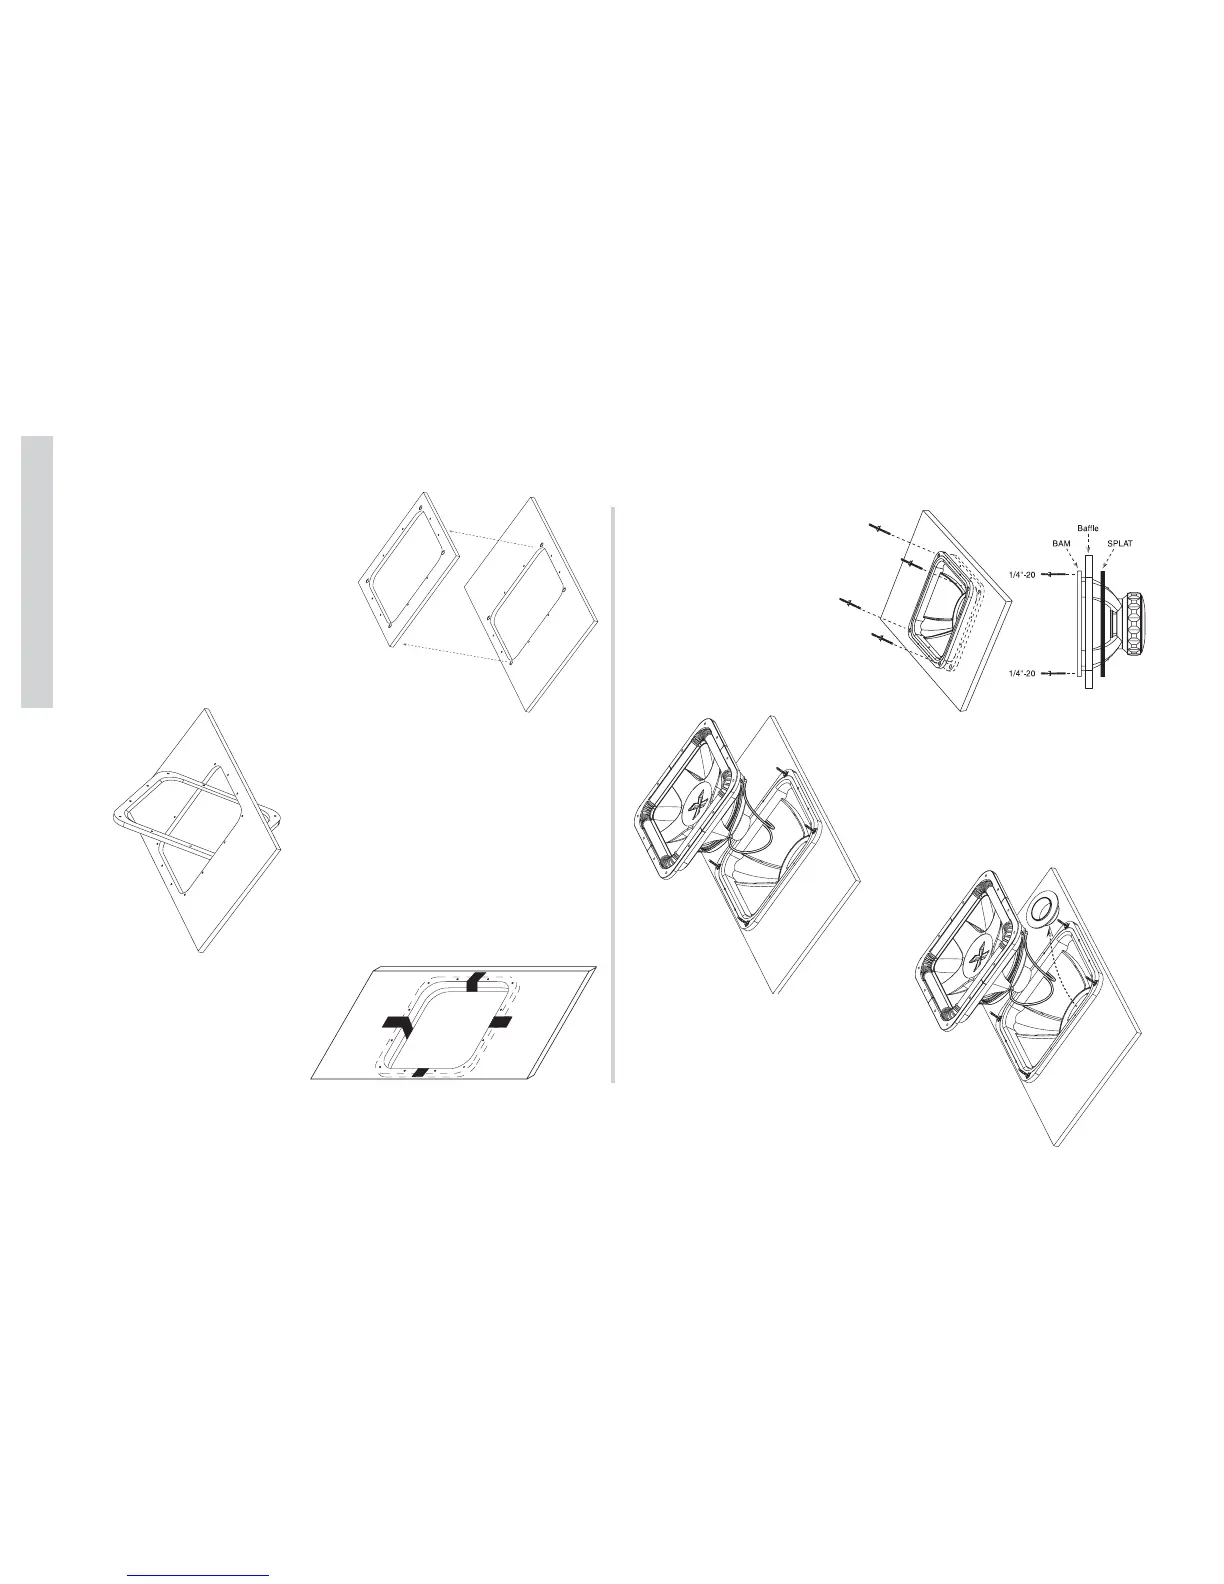
Mounting
6. Once the holes are marked
remove template. Using a jigsaw
cutout the woofer hole and use
a 3/8” drillbit for the mounting
holes
WARNING!
You will need assistance for the
following steps!
7. Insert the SPLAT into the
cutout and move into position.
8. Use masking tape to
temporarily hold the SPLAT
in place while securing the
BAM. This tape can be
removed after the corner
hardware has been start-
ed.
9. With your assistant,
insert the BAM and start
the corner hardware.
Now is the time you
remove the unidirec-
tional bonding strip!
(Tape) Tighten the dou-
ble threaded studs to
secure the BAM to the
baffle.
10. Pull the wires out through
the BAM and connect to the B3
Link of your choice. Make sure
you are using proper polarity!
11. Remove the Gap Cap before
inserting SPAIR.