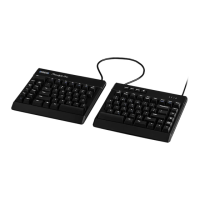
9
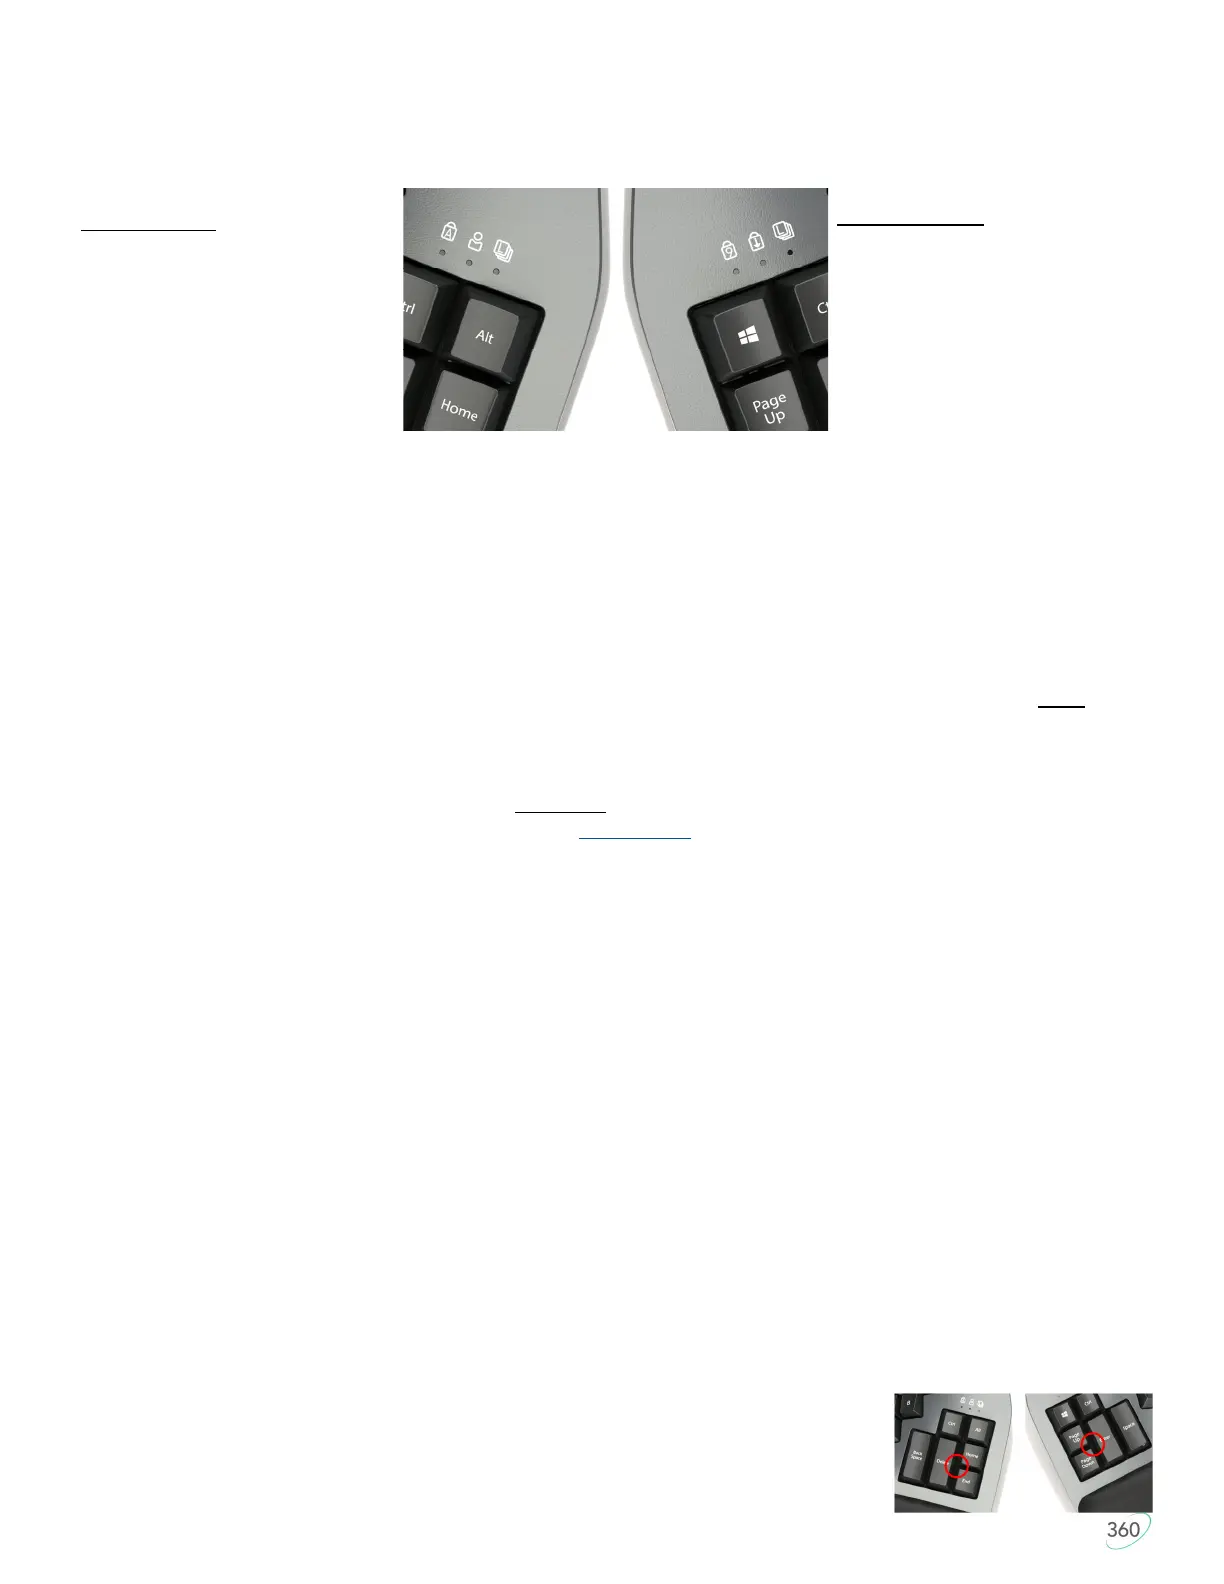
2.4 LED Indicator Lights
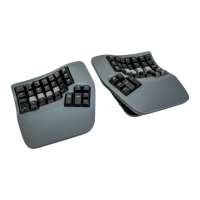
There are 3 RGB light emitting diodes (LEDs) above each thumb cluster. The Indicator LEDs are used to
indicate the status of the keyboard and provide programming feedback (See Section 5). Note: Not all
functions are supported over Bluetooth on all Operating Systems.
Default Layers: Base: Off, Kp: White, Fn: Blue, Mod: Green
Default Profiles: 1: White, 2: Blue, 3: Red. 4: Green. 5: Off
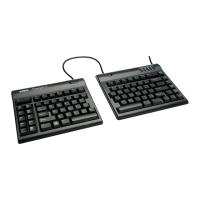
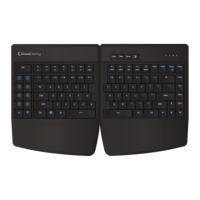
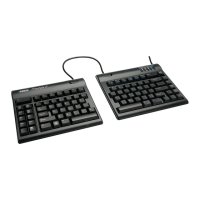
2.5 Open-Source Programmability via ZMK
Kinesis contoured keyboards have long featured a fully-programmable architecture that allowed users to
create macros and custom layouts and the Advantage360 Professional is no exception. Based on popular
demand from power users, we built the Pro model using the revolutionary open-source ZMK engine which
was specifically designed to support Bluetooth and wireless linking of split keyboard. The beauty of open-
source is that the electronics grow and adapt over time based on user contributions. We hope that YOU will
become a member of the ZMK community and help take this technology to new and exciting places
What’s different about ZMK
Unlike prior versions of the Advantage, ZMK does not support onboard recording of macros or remapping.
Those actions take place through the 3rd party site Github.com where users can write macros, customize
layouts, add new layers and much more. Once you’ve built your custom layout you simply download the
firmware files for each module (left and right) and “install” them on the keyboard’s flash memory. ZMK does
support a variety of “other” onboard programming commands which are accessed using the dedicated “Mod”
key found on the right module.
5 Profiles but only 1 Layout
ZMK supports multi-channel Bluetooth which means you can pair your keyboard with up to 5 Bluetooth
enabled devices and instantly switch between them using the Mod-shortcut (Mod + 1-5). Note: Each of the 5
Profiles features the same underlying key Layout configuration. If you need additional key actions you will
need to add them by creating additional Layers. The default Layout has 3 layers (4 if you count the Mod
Layer) but you can add dozens more to suit your workflow.
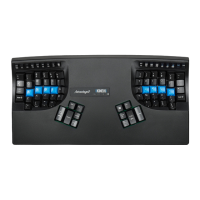
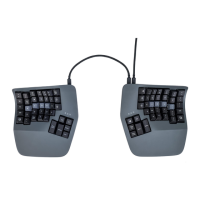
2.6 Rechargeable Lithium Ion Batteries and On/Off Switches
Each module contains a rechargeable lithium ion battery and an on/off switch. Slide each switch AWAY from
the USB port to turn ON the battery, and slide the switch TOWARDS the USB port to turn OFF the battery.
When using the keyboard wirelessly you must have each module switched ON and a sufficiently charged
battery. The batteries are designed to last for several months with the LED backlighting DISABLED. If you
plan to use backlighting you will need to charge the battery on a much more regular basis. Note: The left
module is “primary” module so it consumes more power than the right module so it is normal to charge that
side more often.
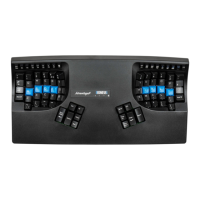
2.7 Reset Button
Each key module features a physical reset button which can be accessed via a
paperclip pressed into the thumb cluster at the intersection of the 3 keys shown at
right. If you have difficulty finding the spot, remove the keycaps or use a flashlight.
Reset button functionality is described later in this Manual.
Right Key Module
Le = Num Lock (On/Off)
Middle = Scroll Lock (On/Off)
Right = Layer (Base, Kp, Fn, Mod)
LeŌ Key Module
Le = Caps Lock (On/Off)
Middle = Profile/Channel (1-5)
Right = Layer (Base, Kp, Fn, Mod)
 Loading...