6
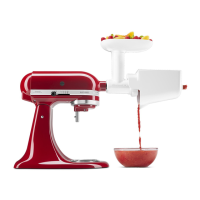
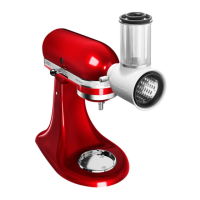
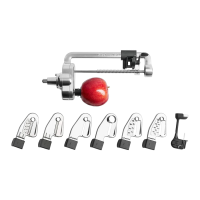
ASSEMBLING THE FRUIT/VEGETABLE STRAINER ATTACHMENT
Tab
Notch
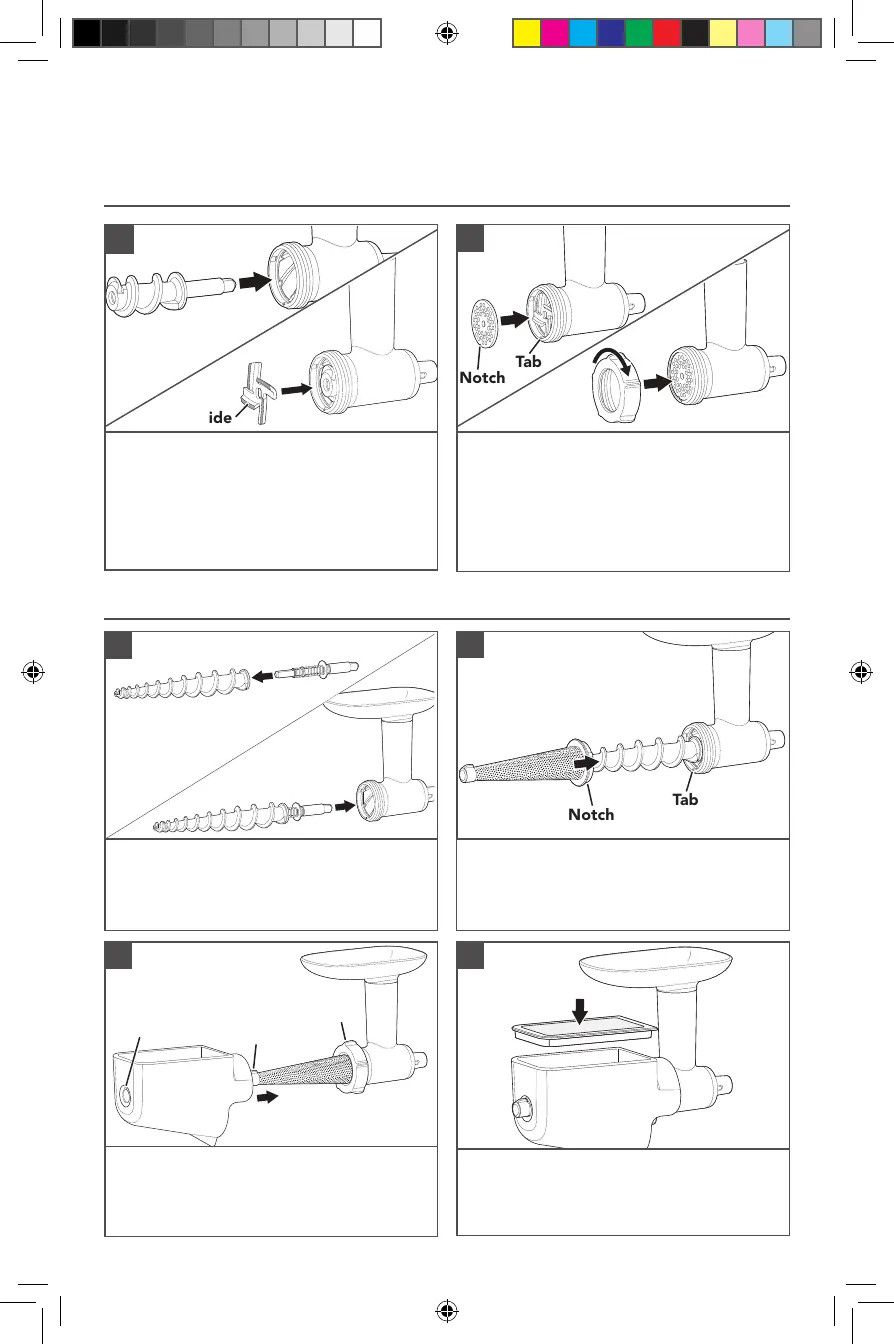
Secure the smaller spring end of the Shaft
Assembly into the Large Grind Screw.
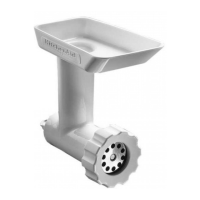
Insert the Long Grind Screw into the Main
Housing.
2
Place the Strainer Cone over the Long
Grind Screw matching the notch of the
Strainer Cone with the tab on the bottom
of the Main Housing.
1
PRODUCT ASSEMBLY
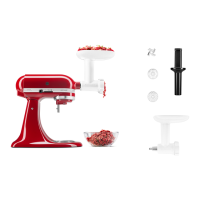
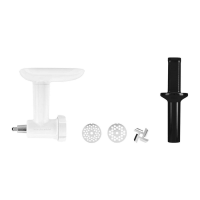
ASSEMBLING THE FOOD GRINDER ATTACHMENT
Before first use, clean all parts and accessories (see “Care and Cleaning” section).
Sharp Side
1
Insert the Grind Screw into the Main
Housing securely.
Place the Blade over the end of the Grind
Screw.
Place the desired Grinding Plate over the
Blade, matching the notch of the plate
with the tab on the bottom of the Main
Housing.
Place the Collar on the Main Housing,
turning clockwise by hand until secured but
not tightened.
2
Notch
Tab
Insert the Collar over the Strainer Cone
and rotate clockwise to secure.
Slide the Strainer Shield over the cone and
latch on the top of ring.
3
Place Splash Lid on the Strainer Shield.
4
Collar
Notch
Tab
W11373931A.indb 6 8/28/2019 8:00:51 PM