SWITCH PANEL ASSEMBLY REPLACEMENT
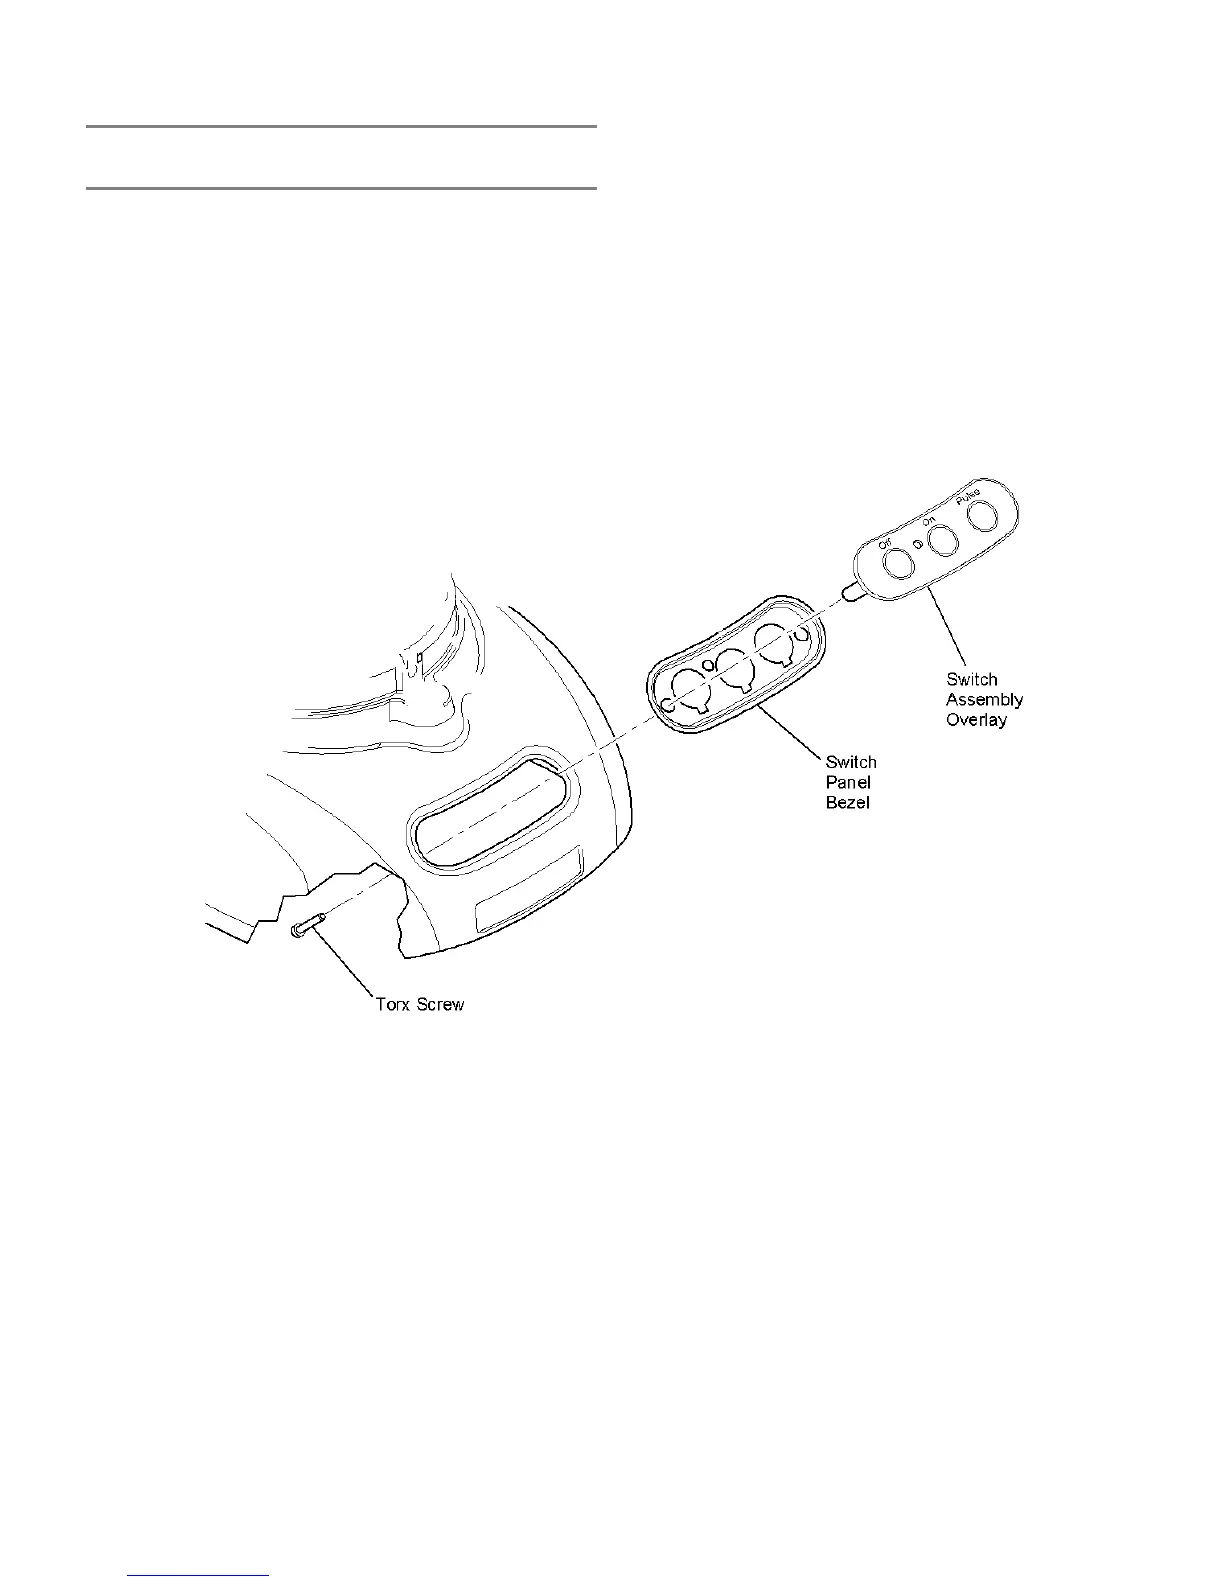
4. Remove the switch panel assembly from the motor
housing. The switch panel assembly consists of the switch
panel overlay and switch panel bezel.
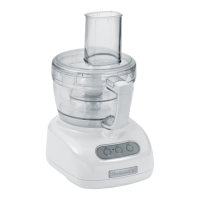
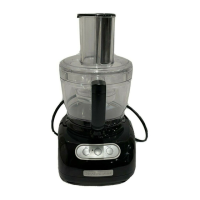
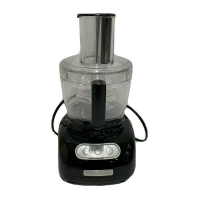
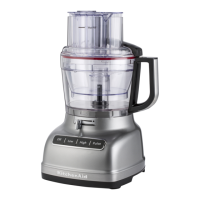
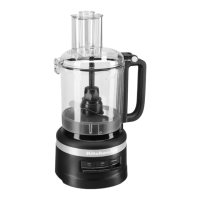
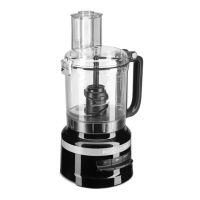
- 9 & 12 CUP FOOD PROCESSORS -
To replace the switch panel assembly for the 9 and 12 cup food
processor:
NOTE: When removing the switch panel
assembly, care should be taken not to
lose the red neon lamp lens that slip-fits
into the switch assembly from the outside.
Remove the lens and set aside until re-
assembly.
1. Unplug the power cord and remove the housing base.
2. If necessary, remove the relay switch from its rubber
mounting block.
3. Using a T-20 torx driver, remove the two (2) screws
securing the switch panel assembly to the motor housing
and switch assembly.
16