Dimming actuator
Figure7: Installing the cover
■ Route the bus line towards the rear.
■ Install cover on top of the bus terminal so that it snaps into place (Figure 7).
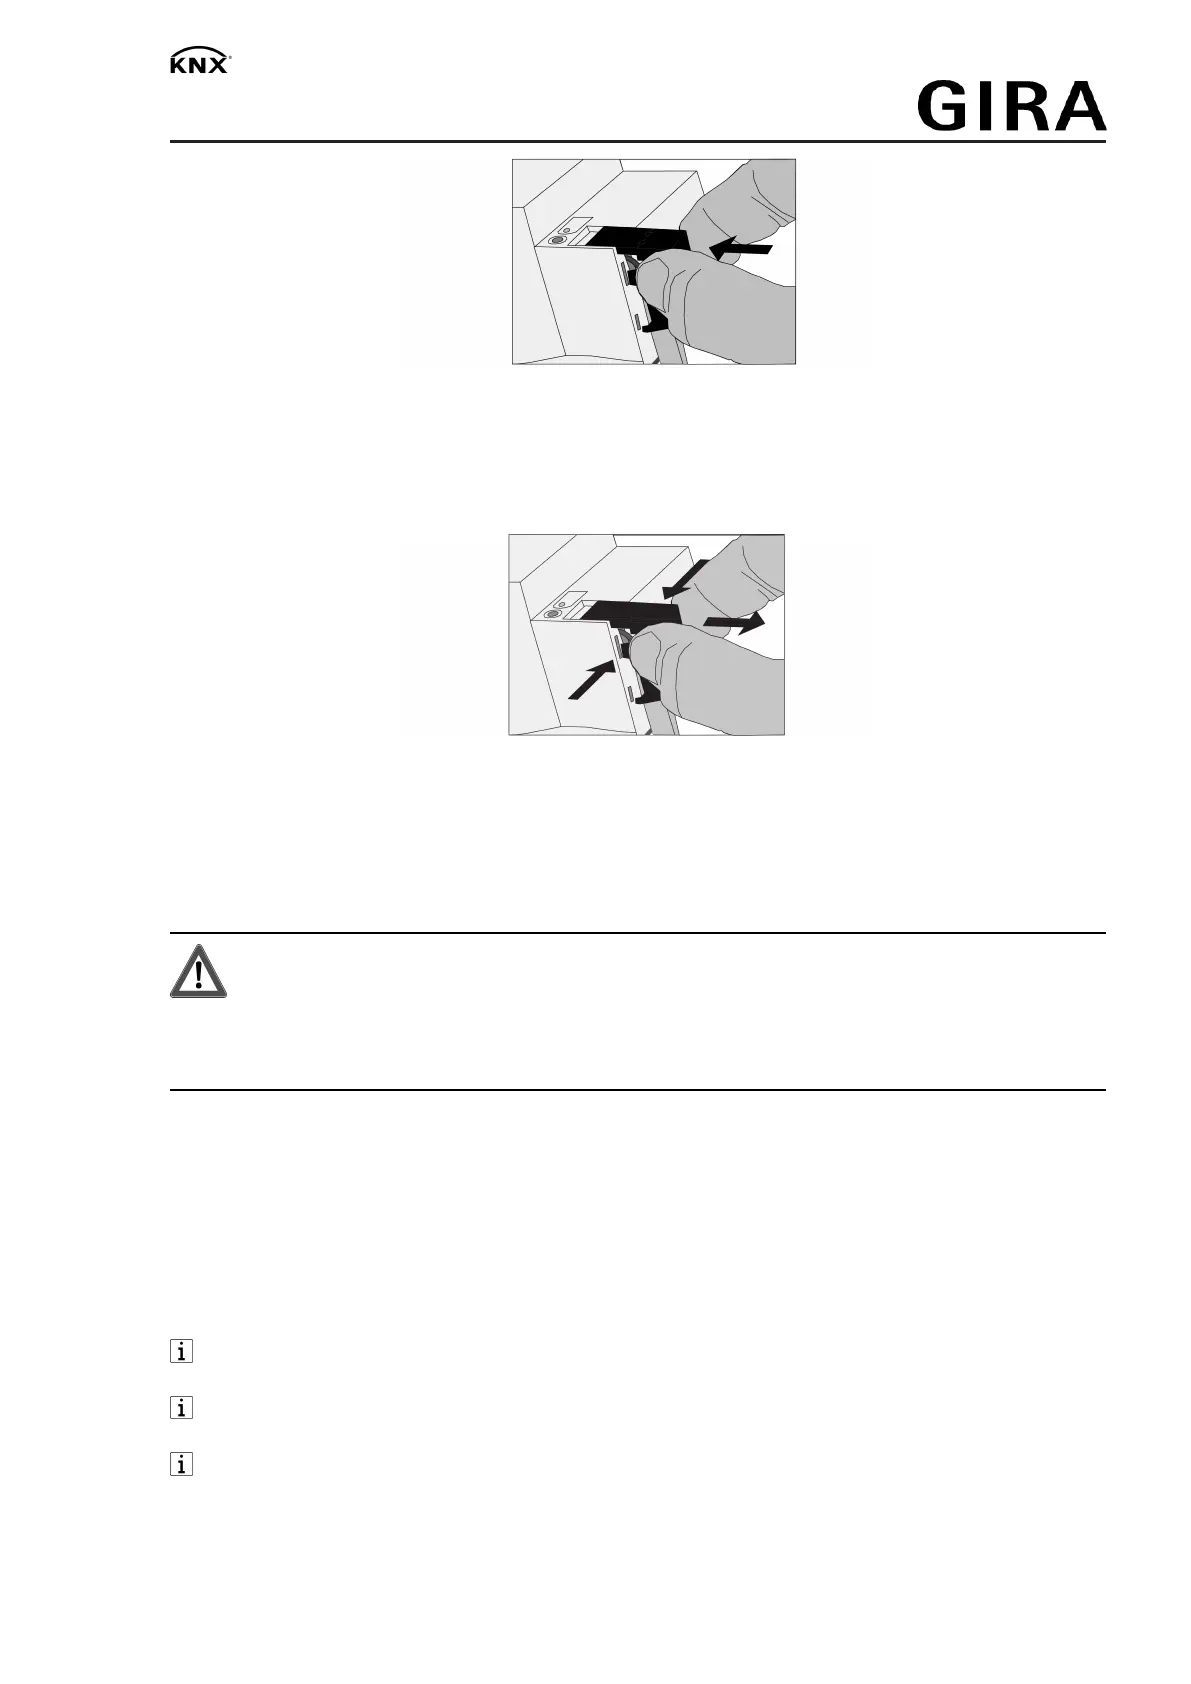
Removing the cover
Figure8: Removing the cover
■ Press the cover to the side and pull it off (Figure 8).
5.2 Commissioning
Loading the physical address and application software
CAUTION!
Risk of destruction if the preset dimming principle and connected load do not match.
Dimming actuator and load may be destroyed.
Before commissioning, make sure that the software setting matches the load.
■ Switch on the bus voltage.
■ Press the programming button.
■ Load the physical address into the device.
■ Load the application software.
■ Switch on voltage supply on the outputs.
■ Switch mains voltage on.
The device calibrates itself to the load and selects the appropriate dimming procedure
leading edge or trailing edge phase control.
The calibration procedure becomes noticeable during ohmic loads by a brief flicker and
lasts between 1 to 10 seconds depending on the network conditions.
During the calibration phase, received operations are executed after completion of the
calibration procedure.
The dimming procedure can also be predefined with the parameterization. In this case,
the calibration procedure is not necessary.
Using speed controllers: Setting minimum speed
Only for dimming actuator 1gang.
9 / 16
32575362 10867485 04.12.2019