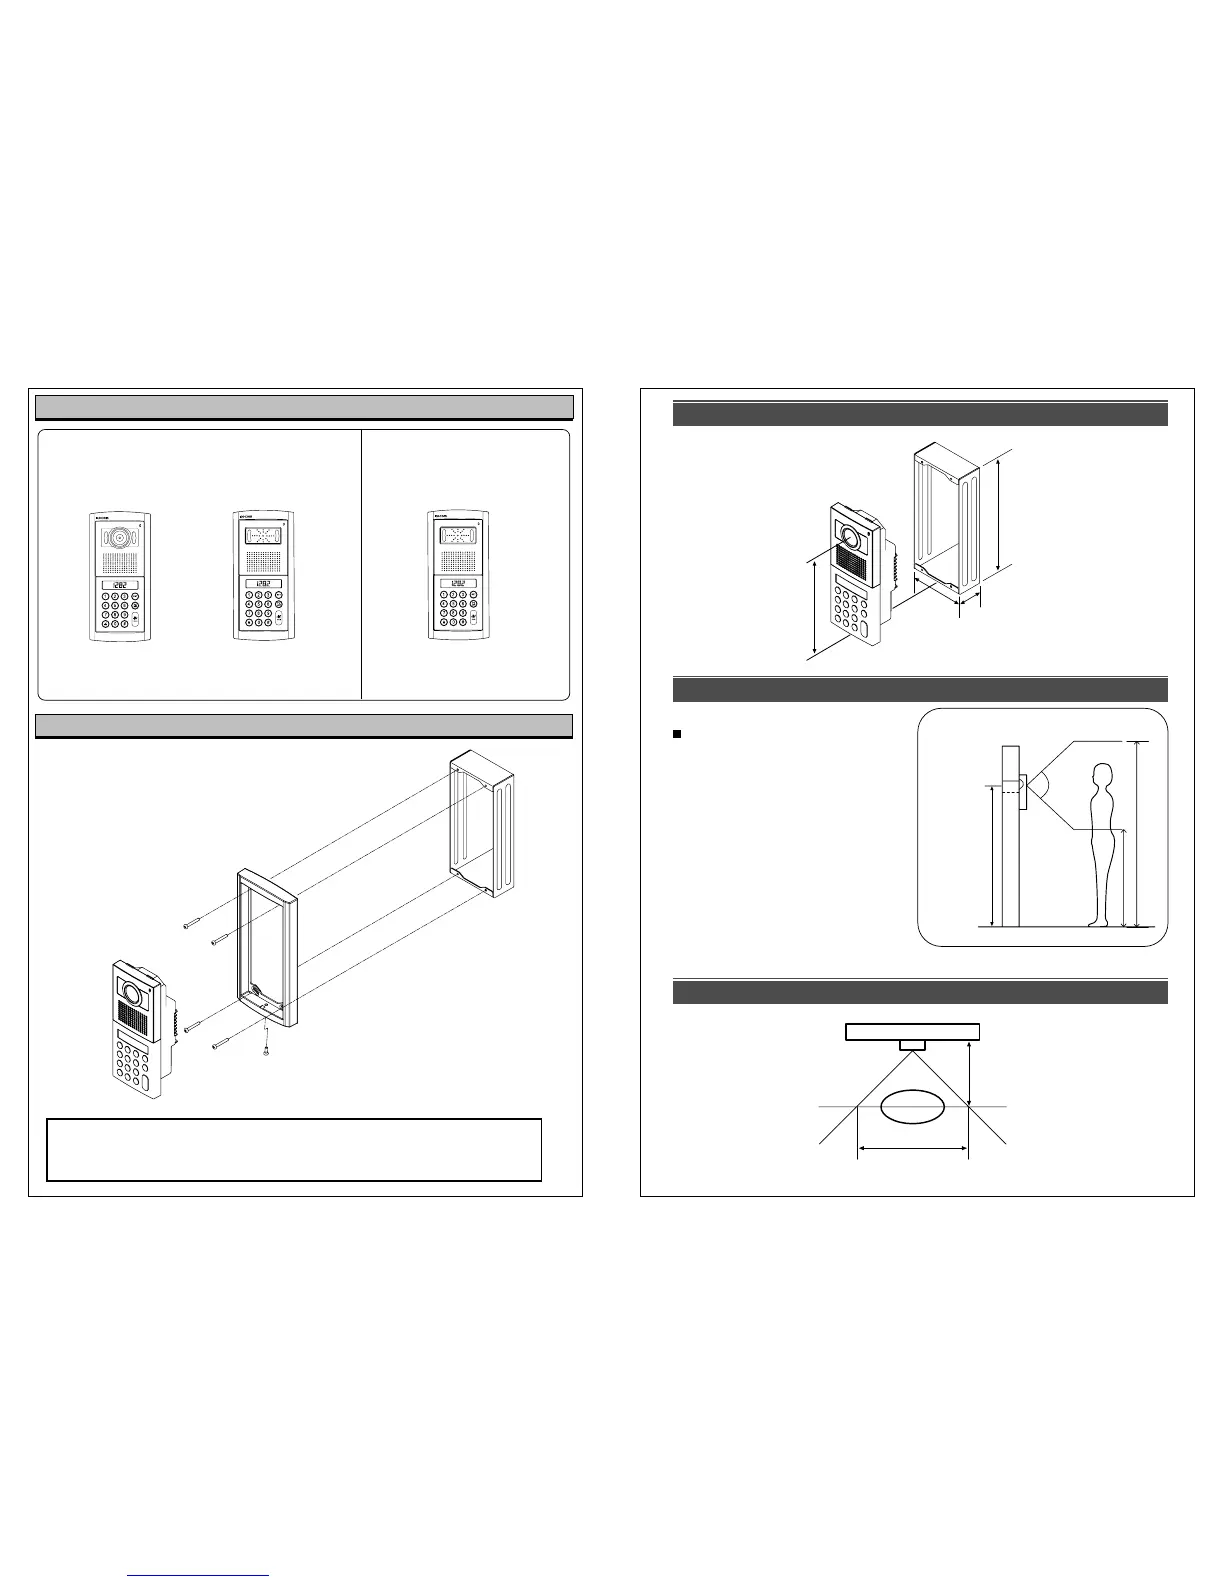
Installation method
Dummy
Main Body
Dummy Screw 4x8mm(1ea)
Dummy Screw
4x50mm(4ea)
Rear Flush
Mounting Box
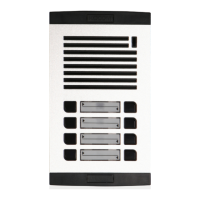
Specifications of Tenkey Button Type Products
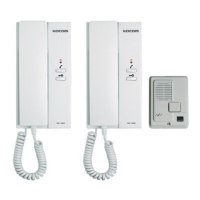
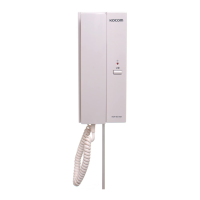
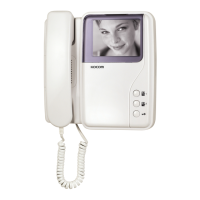
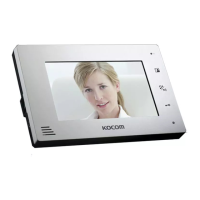
Video phone connecting model
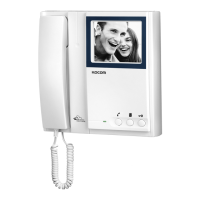
Audio Doorphone
connecting model
- After placing adaptor 17V and video amplifier near to the Lobby phone.
- Connect output of adaptor to the power terminal (+17V, GND [polarity]) of lobbyphone.
-
Connect4Pconnector from video amplifier to (KHU-102P)WAFERterminal of lobbyphone. [Polarity].
Reference before installation
Standard height for installation of Lobbyphone
From center of lens to bottom of
flush mounting box. [188mm]
Whole height of flush
mounting box. [220mm]
110mm
60mm
(Unit : mm)
Standard installation height of lobbyphone
is 1,400~1,450mm from floor to the bottom
of flush mounting box.
In case that the installation height of
lobbyphone is out of the range
(min.1,250mm~1,550mm), its hard to get
proper image, so be careful about the
installation height of lobbyphone.
Standard dimensions for installation of lobbyphone
500
780
(Unit : mm)
13
14
 Loading...