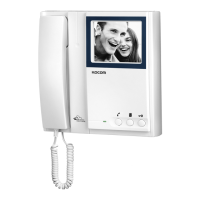
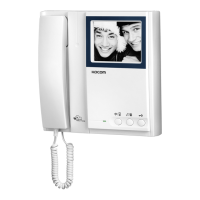
Button
Door opens when this
button is pressed.
Available only for
the door equipped
with door opener.
Button
To confirm visitor
without holding
the handset
Button
To call and commu-
nicate with other
monitor or doorphone
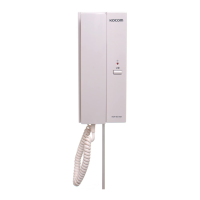
KVM-524RG Monitor
Name of each part
Handset
To communicate with
door camera.
Manual/Auto recording
Lamp
Power Lamp
To check power
ON/OFF status
4 inch screen
To identify visitor
Brightness Control
Knob
To control brightness
of monitor screen
Contrast Control Knob
To control contrast of
monitor screen.
Call Signal
Volume Control Knob
To control calling
signal volume.
Time mode Button
To select the month,
time..etc.
Time set Button
To set up the
month, time..etc
Mamual Rec. Button
Can record visitor
on purpose
Auto-Rec. Button
To record all visitors
image automatically
when you absent
Play Button
Can confirm recording
images in order
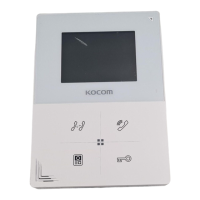
KC-D20 Metal Pinhole Camera & KC-B61 Camera
C-Mic
To communicate
with Monitor
C-Mic
To communicate
with Monitor
Power Lamp
To check power
ON/OFF status
Speaker
When visitor calls,
the voice from monitor
comes out of the speaker.
Speaker
When visitor calls, the
voice from monitor comes
out of the speaker.
Call Button
By pressing the button, the
related house will be called.
Camera Lens
Clear picture quality realized
by adopting 1/3" CCD
P
L
A
Y
A
U
T
O
T
I
M
E
S
R
E
C
R
E
C
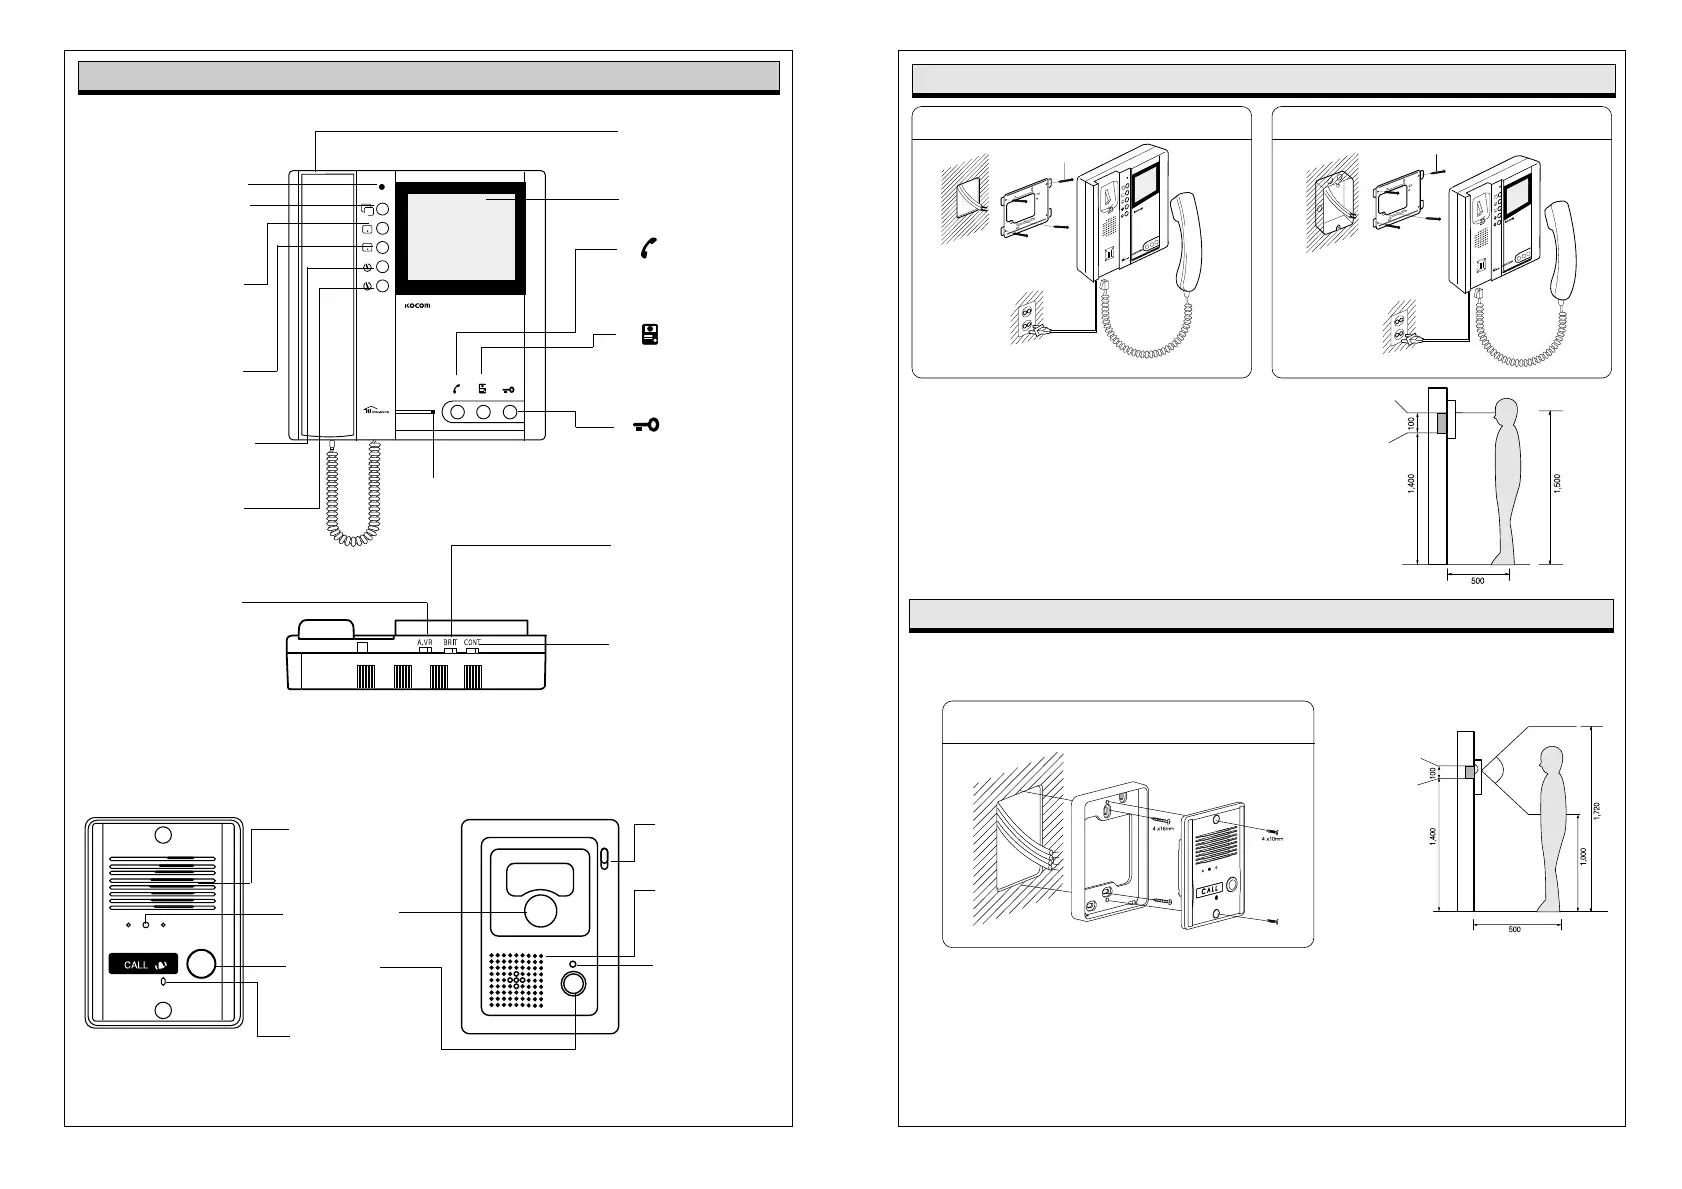
Basic Installation method of Monitor
When system is attached to 1 rectangular switch box
Standard height monitor
Wall hanger
panel for
fixing Monitor
Screw
Wall
Wall hanger panel
for fixing Monitor
1 Rectangular
switch box
Standard height of monitor is ranged 1,450 ~ 1,500
from bottom to the center of monitor screen.
For installation, avoid the places where there is any
excessive humidity,magnetic force, dangerous
chemicals, direct ray of sun, and any places near a
heater which can cause break down.
Monitor Installation
(unit:mm)
Screw
Bottom of
1 Rectangular
switch box
Center of monitor
KC-D20 Surface-mounting Door Camera Installation
After attach the body supporter with 2 screws,
put the Door Camera into the grooves of body supporter,
and then fix it with 2 screws and stick the finishing materials.
Straight Ahead Installation
Standard Height of Door Camera
Standard height of the door camera is 1,400mm 1,450mm from the bottom of one camera to the floor.
In case that the height of Door camera exceeds the range of min. 1,250mm1,550mm, it is impossible to control
the screen picture with only the lens angle, and therefore, be careful of the height of camera installation.
(unit:mm)
Door camera Installation
Bottom base of
One hall Box
Surface mount
Flush mount
 Loading...