7
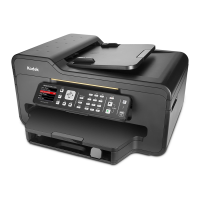
f) Push firmly against the back wall of the printhead
until it clicks into place.
Tip: The printhead requires a firm push and makes an
audible click when locked into place.
f) Poussez fermement contre la paroi arrière de la tête
d'impression jusqu'à ce qu'elle s'enclenche en position.
Conseil: vous devez pousser fermement sur la tête d'impression
pour la mettre en place, jusqu'à ce que vous entendiez un clic.
f) Empuje firmemente contra la placa posterior del cabezal
hasta que calce.
Sugerencia: empuje con firmeza. Sabrá que el cabezal está
bien instalado cuando oiga un "clic".
FR
ES
FR
EN
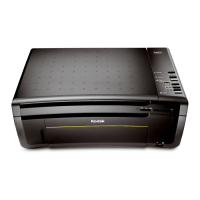
e) Place the printhead into the carriage. Insert at the angle
shown.
e) Installez la tête d'impression dans le chariot. Insérez-la en
angle de la manière illustrée.
e) Coloque el cabezal en el soporte móvil. Insértelo en el
ángulo que se indica.
FR
ES
FR
EN
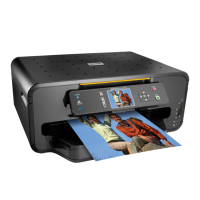
d) Carefully remove and discard the black plastic shield
and the orange protective cap.
IMPORTANT: Do not touch the copper-colored contacts.
d) Retirez avec précaution la pellicule en plastique noir et le
capuchon protecteur orange, puis jetez-les.
IMPORTANT: ne touchez pas aux contacts de couleur
cuivre.
d) Cuidadosamente retire el protector plástico y la tapa naranja
de protección y bótelos.
IMPORTANTE: no toque los contactos de color cobre.
ES
FR
FR
EN
www.kodak.com/go/aiosupport
Install Printhead
Installation de la tête d'impression
Instale el cabezal de impresión
 Loading...