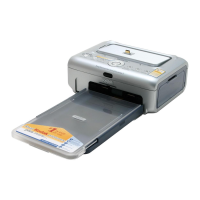
Doing more with your printer
www.kodak.com/go/support
11
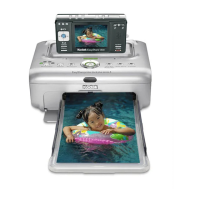
Running a slide show
Use the Slide Show feature to display your pictures on the photo printer LCD.
1 Insert a card in the card slot (or connect a USB device to your photo printer).
2 Press the Slide Show button.
The slide show begins in 10 seconds.
3 If you want to change slide show settings, press to highlight a feature. Then
press the Print button.
■ Interval—Choose how long a picture is displayed.
■ Loop—Choose if the slide show plays once, or repeats.
4 To stop the slide show at any time, press the Cancel button.
Cropping your pictures
Use the Crop feature to print the best part of a picture.
NOTE: The cropped picture is saved long enough to print; it then reverts to the original picture.
1 With a card inserted in the card slot (or USB device connected to your photo
printer), press to locate the desired picture.
2 Press the Crop button.
A crop box appears over your picture.
■ To view other crop box sizes, press the Crop button.
■ To orient the crop box as landscape or portrait, press the Rotate button.
3 Press to move the crop box to the desired position.
4 Press the Print button to crop the picture.
You can print the picture or adjust the cropping. The picture then reverts to the original.
 Loading...