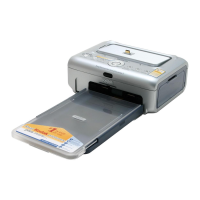
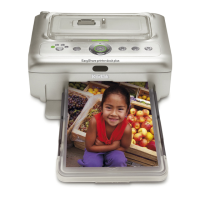
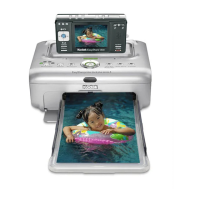
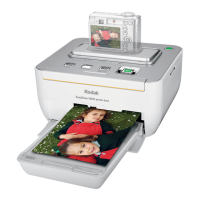
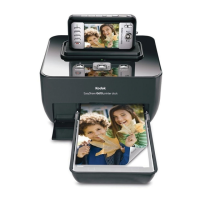
Using the photo printer with a computer
www.kodak.com/go/support
19
Mac OS X:
1 Double-click the operating drive for your system.
2 Select Library, then select Printers.
3 Open the Kodak folder, then open the photo printer folder.
4 Double-click the photo printer uninstaller program.
5 Follow the on-screen instructions.
Connecting to a computer
IMPORTANT:
Make sure your camera or other device is NOT connected when you
connect the photo printer to the computer.
1 Make sure Kodak EasyShare software is installed on
the computer (see page 17).
2 Plug the labeled end of the USB cable
(included) into the labeled USB port on your
computer. See your computer documentation for
details.
3 Plug the other end of the USB cable into the square
USB connector on the back of the photo printer.
NOTE: On Windows operating systems, a new hardware wizard runs
when the printer is connected for the first time. See your
computer documentation for details.
If a Kodak Wi-Fi
®
card (sold separately) is inserted the first
time the printer is connected, the Add Wireless Printer
Assistant may appear. Follow the on-screen instructions.
 Loading...