© 2008 Newell Rubbermaid. All Rights Reserved 1
Setting Up Your
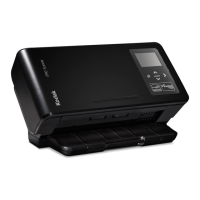
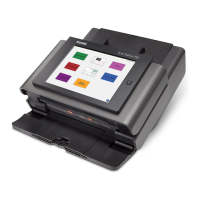
Kodak ScanMate i1120 Scanner
to Work with DYMO File
The Kodak ScanMate i1120 scanner can be connected to a user’s computer directly or
shared by multiple users over a local network. Regardless of how your scanner is
connected, this document guides you through the two-part setup that is required to enable
your ScanMate scanner to work with DYMO File
TM
:
• Smart Touch Shortcut Setup — In the ScanMate i1120 scanner software, one or
more smart touch shortcuts must be configured for DYMO File scanning. If the
scanner is shared by multiple users over a network, one person can set up the smart
touch shortcuts for all DYMO File users. For information about using multiple smart
touch shortcuts, see "Smart Touch Shortcut Scenarios" on page 9.
• DYMO File Setup — On each user’s computer, DYMO File must be set up to know
which folder to monitor for scanned documents to be processed. See page 5.
Smart Touch Shortcut Setup
The ScanMate i1120 scanner lets you specify settings for smart touch shortcuts.
This section includes two procedures:
• Configuring one or more smart touch shortcuts for DYMO File scanning
• Adding settings for two-sided scanning
Configuring Smart Touch for DYMO File Scanning
For any smart touch shortcut that will be used for DYMO File scanning, specify the proper
settings as described in the following procedures.
To start smart touch configuration
1 Be sure your ScanMate i1120 software is installed on your computer and that the
scanner is properly connected and powered on.
2 Click Start > Programs > Kodak > Document Imaging > i1120 > Smart touch to
start the software.
When the ScanMate scanner is connected and powered on, the Kodak i1120
Scanner icon appears in the Windows desktop notification area (also called system
tray).