8.19
Section 8
Electrical System and Components
8
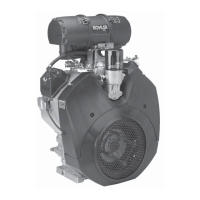
Figure 8-27. Installing Solenoid.
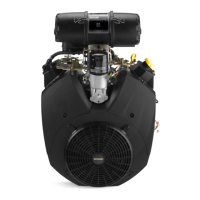
14. Connect the braided (brush) lead to lower main
solenoid terminal and secure with the hex flange
nut. See Figure 8-28.
Figure 8-28. Connecting Brush Lead.
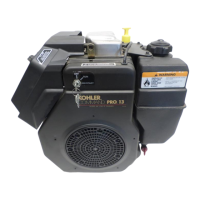
Figure 8-29. Delco-Remy Starter.
Starter Disassembly
1. Remove the hex nut and disconnect the positive
(+) brush lead/bracket from the solenoid
terminal.
2. Remove the three screws securing the solenoid to
the starter. See Figure 8-30.
Figure 8-30. Removing Solenoid Screws.
3. If the solenoid was mounted with Phillips head
screws, separate the solenoid and plunger spring
from the drive end cap. If the solenoid was
mounted with external Torx head screws, the
plunger is part of the solenoid, unhook the
plunger pin from the drive lever. Remove the
gasket from the recess in the housing. See Figures
8-31 and 8-32.
NOTE: Test procedure for checking starter solenoid
on pages 8.26 and 8.27.
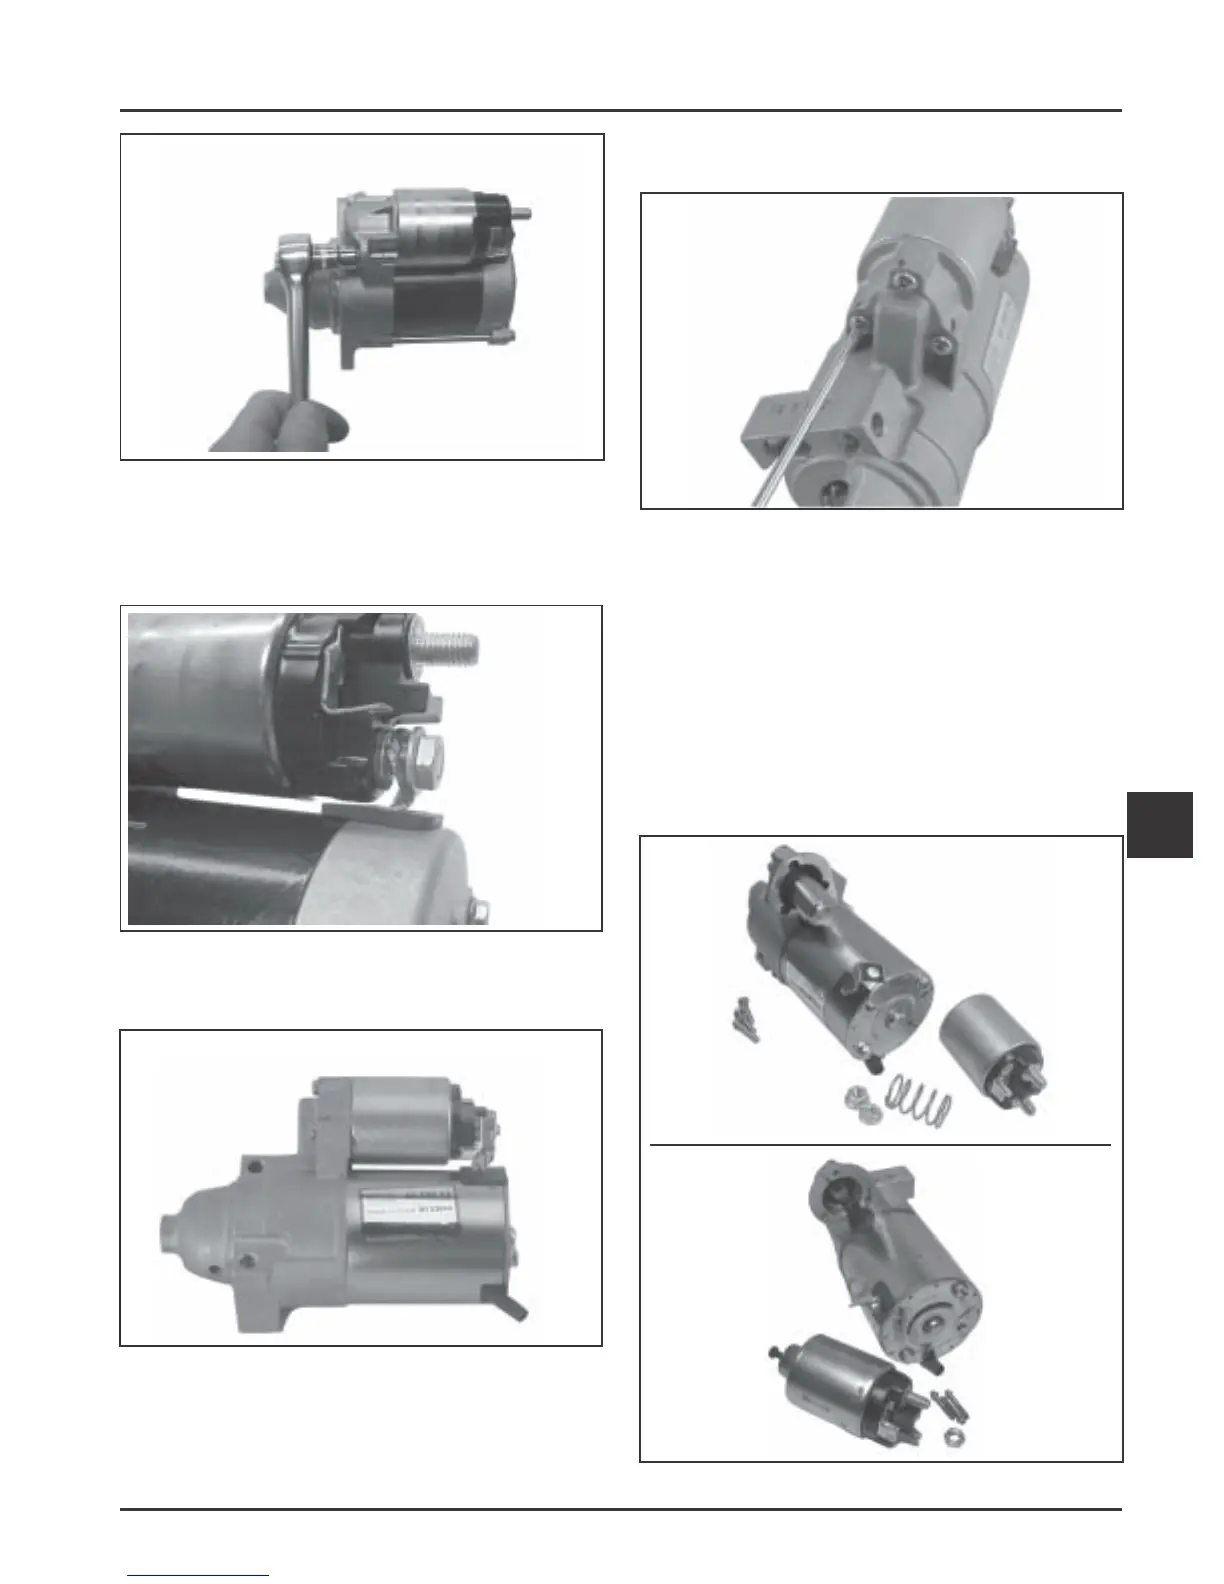
Figure 8-31. Solenoid Removed From Starter.
Delco-Remy Starters
Some solenoids
are fastened
with external
Torx head
screws.
 Loading...