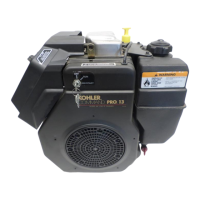
Nikki Carburetor Servicing
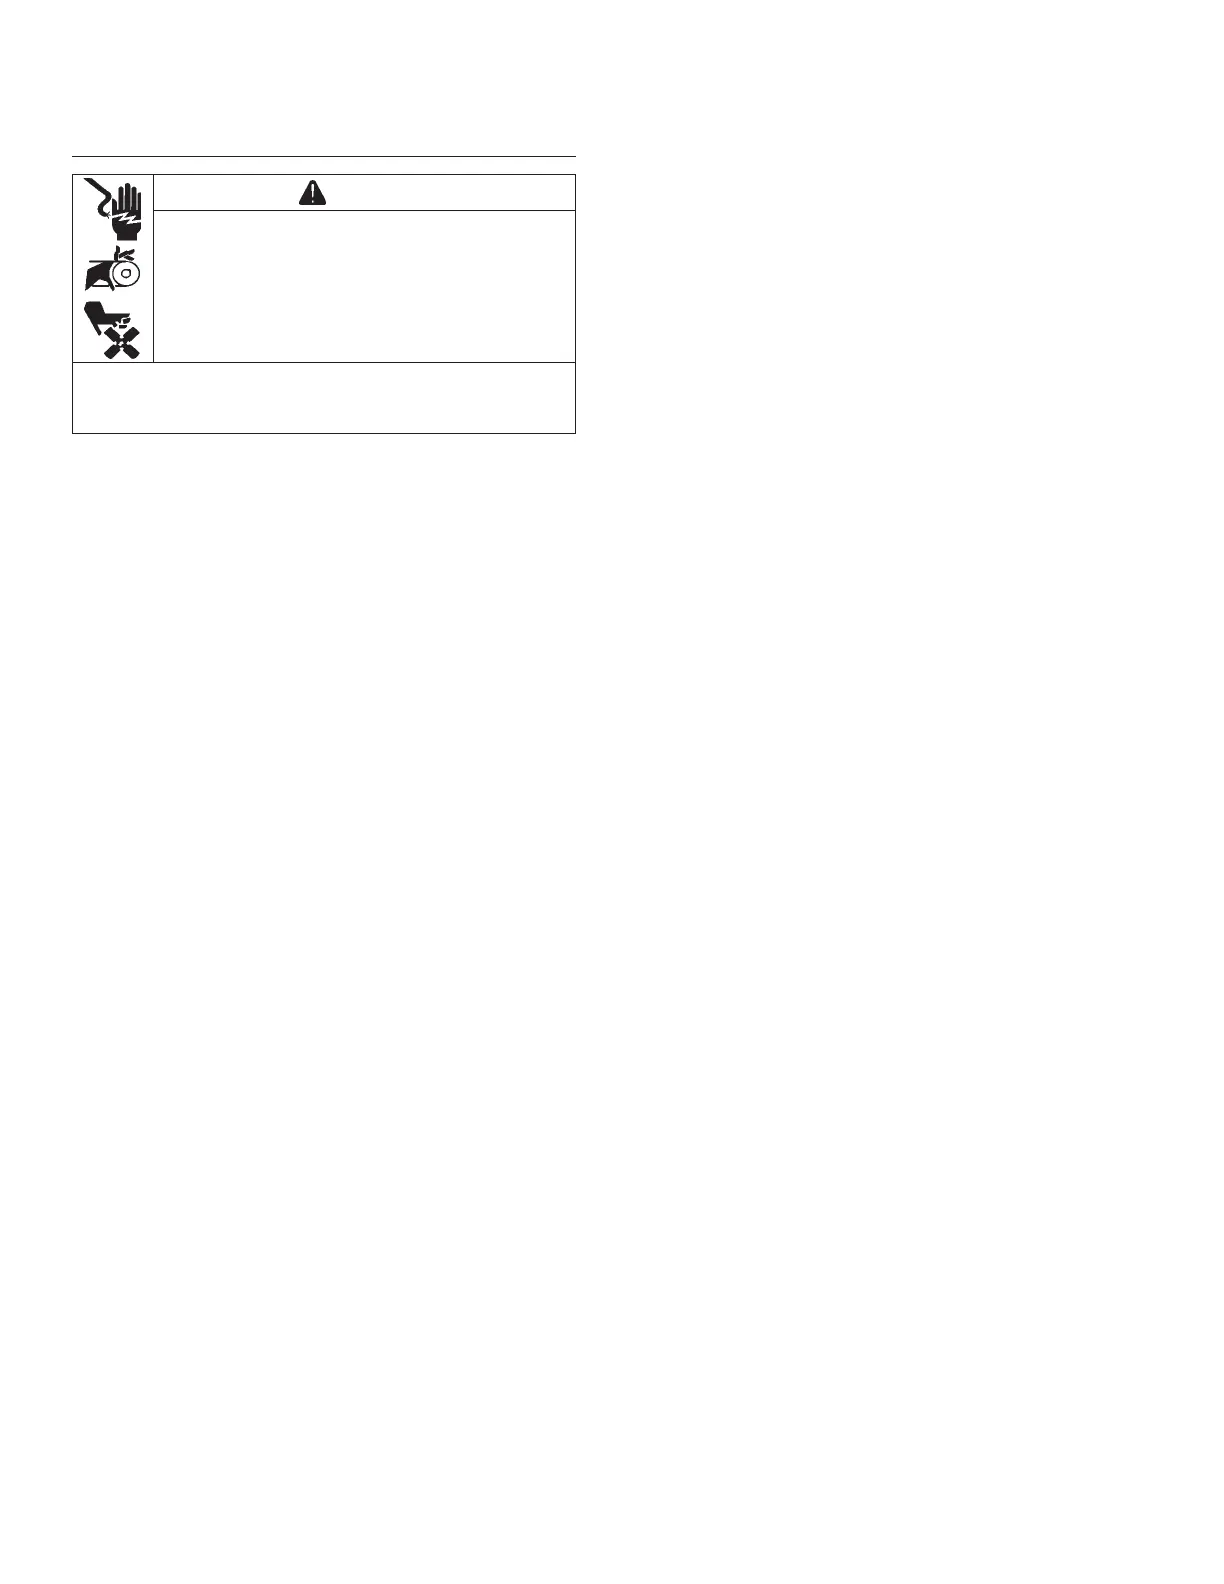
WARNING
Accidental Starts can cause severe injury or
death.
Disconnect and ground spark plug lead(s)
before servicing.
Before working on engine or equipment, disable
engine as follows: 1) Disconnect spark plug lead(s). 2)
Disconnect negative (–) battery cable from battery.
NOTE: Main and slow jets are fi xed and size specifi c
and can be removed if required. Fixed jets for
high altitudes are available.
● Inspect carburetor body for cracks, holes, and other
wear or damage.
● Inspect fl oat for cracks and holes. Check fl oat hinge
and pin for wear or damage.
● Inspect fuel inlet needle and seat for wear or damage.
● Inspect spring loaded choke plate to make sure it
moves freely on shaft.
Float Replacement/Overhaul/Choke Repair
NOTE: Inlet needle center pin is spring loaded. Make
sure fl oat rests against fuel inlet needle without
depressing center pin.
If symptoms described in Troubleshooting-Carburetor
Related Causes indicate fl oat level problems, remove
carburetor from engine to check and/or replace fl oat.
Use a fl oat kit to replace fl oat, pin, fl oat valve, and screw.
1. Perform removal procedures for appropriate air
cleaner and carburetor outlined in Disassembly.
2. Clean exterior surfaces of dirt or foreign material
before disassembling carburetor. Remove screw
securing solenoid lead clamp (if equipped). Remove
screw securing solenoid ground lead (if equipped).
Remove remaining 2 screws and carefully lift off
carburetor air horn assembly; discard gasket.
Transfer any remaining fuel into an approved
container. Fuel can also be drained prior to
disassembly by loosening/removing bowl drain
screw.
3. Remove fl oat pin set screw, fl oat, pin, and inlet
needle. Seat for inlet needle is not serviceable and
should not be removed.
4. If carburetor has an accelerator pump, remove
spring and check ball assembly from carburetor
body.
5. Remove slow jet from carburetor body. Clean slow
jet using compressed air. Do not use wire or
carburetor cleaner.
6. If carburetor has a fuel shut-off solenoid, unplug
solenoid lead from solenoid. Use a thin wall wrench
to loosen solenoid. Remove solenoid and discard
solenoid gasket.
If carburetor doesn't have a fuel shut-off solenoid,
remove plug and discard gasket.
7. Carefully remove main jet from carburetor body.
8. If carburetor has an accelerator pump, remove
screws securing accelerator pump cover. Remove
cover with diaphragm spring. Carefully remove
diaphragm, C-ring, and check valve.
9. Remove idle speed (RPM) adjustment screw and
spring from carburetor. Discard parts.
Carburetor is now disassembled for appropriate
cleaning and installation of parts in overhaul kit.
Further disassembly is not necessary. Throttle shaft
assembly, fuel inlet seat, and carburetor body, are
non-serviceable items and should not be removed.
Choke shaft assembly is serviceable with a choke
repair kit that provides a complete air horn assembly.
10. Clean carburetor body, main jet, vent ports, seats,
etc., using a good commercially available carburetor
solvent. Keep away from plastic or rubber parts if
non-compatible. Use clean, dry compressed air to
blow out internal channels and ports. Do not use
metal tools or wire to clean orifi ces and jets. Inspect
and thoroughly check carburetor for cracks, wear, or
damage. Inspect fuel inlet seat for wear or damage.
Check spring loaded choke plate to make sure it
moves freely on shaft.
11. Install new idle speed (RPM) adjustment screw and
spring in carburetor. Thread in until 3 or 4 threads
are exposed, as an initial adjustment.
12. If carburetor has an accelerator pump, install new
check valve, then C-ring making sure to position in
grove. Install new diaphragm. Reinstall cover with
new diaphragm spring and secure with new screws.
Torque screws to 2.5 N·m (22 in. lb.).
13. Carefully reinstall main jet into carburetor body.
14. If carburetor has a fuel shut-off solenoid, reinstall
solenoid using a new solenoid gasket. Plug solenoid
lead into solenoid.
If carburetor doesn't have a fuel shut-off solenoid,
reinstall plug using a new gasket.
15. Reinstall slow jet into carburetor body.
16. If carburetor has an accelerator pump, install new
spring and check ball assembly into carburetor body.
17. Install/slide new inlet needle into slot in fl oat.
18. Install fl oat and inlet needle down into seat and
carburetor body. Install a new fl oat pin through fl oat
hinge and secure with fl oat pin set screw.
NOTE: Inlet needle center pin is spring loaded. Make
sure fl oat rests against fuel inlet needle without
depressing center pin.
Fuel System
32 24 690 06 Rev. PKohlerEngines.com