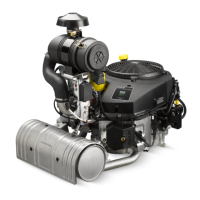
Clean all parts thoroughly as engine is disassembled.
Only clean parts can be accurately inspected
and gauged for wear or damage. There are many
commercially available cleaners that will quickly remove
grease, oil, and grime from engine parts. When such a
cleaner is used, follow manufacturer’s instructions and
safety precautions carefully.
Make sure all traces of cleaner are removed before
engine is reassembled and placed into operation. Even
small amounts of these cleaners can quickly break down
lubricating properties of engine oil.
Disconnect Spark Plug Leads
NOTE: Pull on boot only, to prevent damage to spark
plug lead.
Disconnect leads from spark plugs.
Drain Oil from Crankcase and Remove Oil Filter
NOTE: Some models are equipped with an oil drain
valve.
1. Remove oil fi ll cap, dipstick, and 1 oil drain plug.
2. Allow ample time for oil to drain from crankcase and
oil fi lter.
3. Remove and discard oil fi lter.
Remove Oil Cooler (if equipped)
1. Use an 8 mm Allen wrench to remove oil fi lter
threaded nipple.
2. Separate fi lter adapter from closure plate, leaving oil
lines attached. Remove screws mounting oil cooler
to blower housing, then remove cooler, lines, and
fi lter adapter as an assembly.
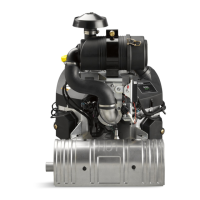
Remove Muffl er (if equipped)
NOTE: Unless oxygen sensor is damaged or
malfunctioning, disassembly from muffl er is
unnecessary.
1. Disconnect oxygen sensor connector from wire
harness.
2. Carefully remove sensor plug from bracket (ETB
ECH EFI only).
3. Remove exhaust system and attaching hardware
from engine. On engines equipped with port liners,
remove them now.
4. Remove oxygen sensor.
Remove Air Cleaner Assembly (if equipped)
Heavy Duty Air Cleaner
1. Remove nuts securing air cleaner assembly to
throttle body.
2. Remove screws securing air cleaner assembly to air
cleaner bracket and remove air cleaner assembly.
Low-Profi le Air Cleaner ETB ECH EFI
1. Loosen retaining knobs and remove cover.
2. Lift off element with precleaner.
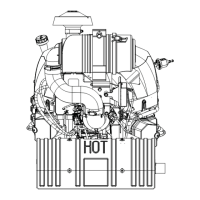
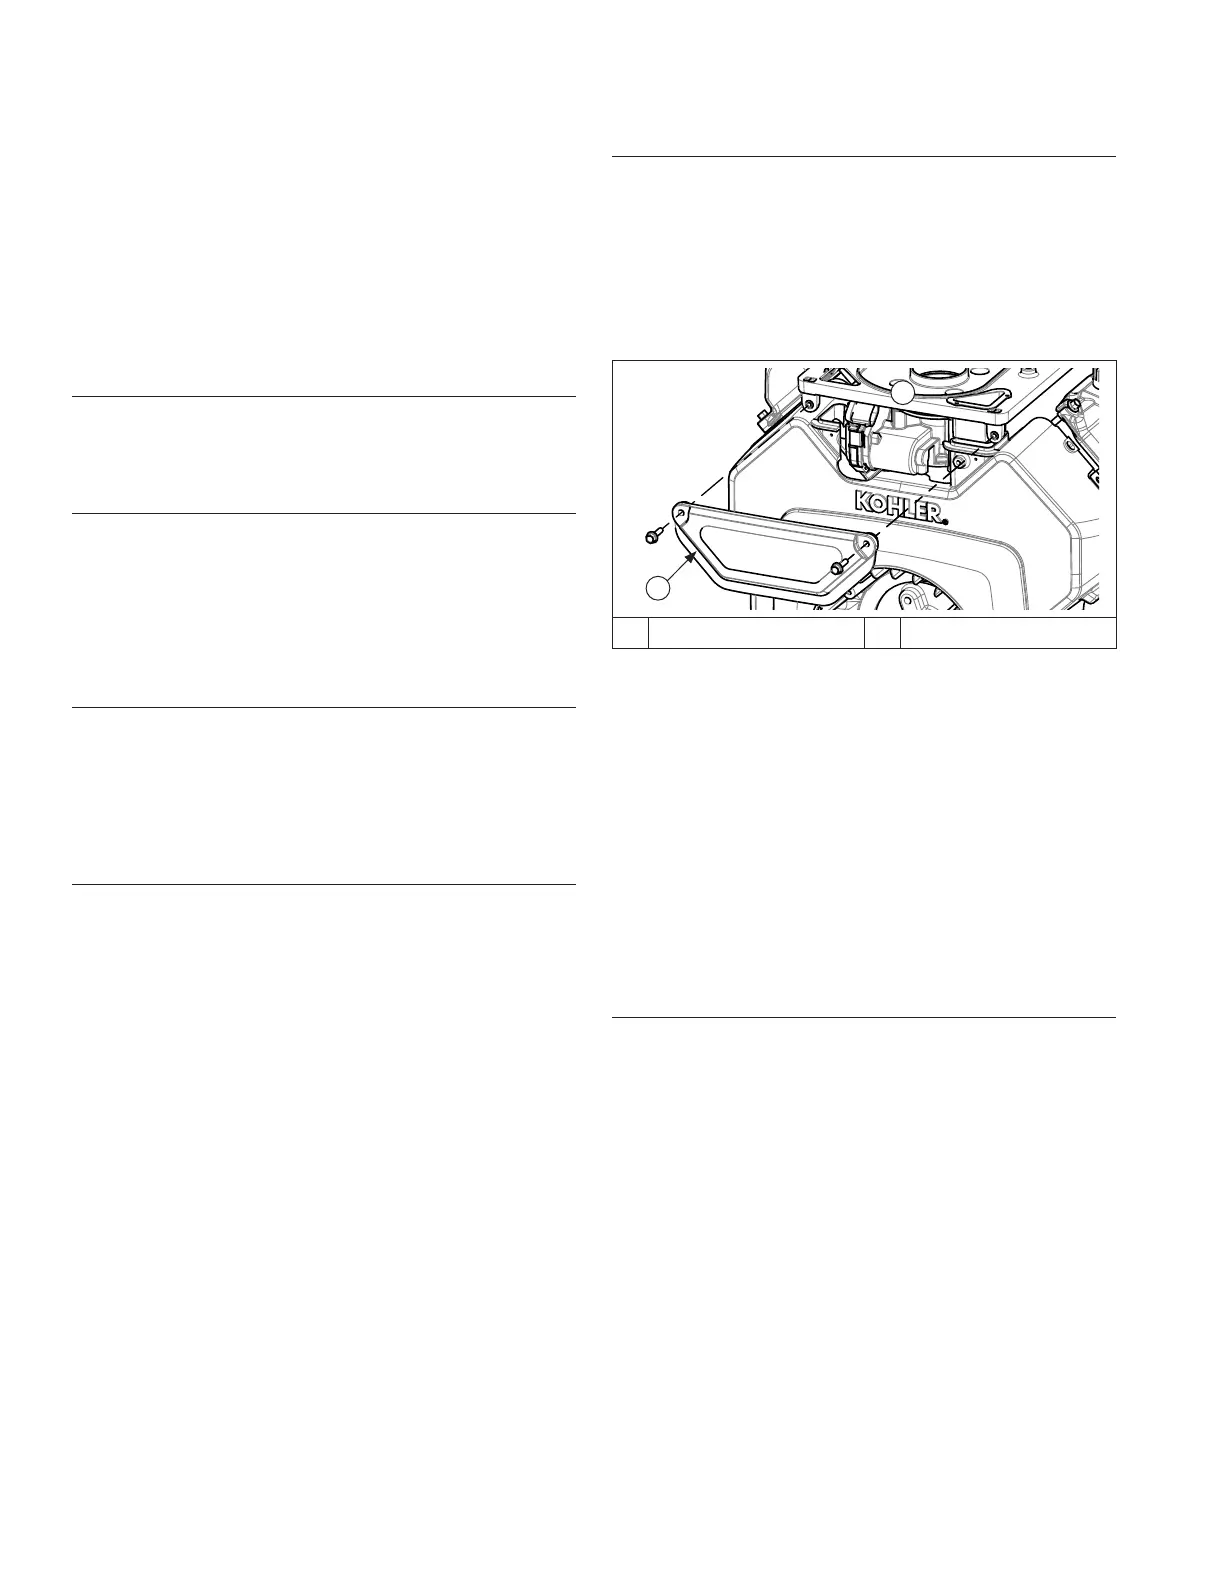
B
A
A ETB Cover B Air Cleaner Base
3. Remove screws and ETB cover from front of base.
4. Remove screws securing base to LPAC support
bracket (with fuses).
5. Remove nuts securing base to electronic throttle
body; lift off base and O-ring.
Low-Profi le Air Cleaner
1. Loosen retaining knob and remove cover.
2. Remove wing nut from element cover.
3. Remove element cover, air cleaner element with
precleaner, and stud seal.
4. Remove nuts.
5. Remove screws securing base and then remove
base.
Remove Throttle Control Panel (if equipped)
1. Disconnect throttle control cable.
2. Remove screws securing throttle control panel and
remove panel from blower housing.
Disassembly/Inspection and Service
162 24 690 01 Rev. SKohlerEngines.com