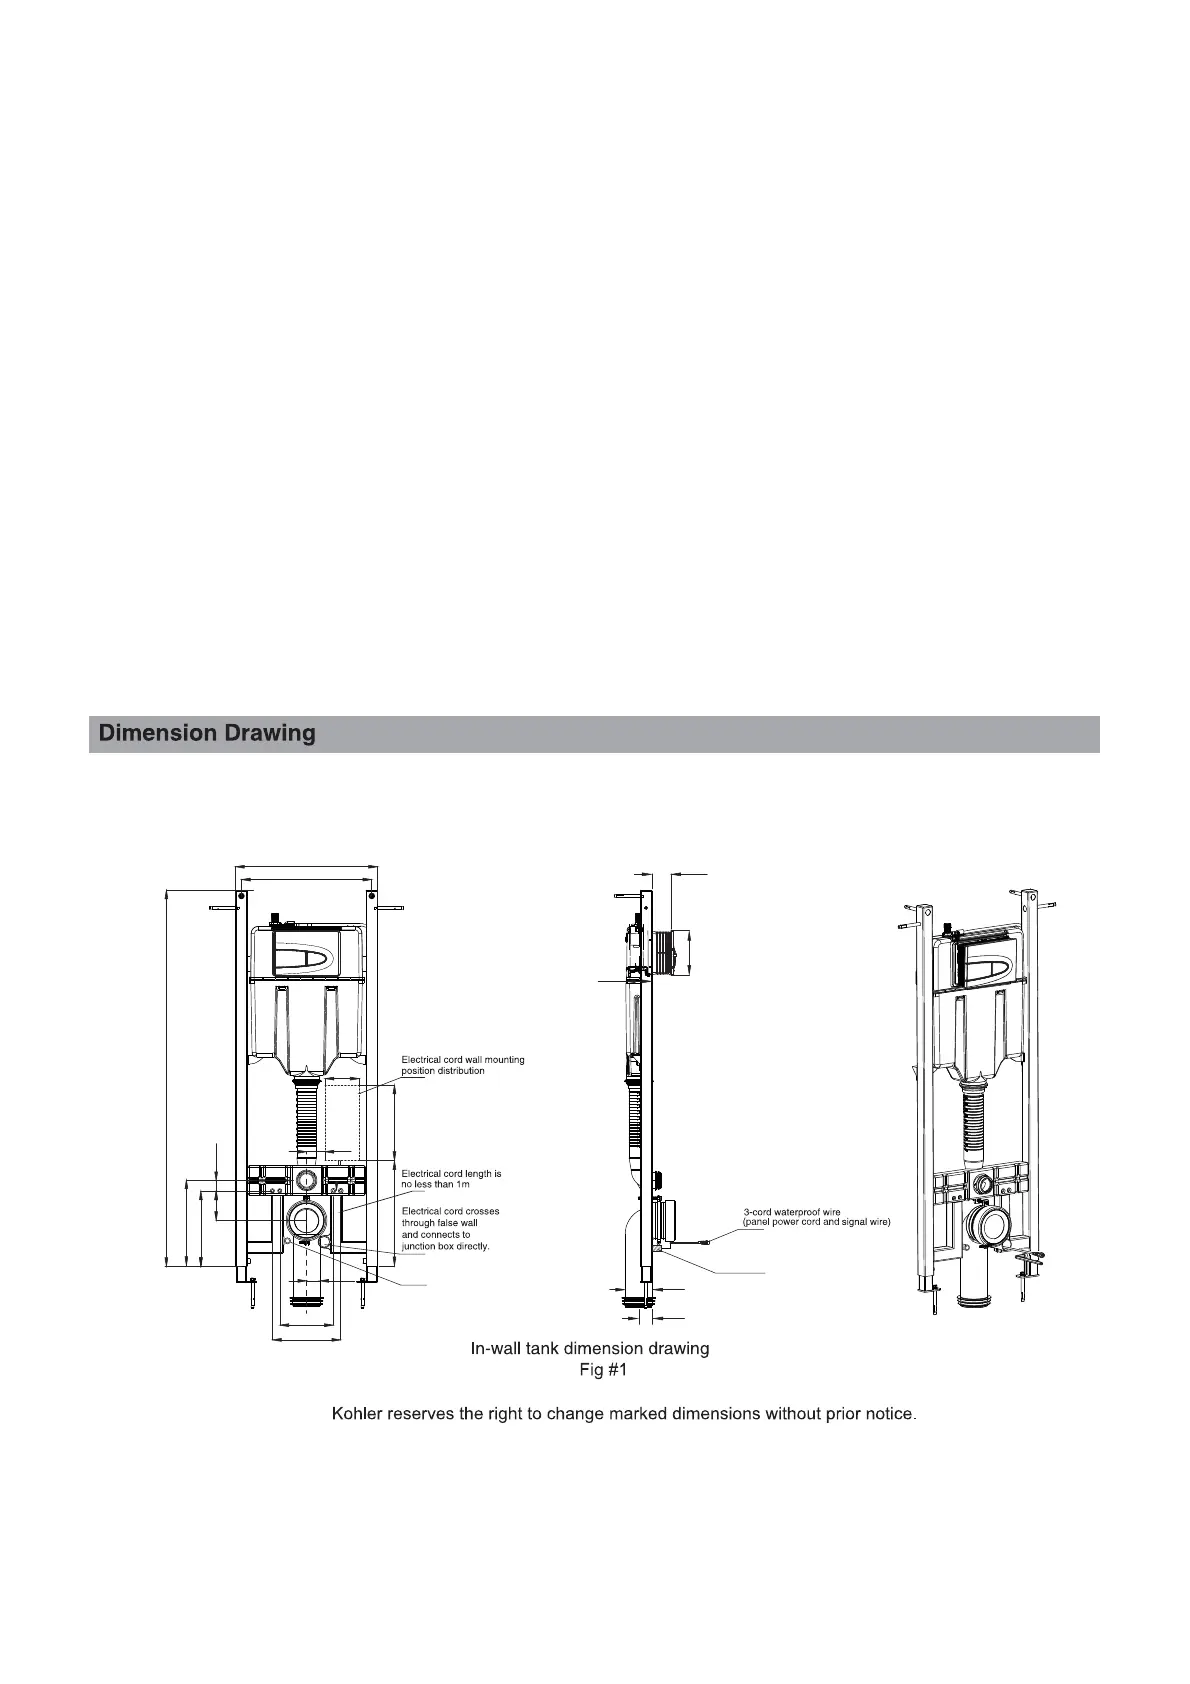
NOTE: S-trap installation shown as default. P-trap configuration is achievable by using a DN80 waste pipe connector.
1mm - 2.5mm hard cord should be reserved as power input during the wall construction. In the circuit, a 220V, 50Hz,
10A minimum Ground-Fault Circuit Interrupter (GFCI) or Earth Leakage Circuit-Breaker (ELCB) is required. For
detailed positioning of the hard cord, see diagram below.
The concept of in-wall tank design & installation
• Compared to traditional setups, the in-wall tank provides an easier and faster installation method, which gives a
more artistic and complete finish.
• The greatest advantage of the in-wall tank is that the toilet installation is not limited to certain locations. It can be
hung almost anywhere which affords a far greater use of bathroom space.
Component information
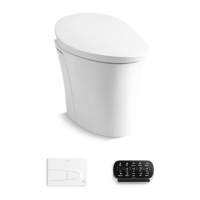
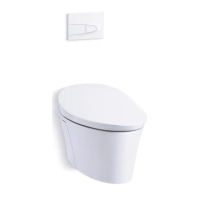
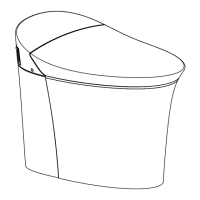
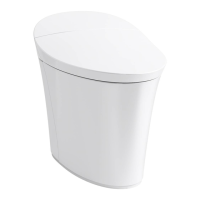
• Pan with faceplate .......... 20313A-0
• Remote assembly ........... 1235953
• Hydro-Tower 500 in-wall tank .. 18647A-NA
• Faceplate .................................. 1268687
Required tools and materials
• 19mm spanner or adjustable wrench
• Blade
• File
• Hacksaw
• Hex key
• Impact drill
• Level
• Screwdriver
• Rulers/measuring tape
• Electrical tape + thread sealing tape
• Electrical insulation conduits
• Grease
• Plug for bidet water supply
• Screws/bolts to affix in-wall tank to wall
frame and bottom plate (not supplied). Recommended
to use M6x40 coach screws with appropriate washers.
Bidet water supply pipe
Bidet water supply connector
Unit:mm
Kohler Co. Jan 2018 2 1345889-A02-A
345 ±2
1265±4
254±3
35±2
100±3
355
150±1
45±3
230±3
88±2
60
110
255
90
438±3
478±3
13~62
45



 To Next Page