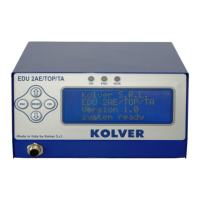
1- Reached torque level in Nm, in.lbs or kgf.cm
2- Program number or sequence
3- Screwdriver model
4- Clock
5- Screw count: done screws/total screws
6- Angle value in degrees (only EDU 2AE-TOP TA model)
7- Status bar (ready, errors, etc…)
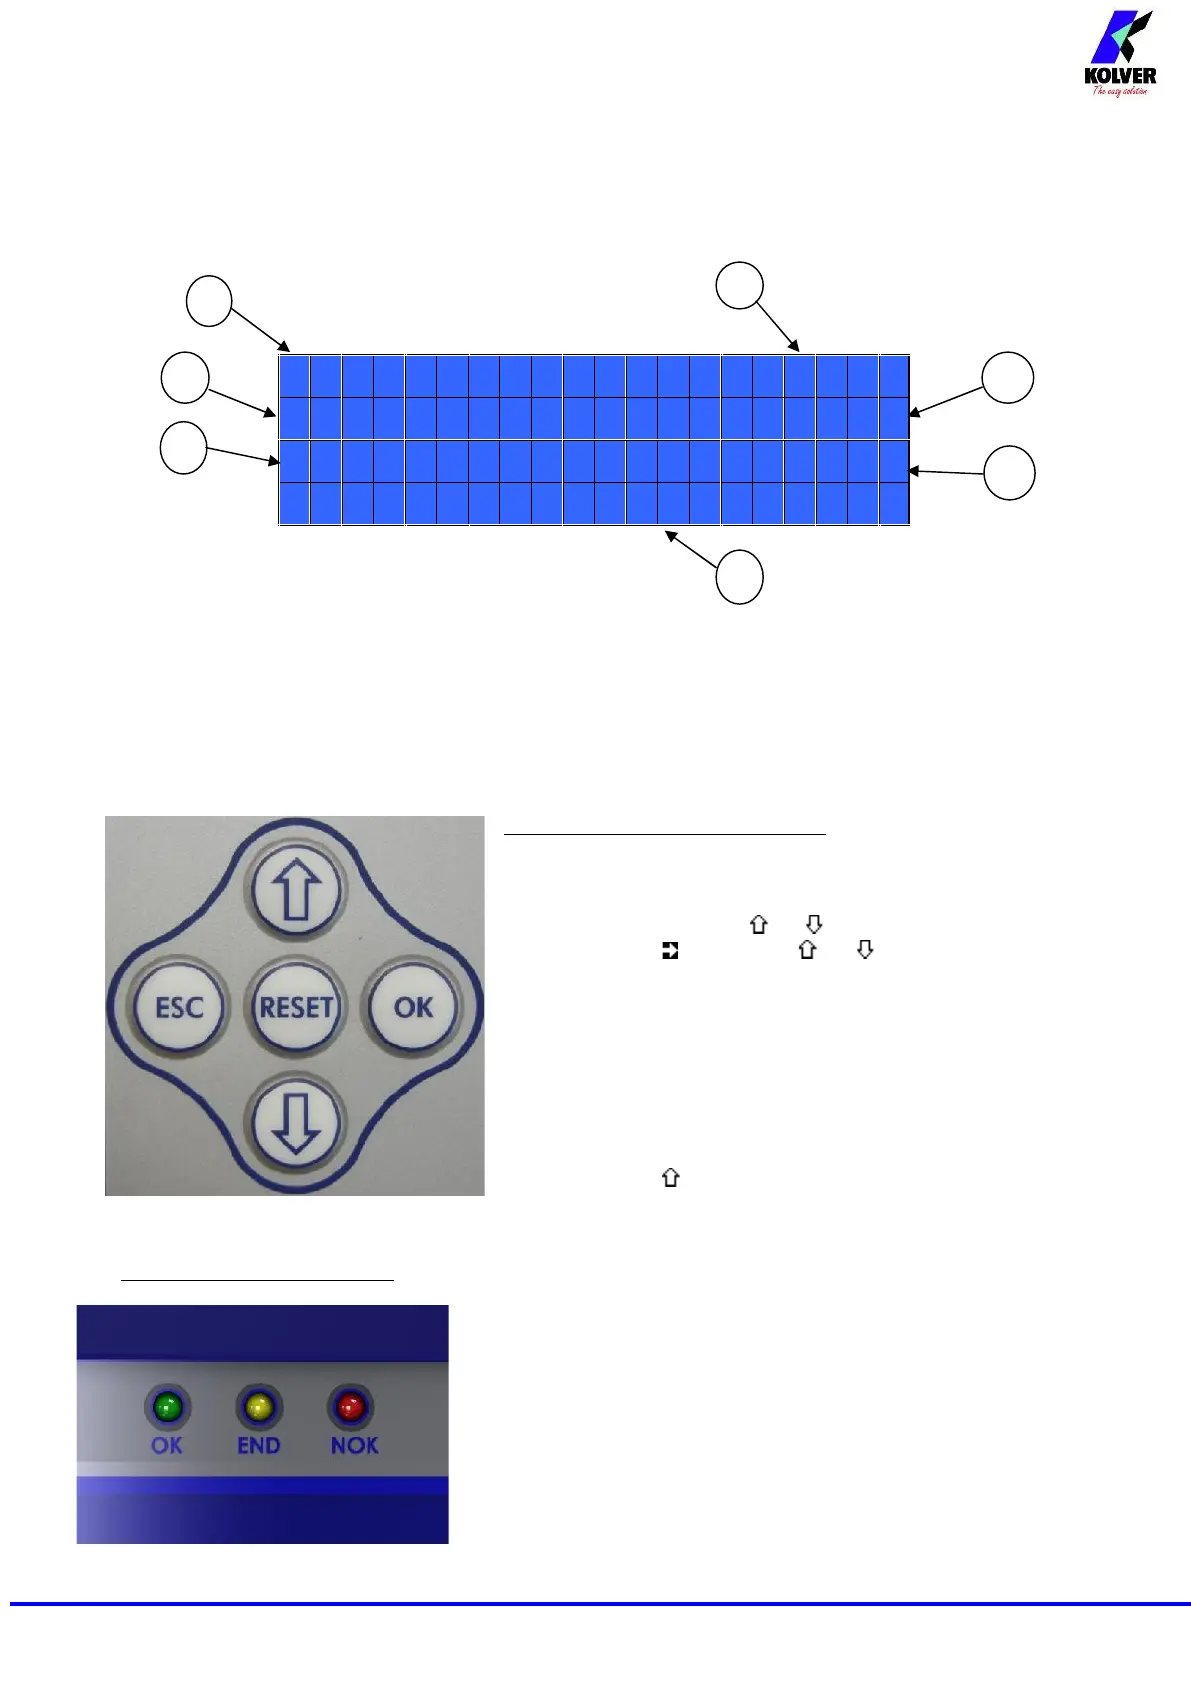
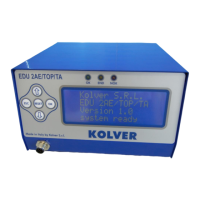
FRONT PANEL KEYBOARD
To enter the menu press the ESC key for 2 seconds.
Select the line by pressing or then press OK (the symbol
will turn into ). Press the or to select the required
value and then confirm through OK (or ESC if you don’t want
to save the value).
The selected values will be immediately operational, even if you
are still in the menu screen. Repeat the sequence for all the
parameters you wish to change and then push ESC to return to
the main screen.
Press RESET for 3 sec should you need to reset the screw, the
program or the sequence. If you want to see all the set
parameters press for 2 seconds, however you cannot modify
the displayed parameters on this screen.
LEDS ON FRON PANEL
GREEN LED VERDE: indication of Screw OK.
YELLOW LED: indication of Programm End or Sequence End.
RED LED: any indication of error.