EasyManuals Logo

Konica Minolta 7145 Service Manual

Konica Minolta 7145
448 pages
To Next Page IconTo Next Page
To Previous Page IconTo Previous Page
Page #112 background imageLoading...
Page #112 background image
SCANNER SECTION
3-20
III DIS./ASSEMBLY
3.8 Removing the Optics Wire
A. Procedure
1. Remove the RADF.
2. Remove the platen glass.
3. Remove the scanner cover/R.
4. Shift the V mirror unit [1] to the paper exit side.
Through the front, insert the optics unit position-
ing jig so that it is at the V mirror attachment
location. Pass the jig through the V mirror unit
[1] to fasten the it in place.
5. Remove the exposure unit [2].
6. Detach the nuts [5] and washers [6] from the
ends of the optical wires/F [3], /R [4], and
remove the wires/F [3], /R [4].
7. Remove the screws [7] holding the two drive
pulley [8] bearings in place (two screws on each
pulley), and remove the bearings [9].
8. Remove the optical wires/F [3], /R [4] from the
drive pulleys.
[1]
[2]
[3]
[4]
[5]
[5]
[6]
[6]
[7]
[8]
[9]

Table of Contents

Other manuals for Konica Minolta 7145

Questions and Answers:

Question and Answer IconNeed help?

Do you have a question about the Konica Minolta 7145 and is the answer not in the manual?
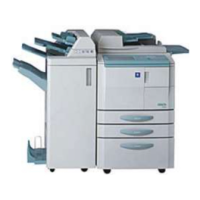
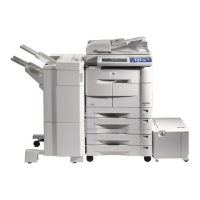
Konica Minolta 7145 Specifications

General IconGeneral
TypeDigital Copier
Printing TechnologyLaser
Print Resolution600 x 600 dpi
Copying Resolution600 x 600 dpi
Reduction / Enlargement25% - 400%
Duplex PrintingYes
Network ReadyYes
ConnectivityEthernet, USB
Warm-Up Time30 seconds
Max Media Size11 x 17 inches
Media Weight16 - 28 lb

Related product manuals